These wedding invitations and logo were created for a wedding during 2024. The process included a rolling letter press from the 1800s. All the invites were hand cut and hand pressed on pearl coated NEENAH paper. The style was created to be elegant, but also look gritty and hand made. The natural process of letter press created many challenges. This project included hard work and experimentation to complete the job as elegantly as possible while also preserving the random nature of the press.
Thanks for reading! To read the whole case study, please read bottom to top.
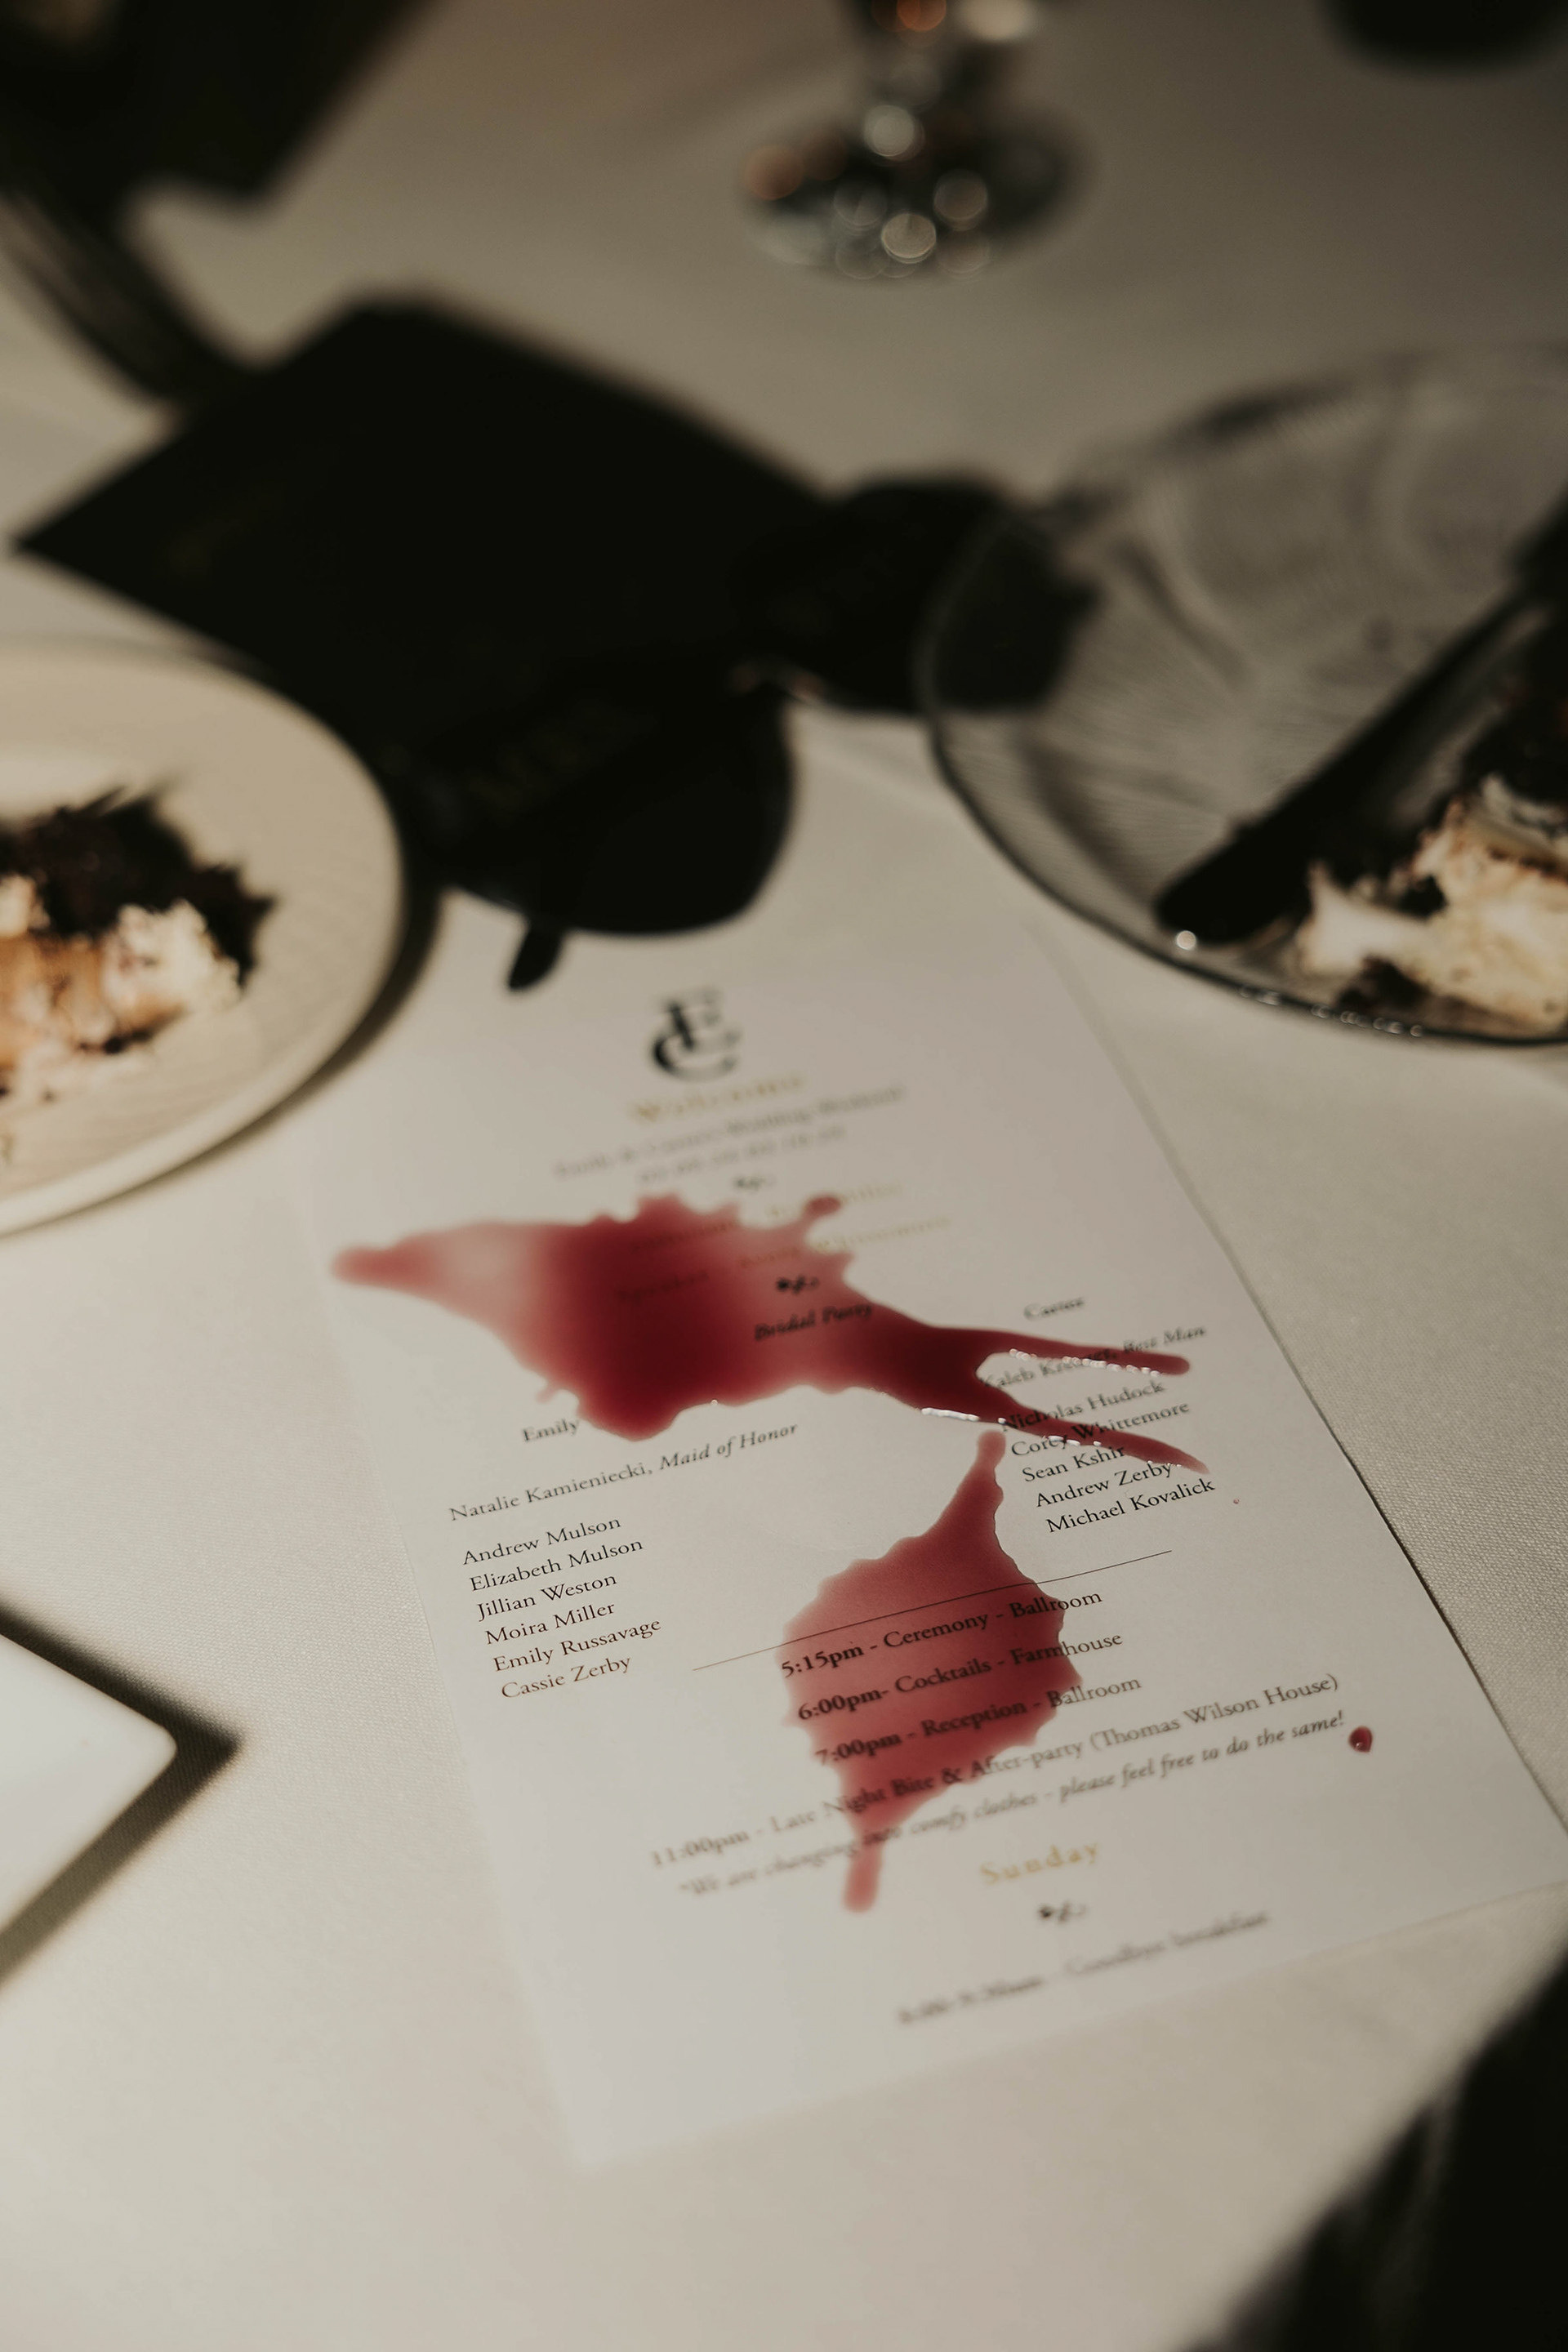
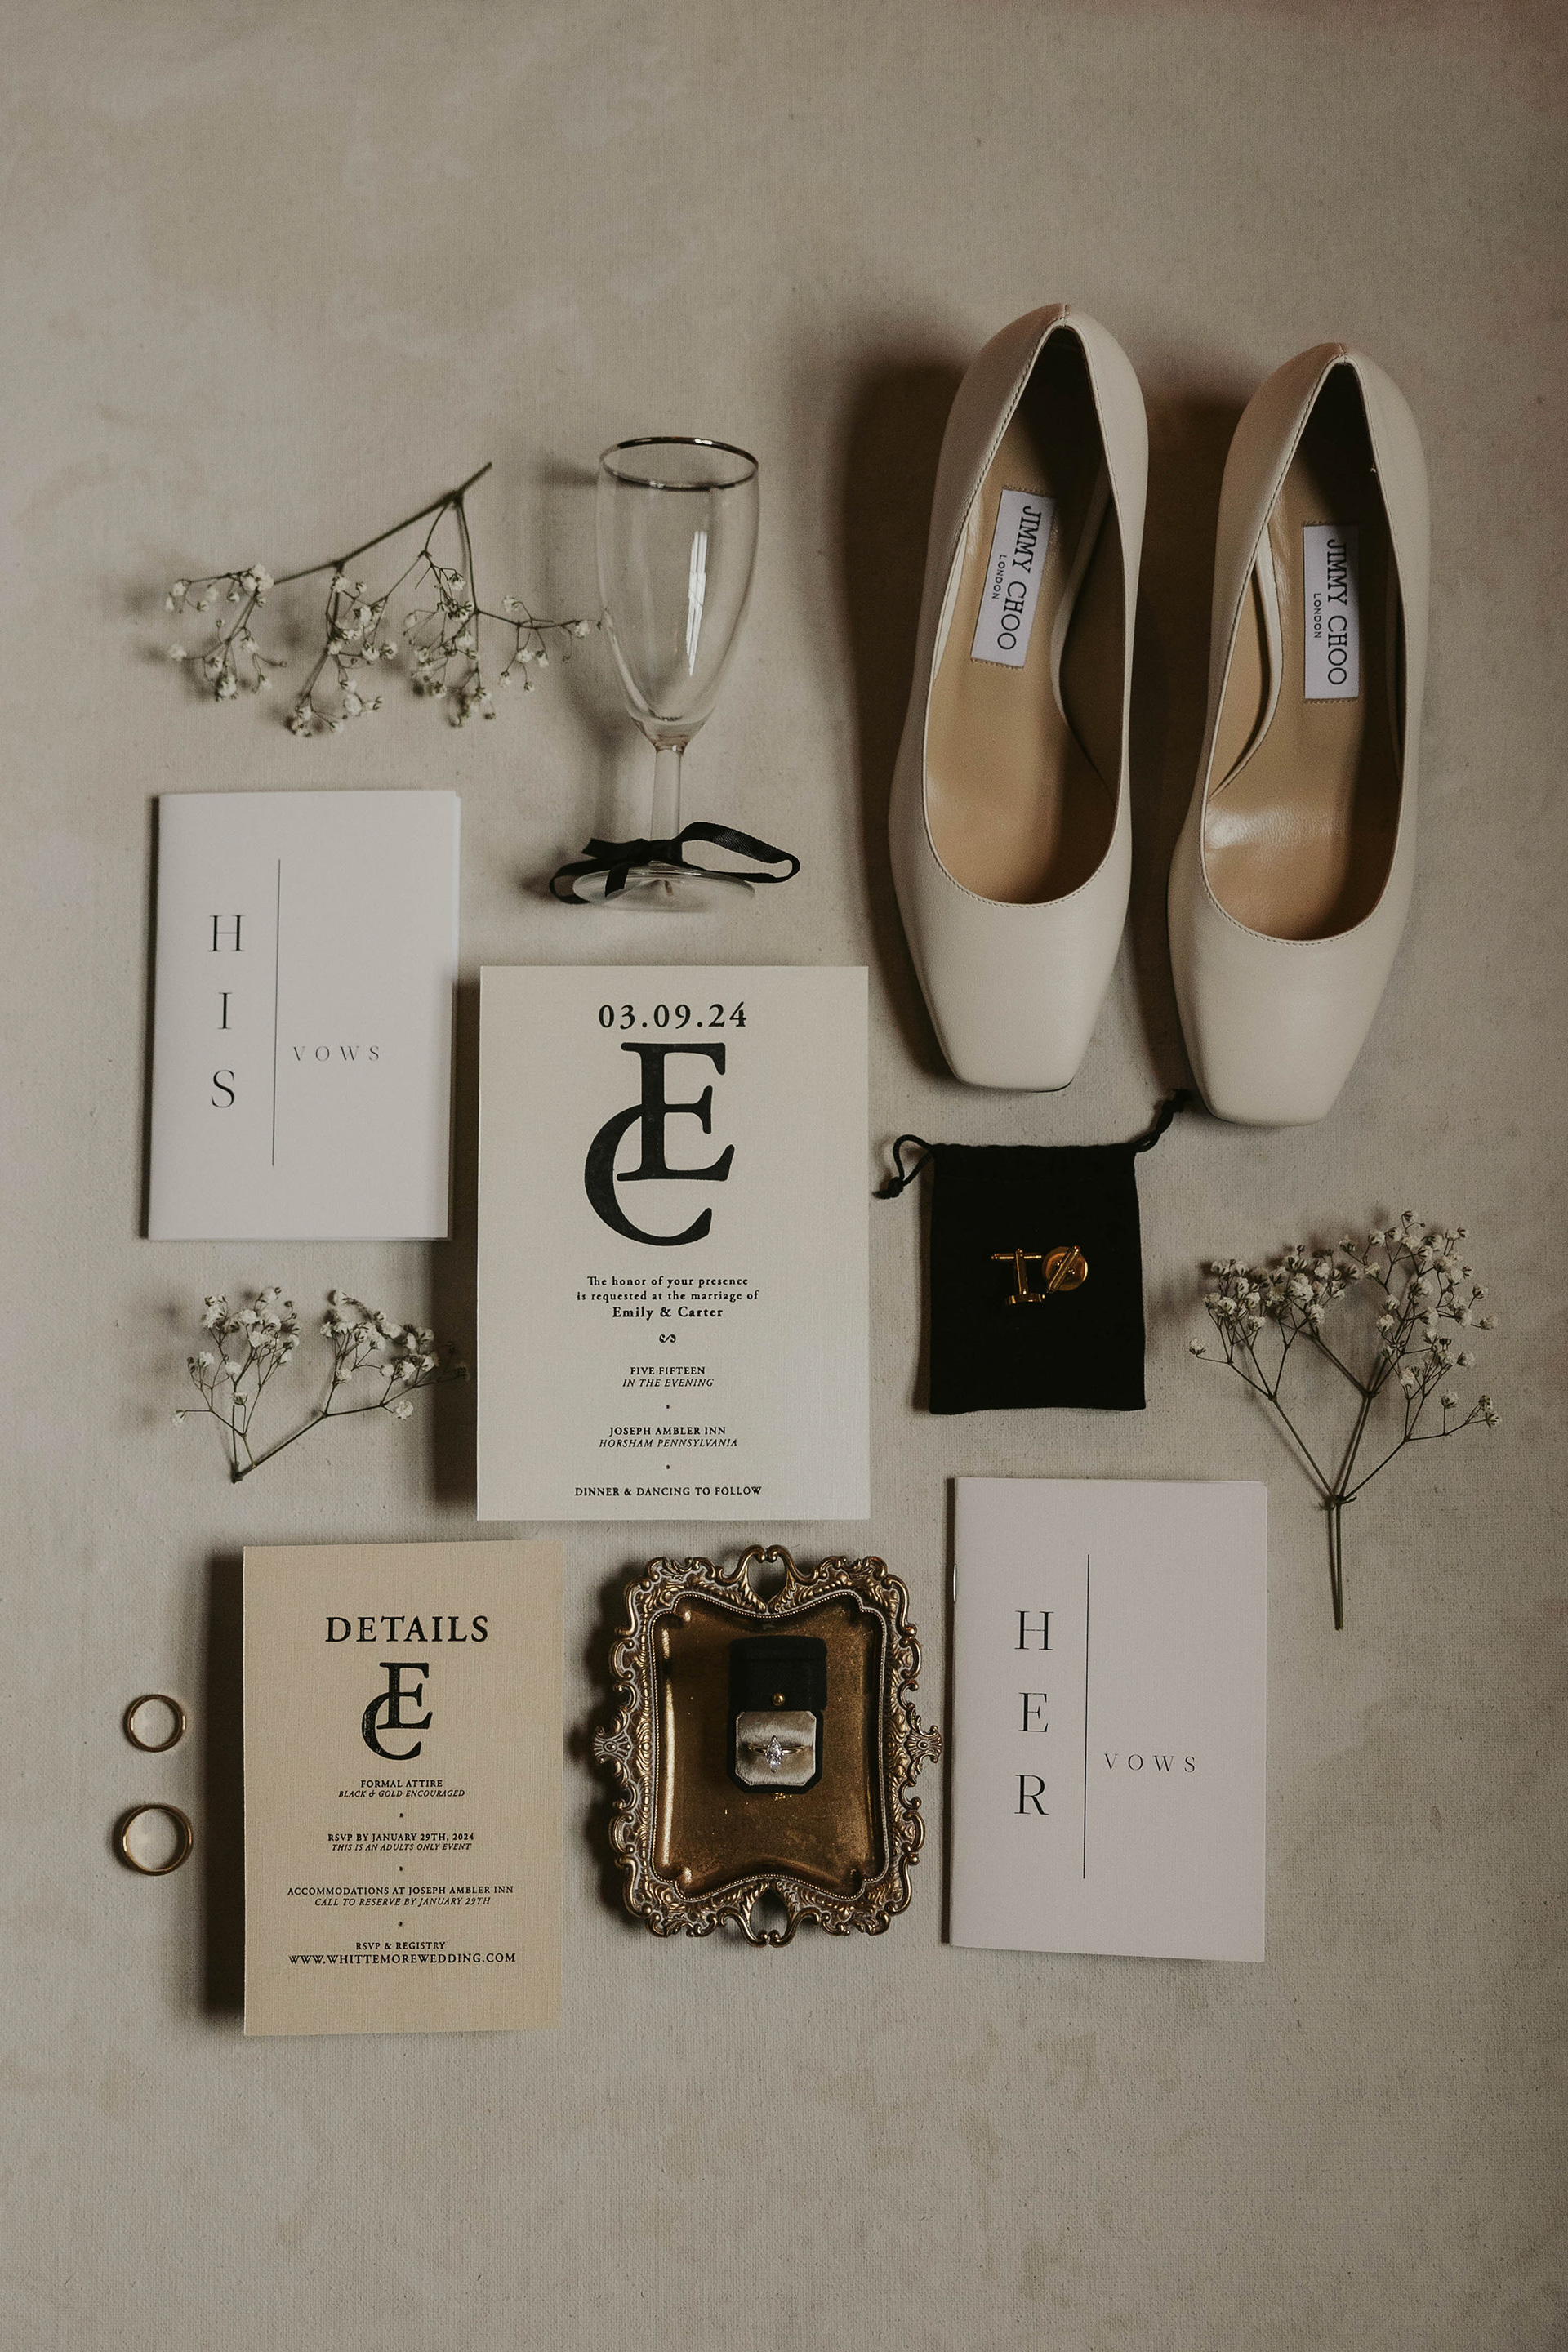
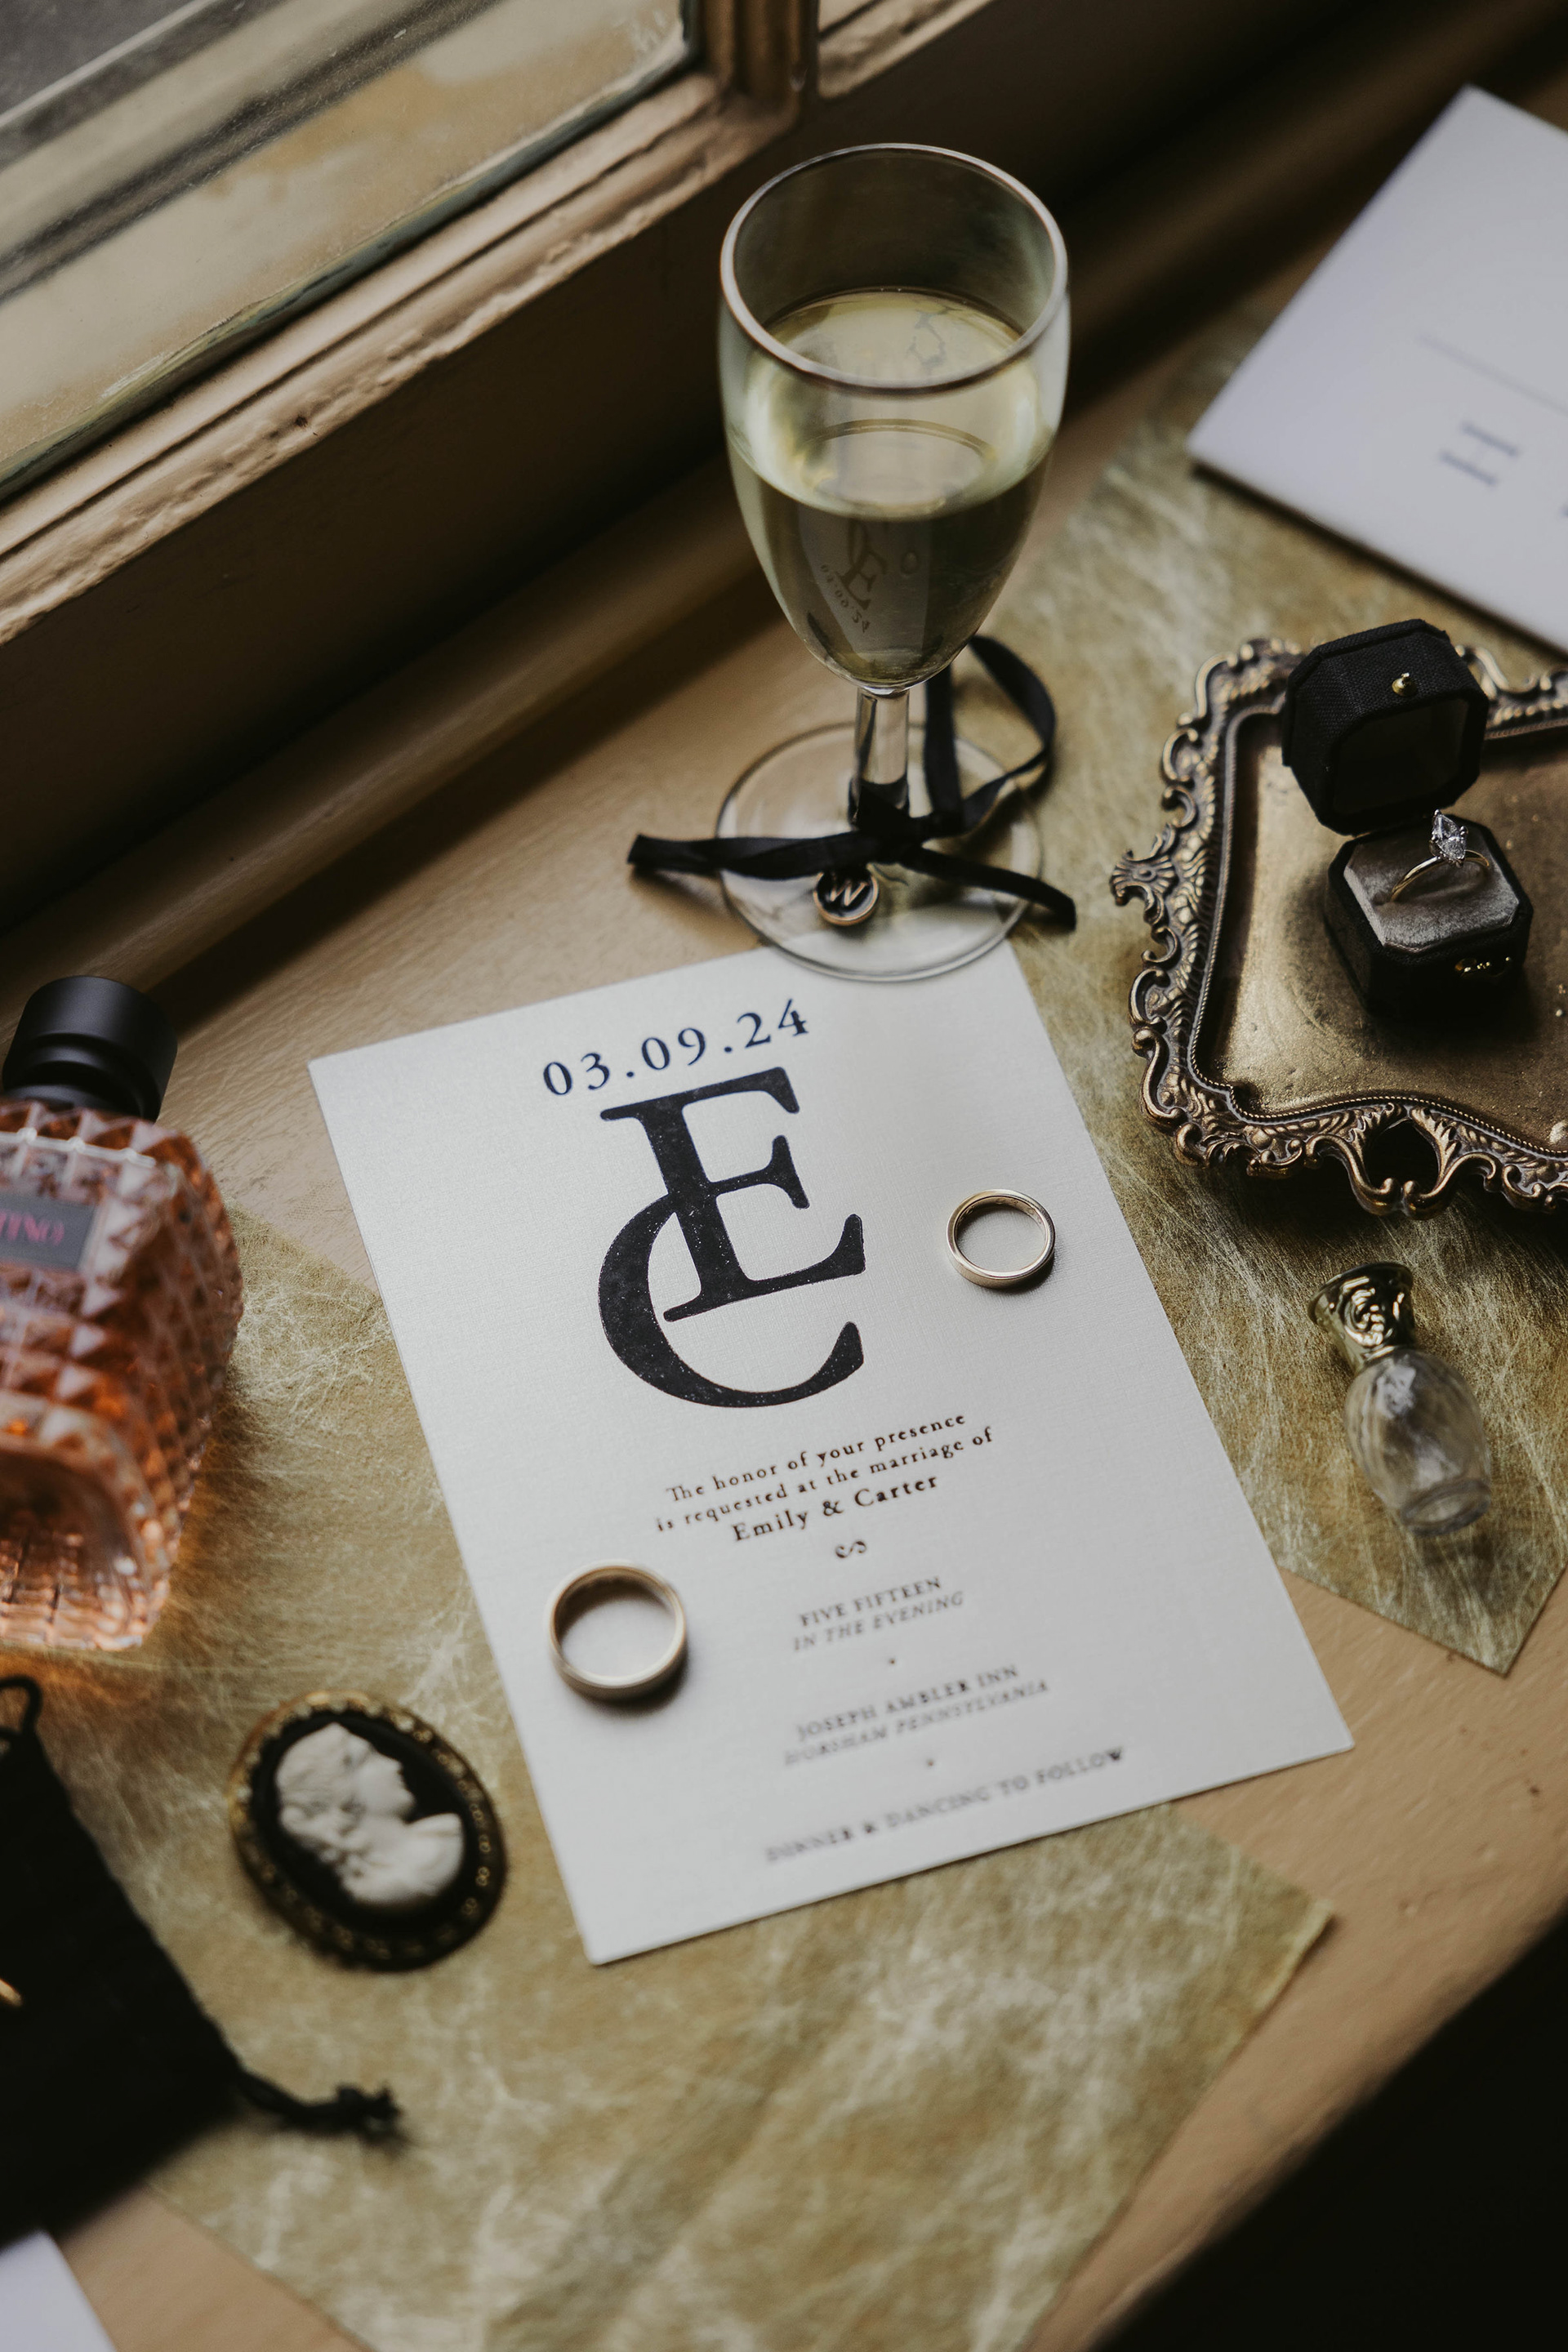
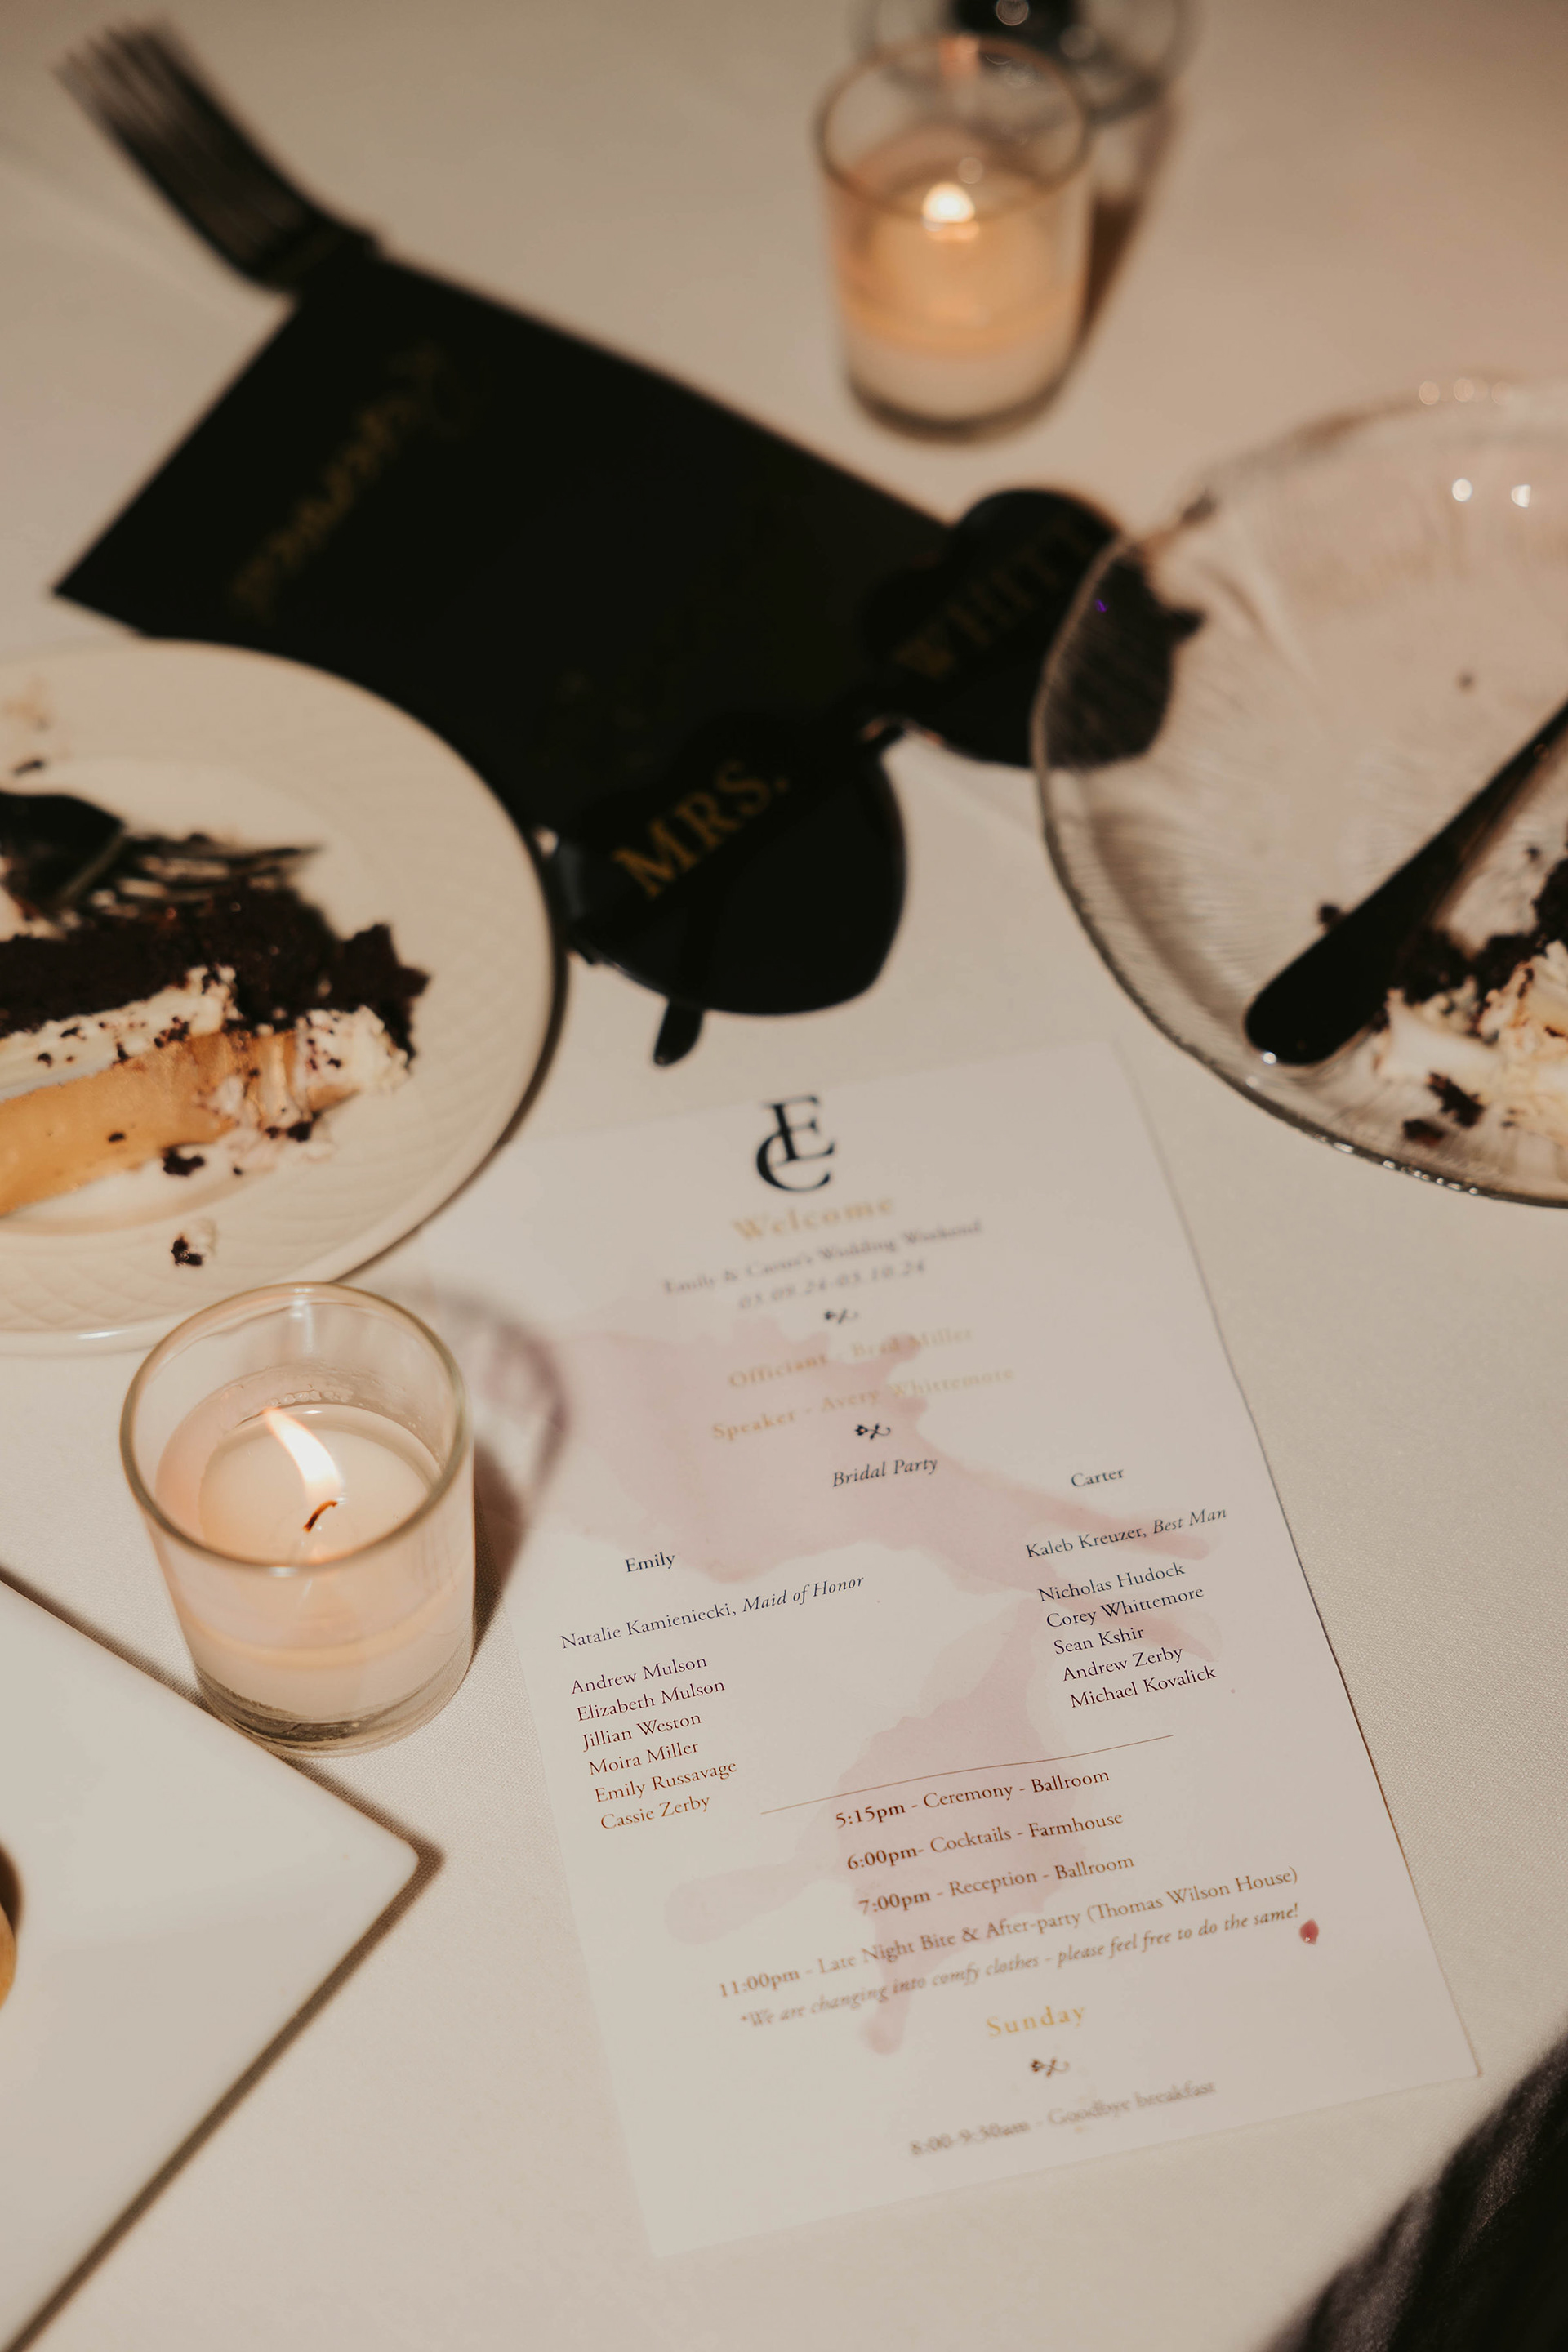
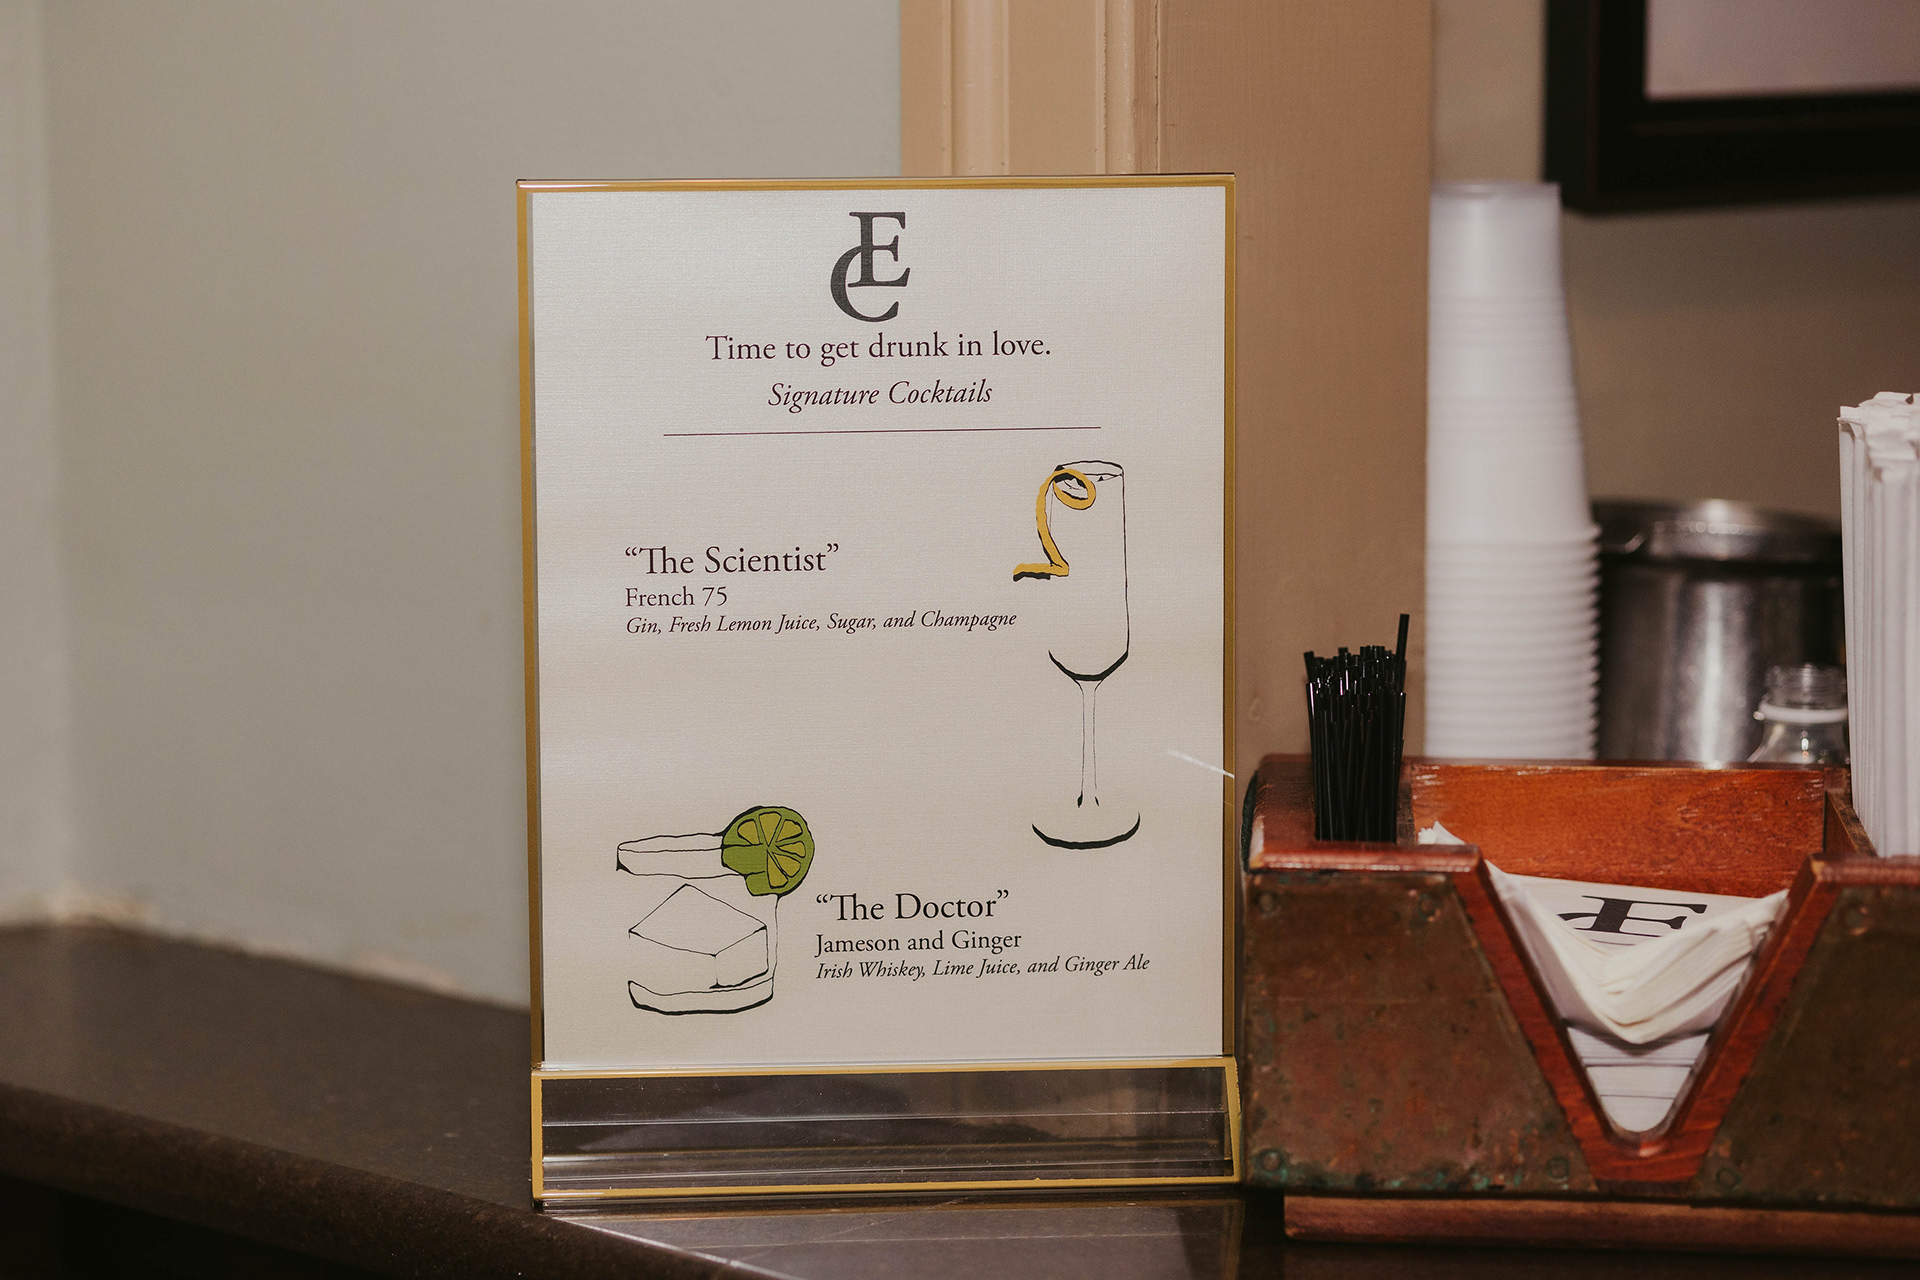
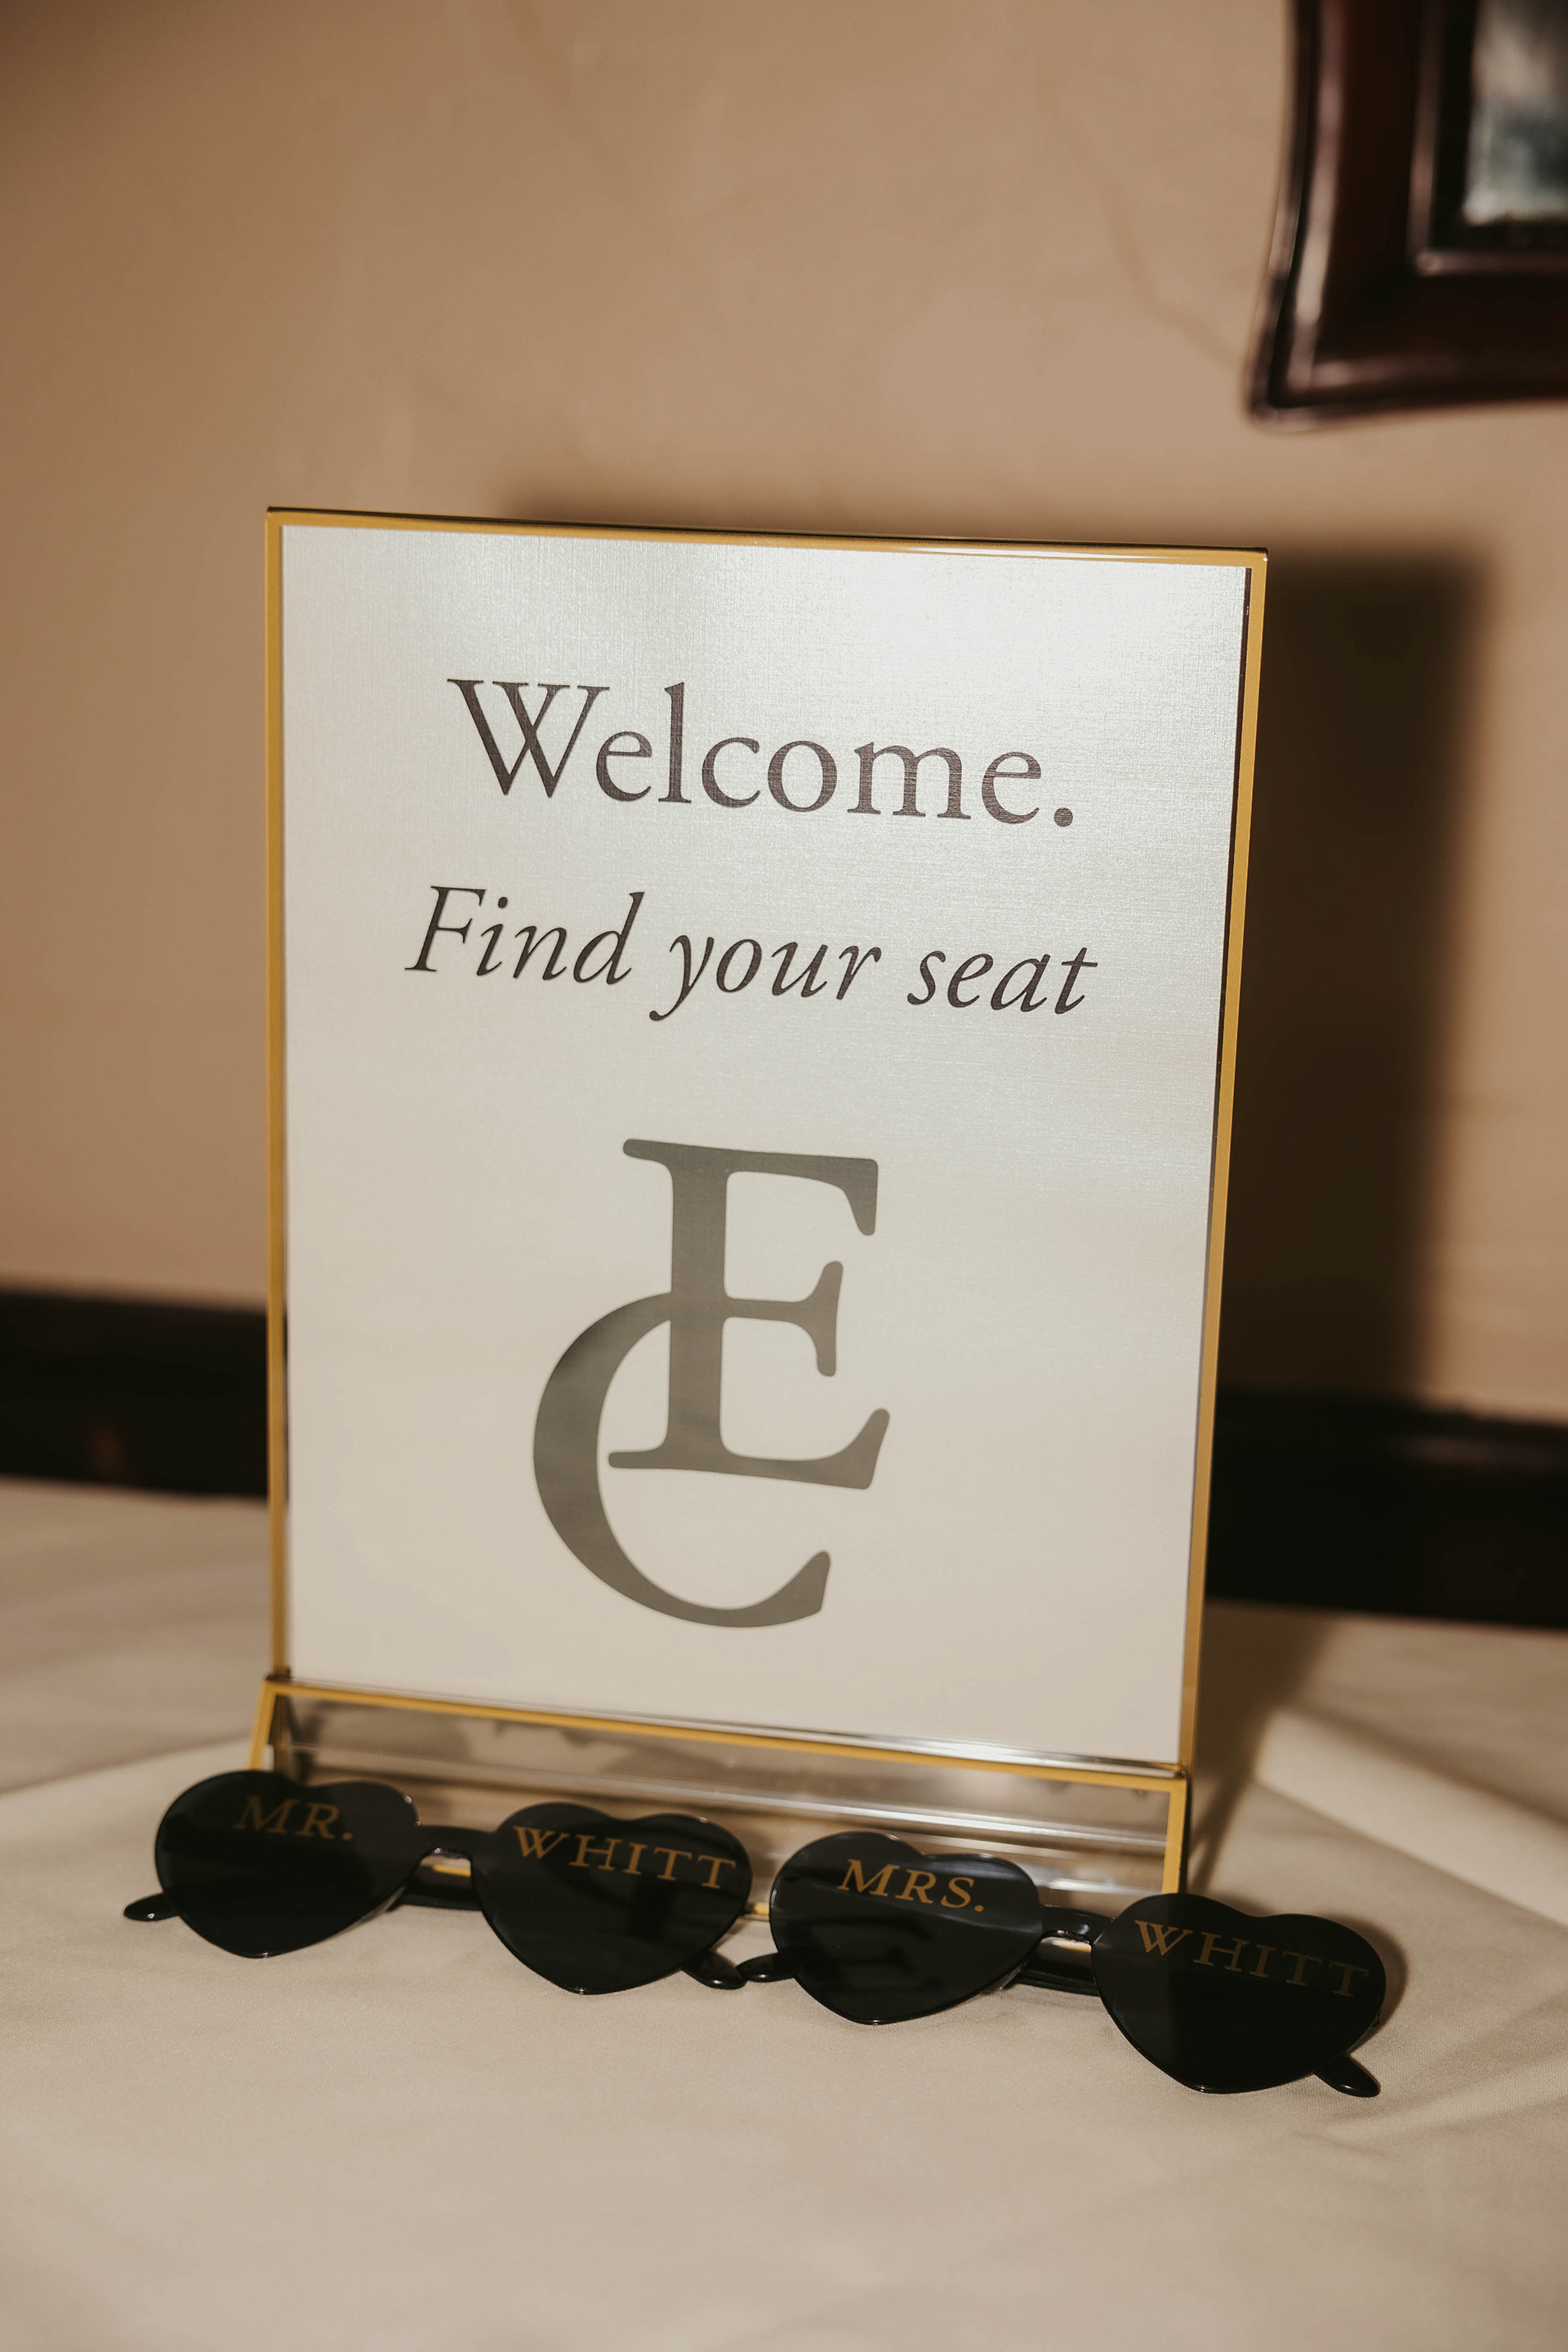
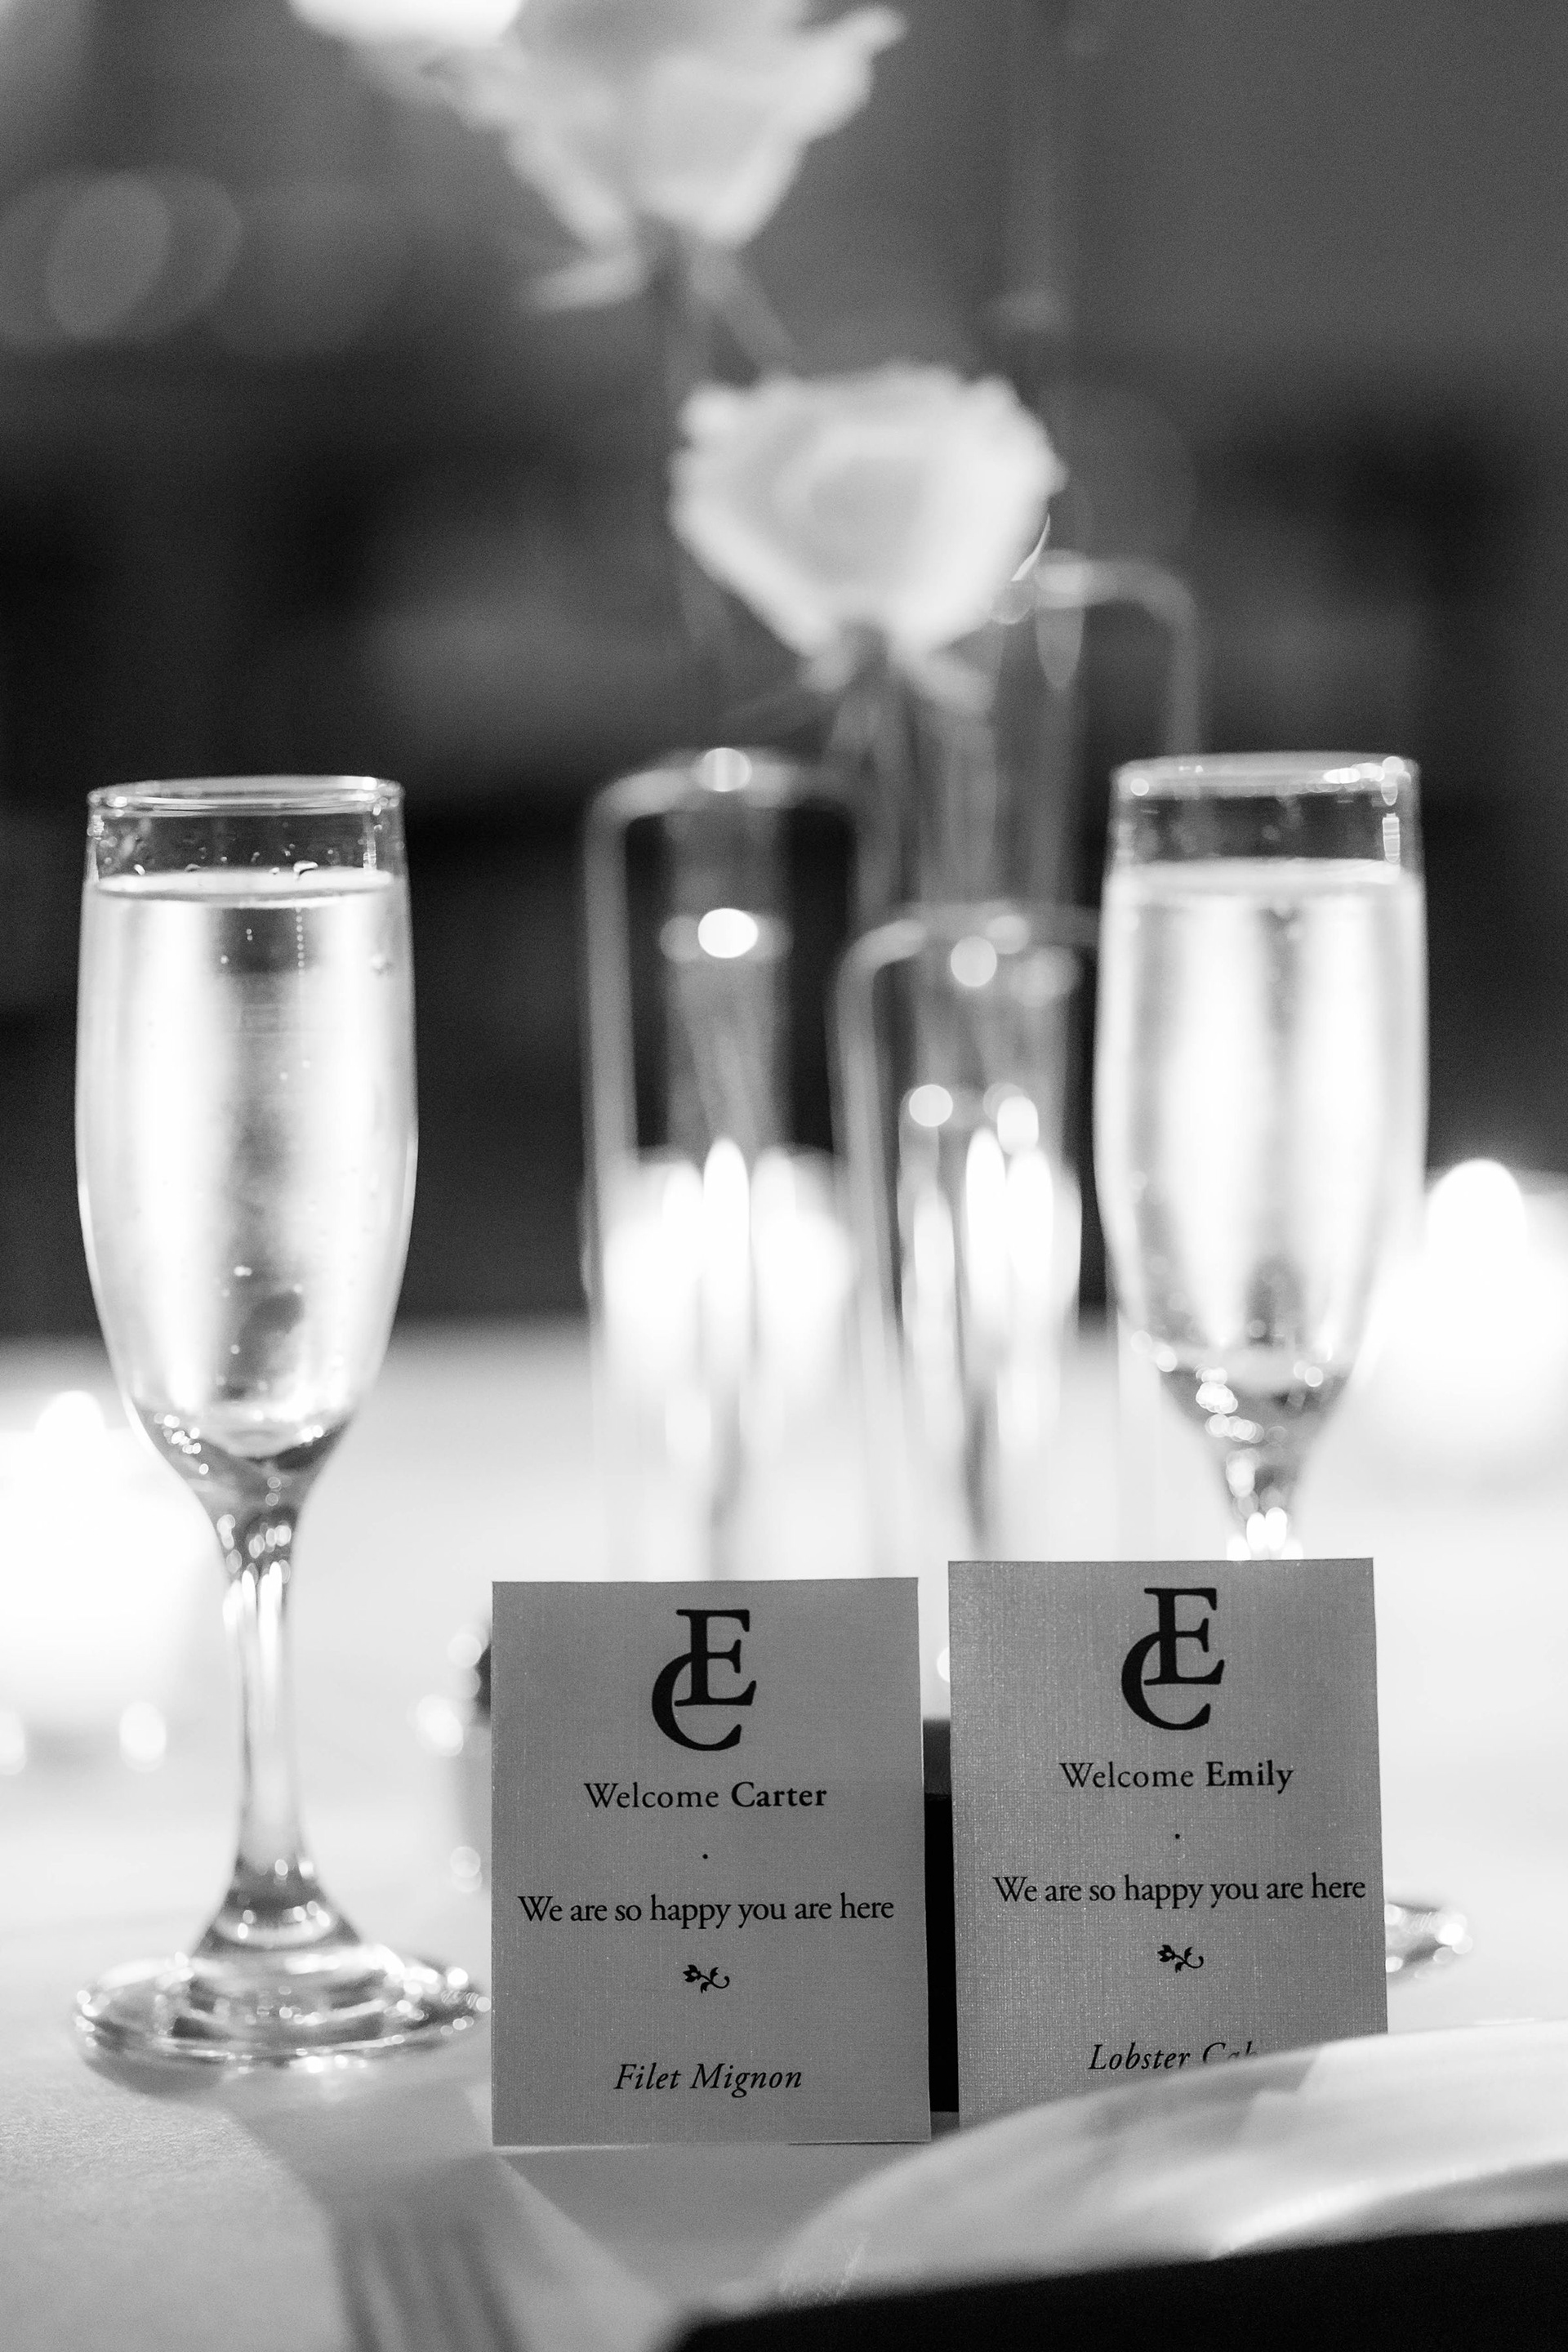
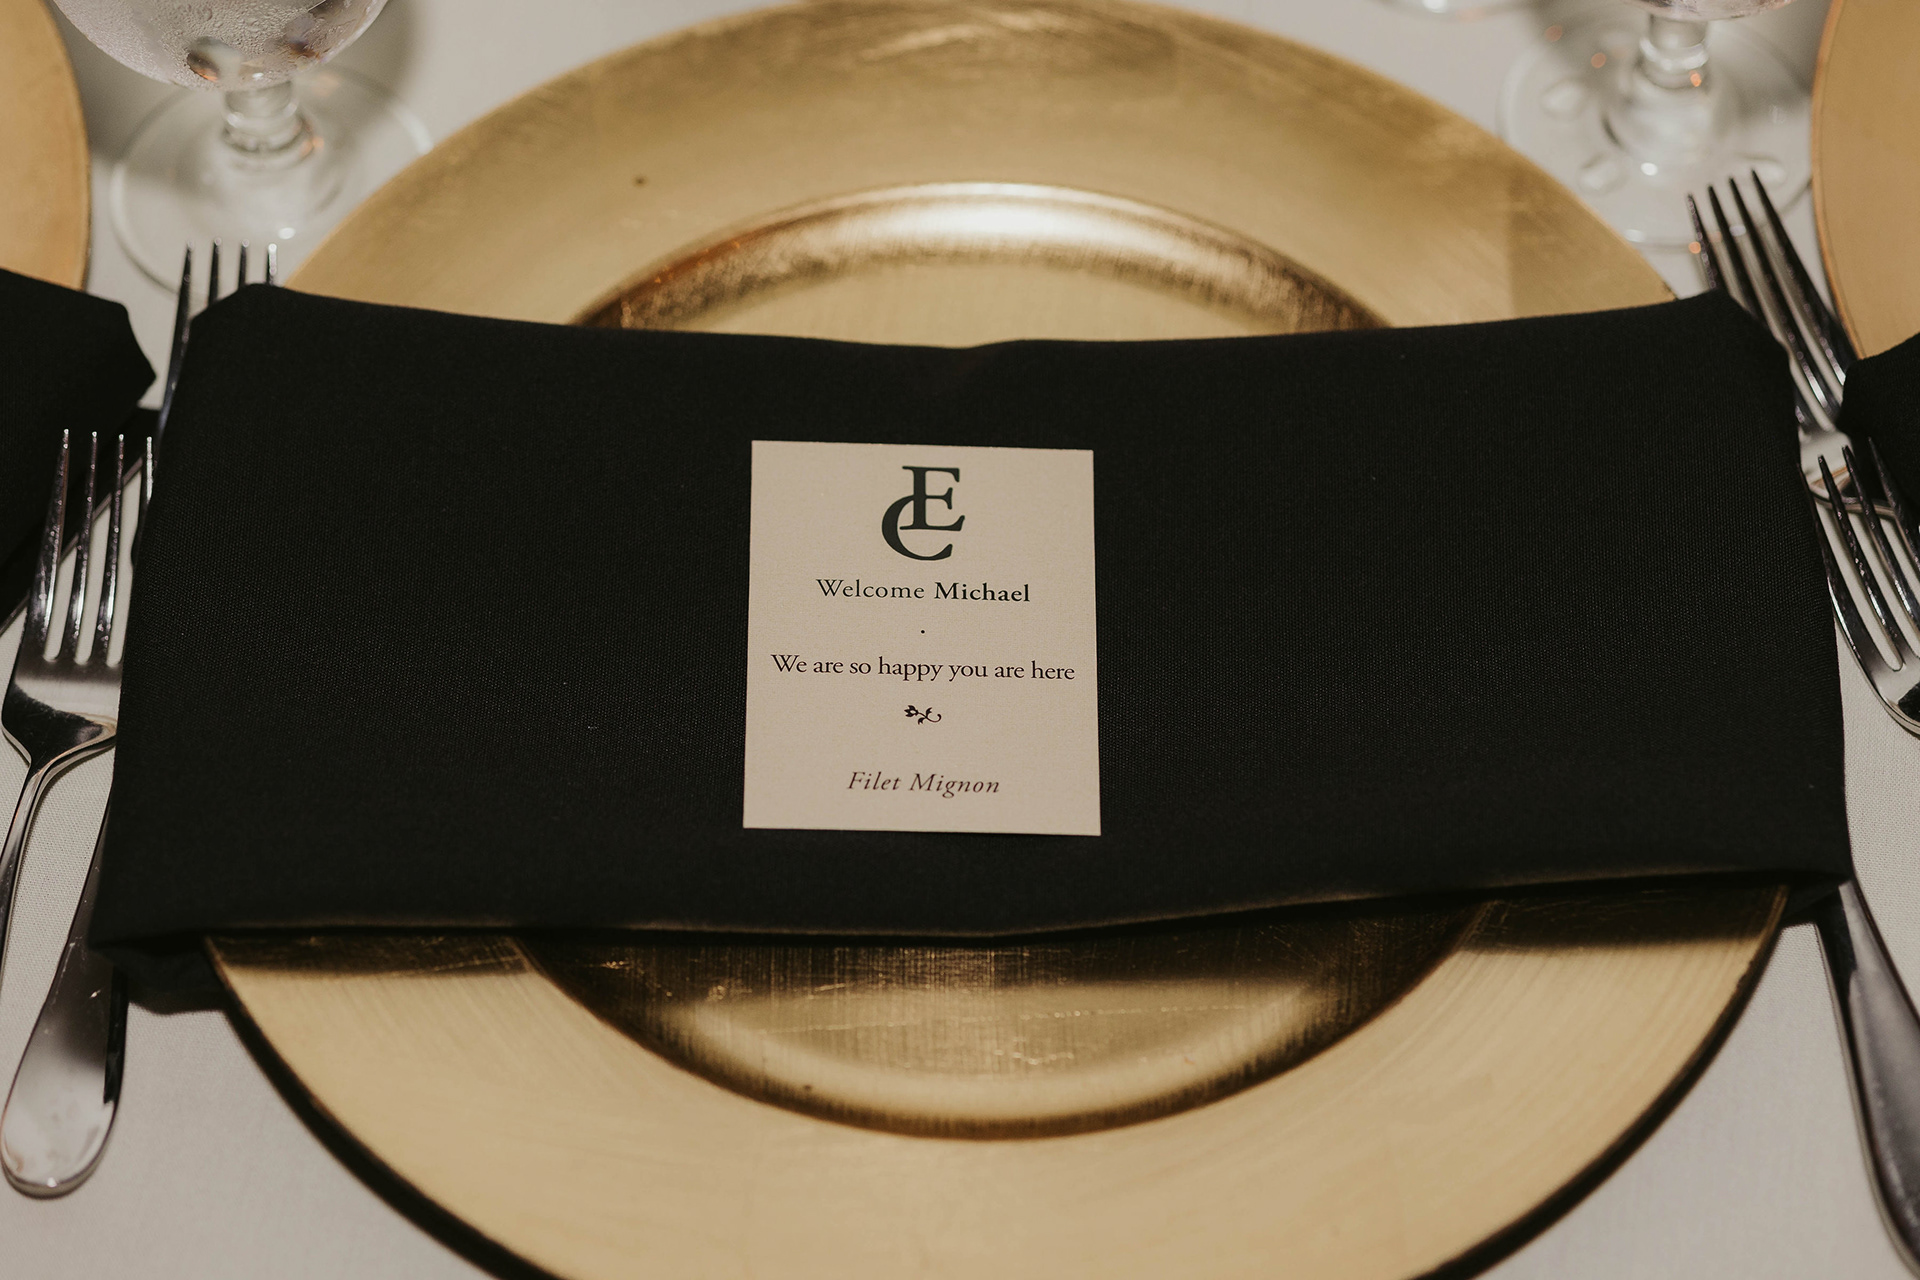
Some of the final pictures taken on the wedding day by Kailey Edwards Photography.
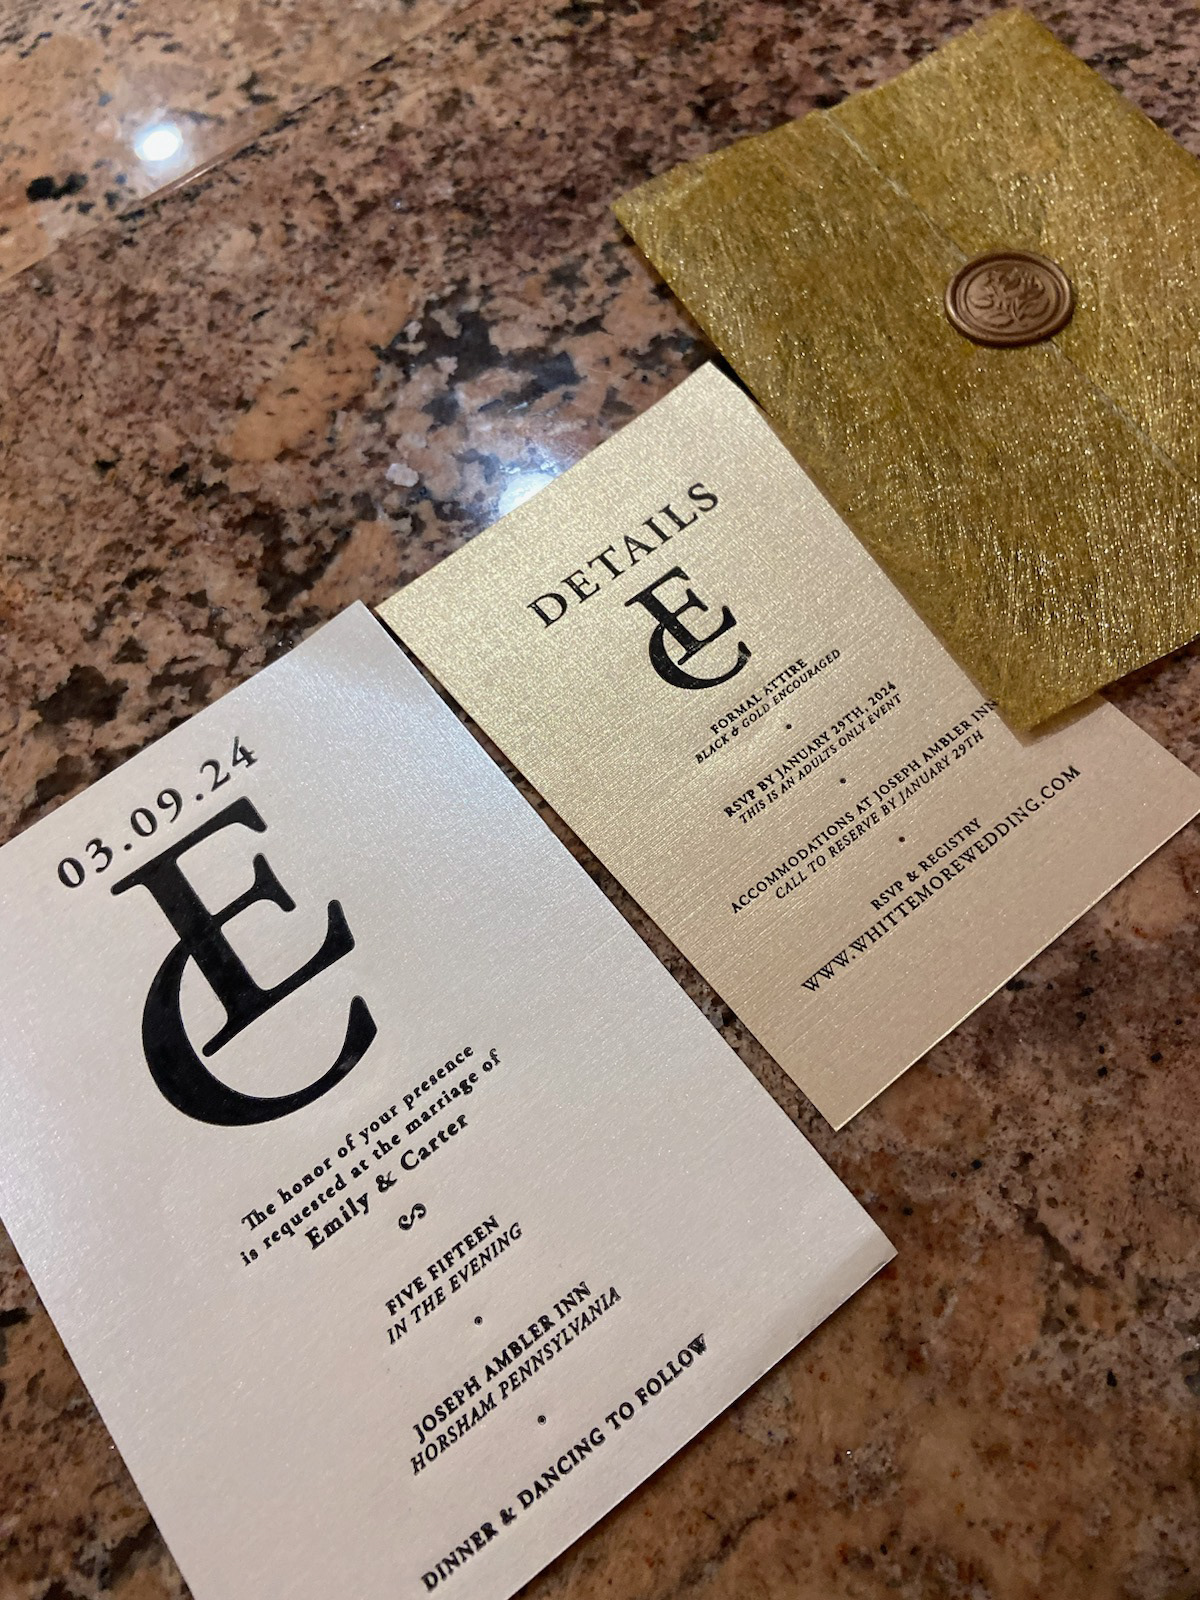
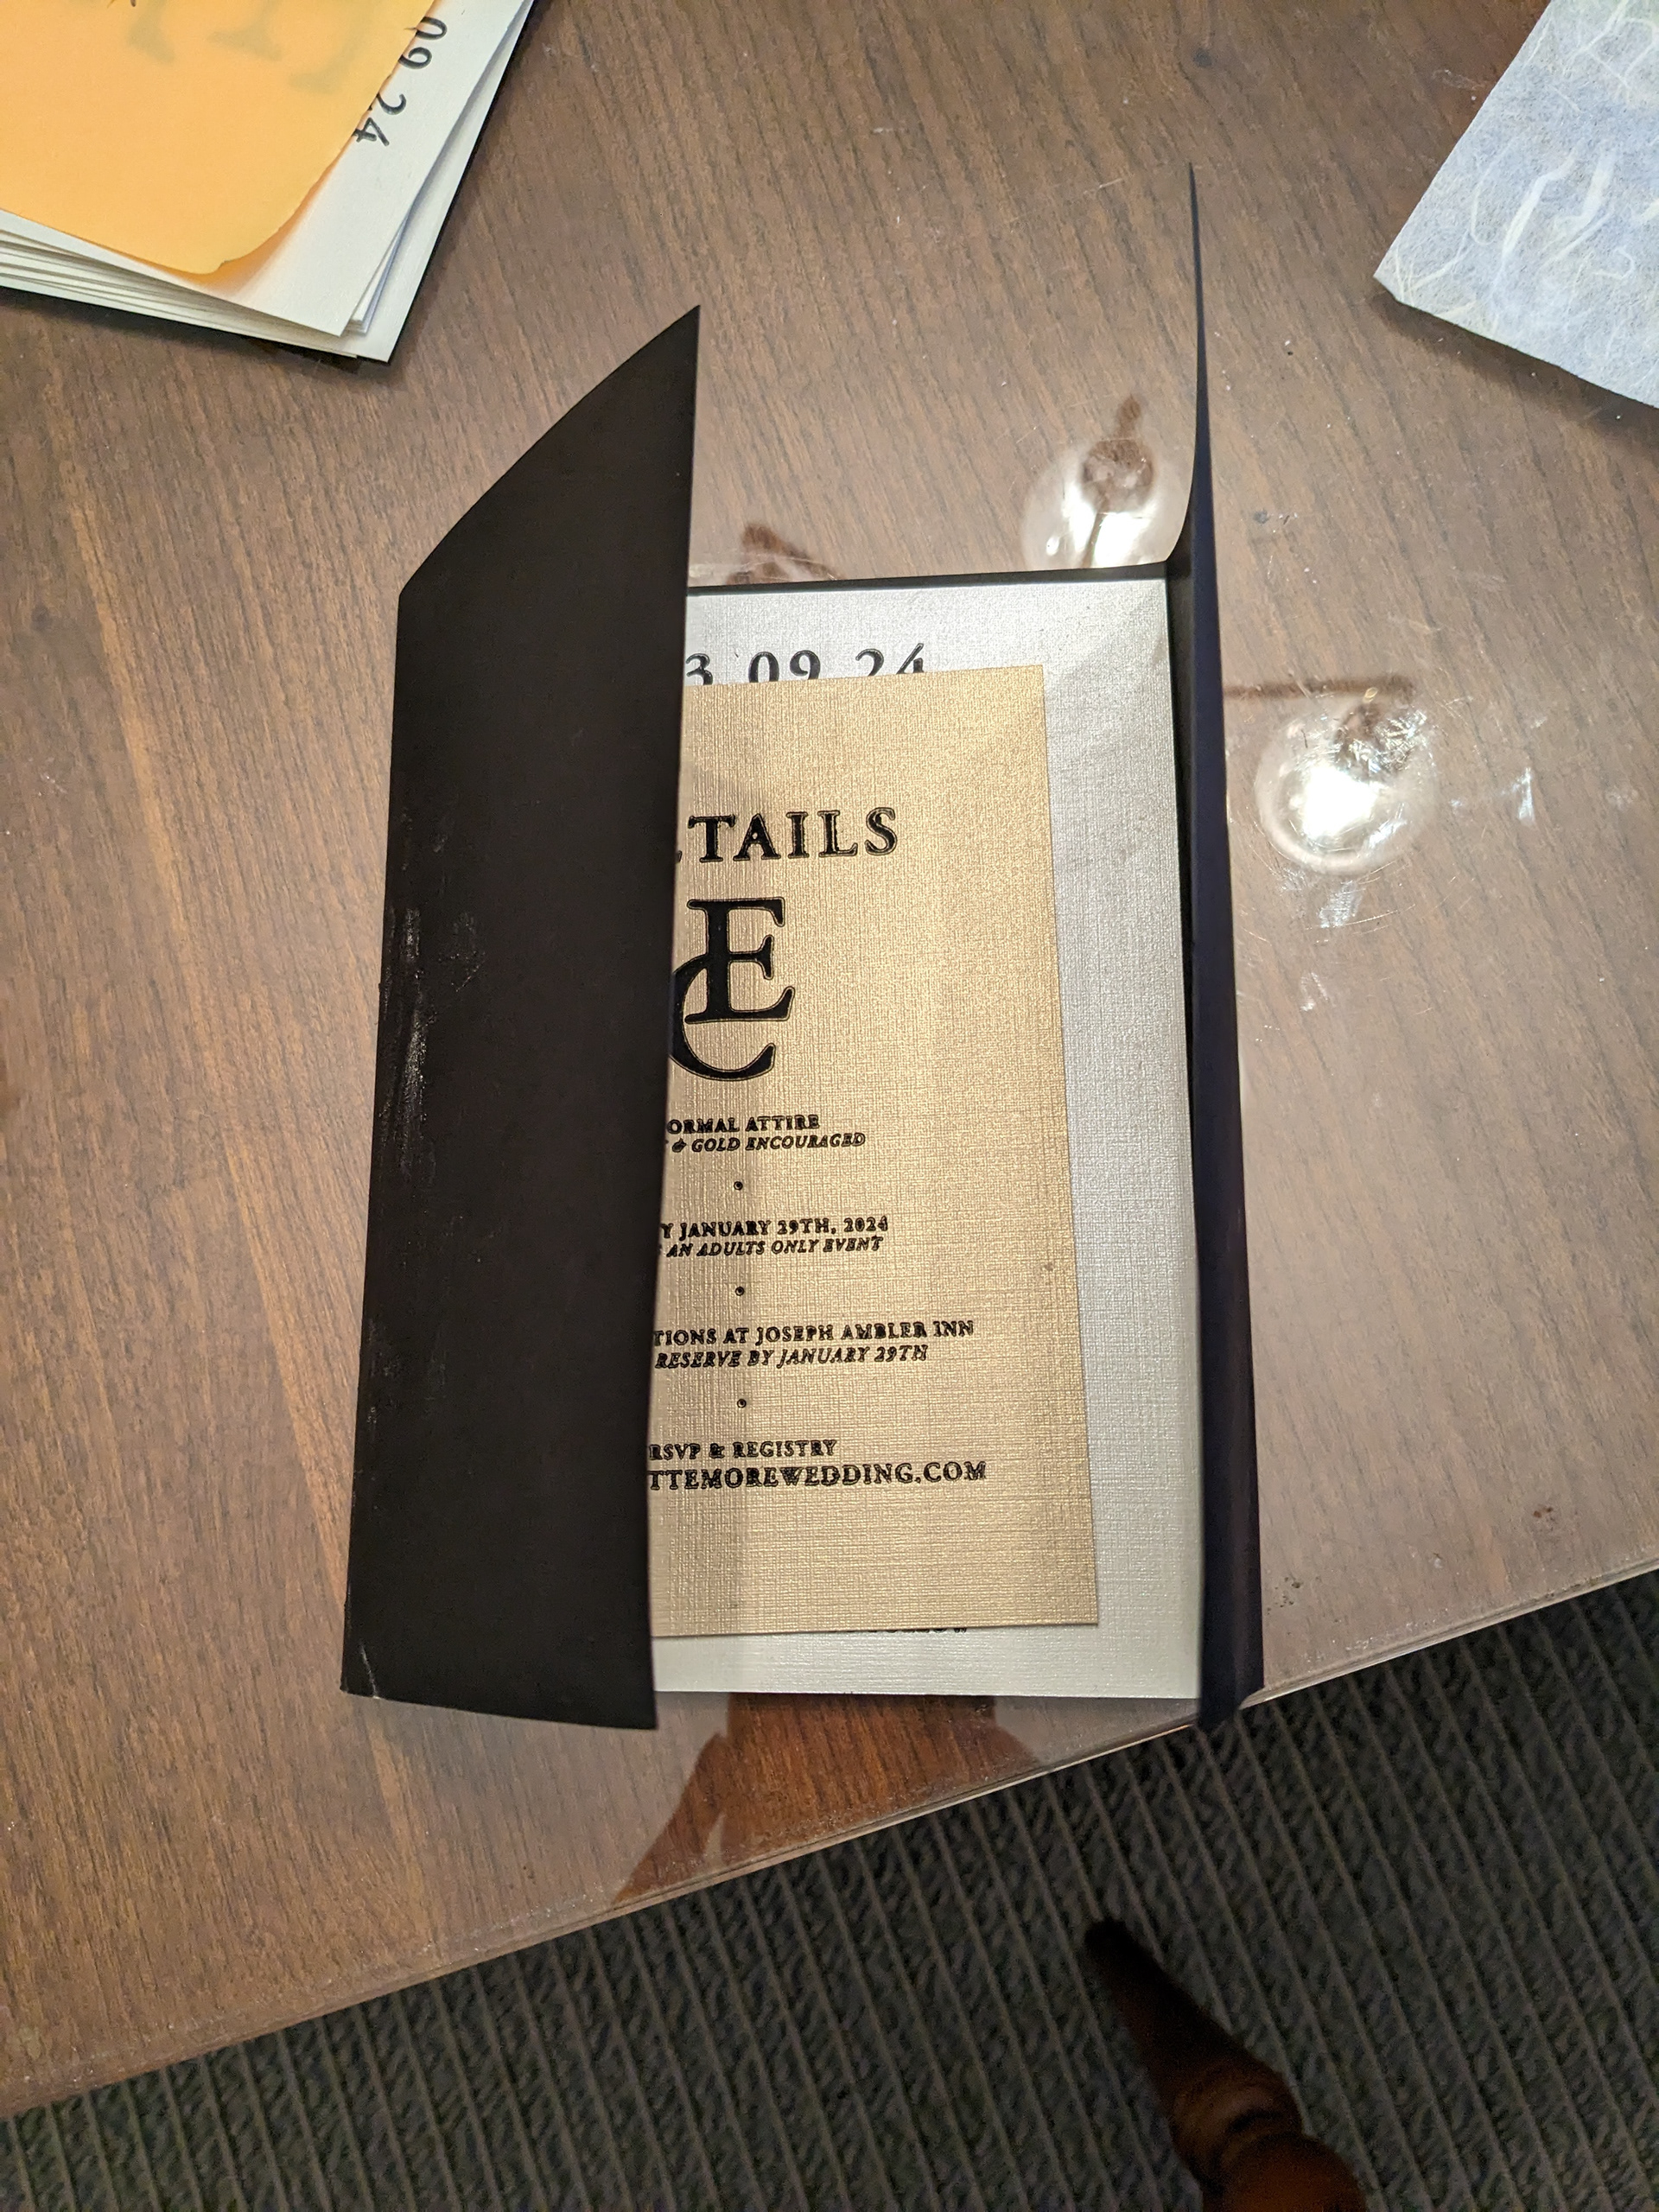
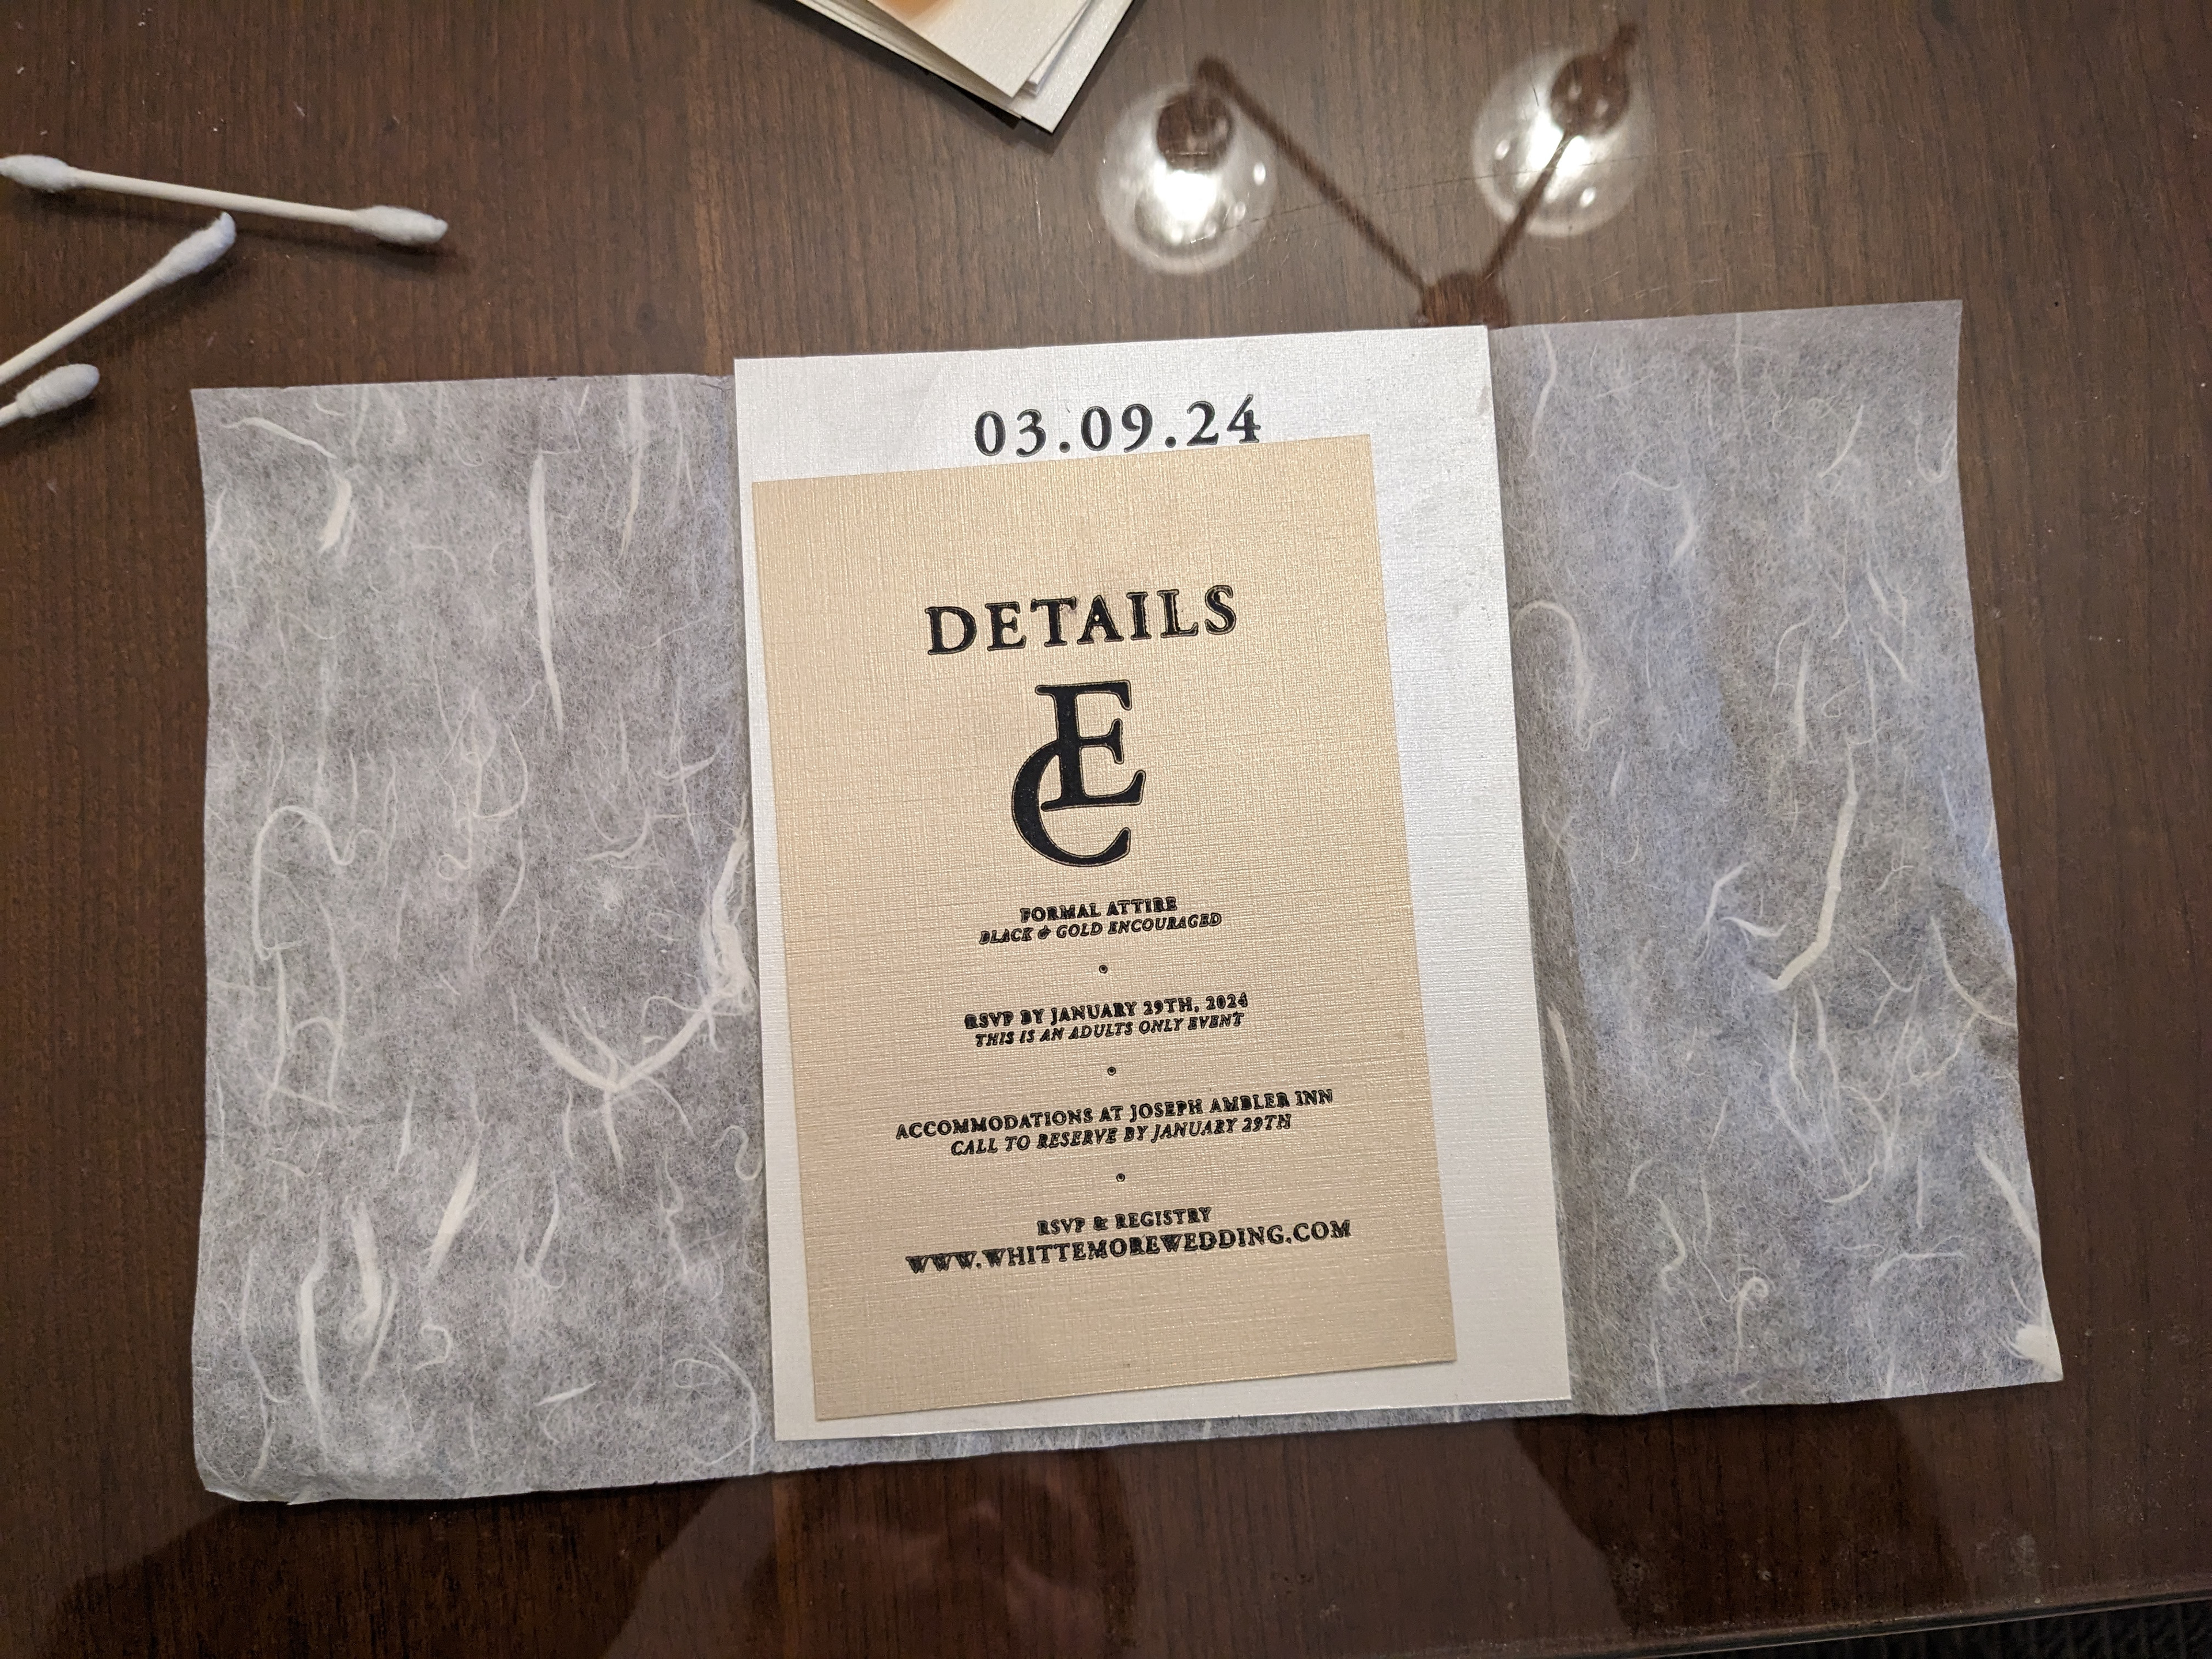
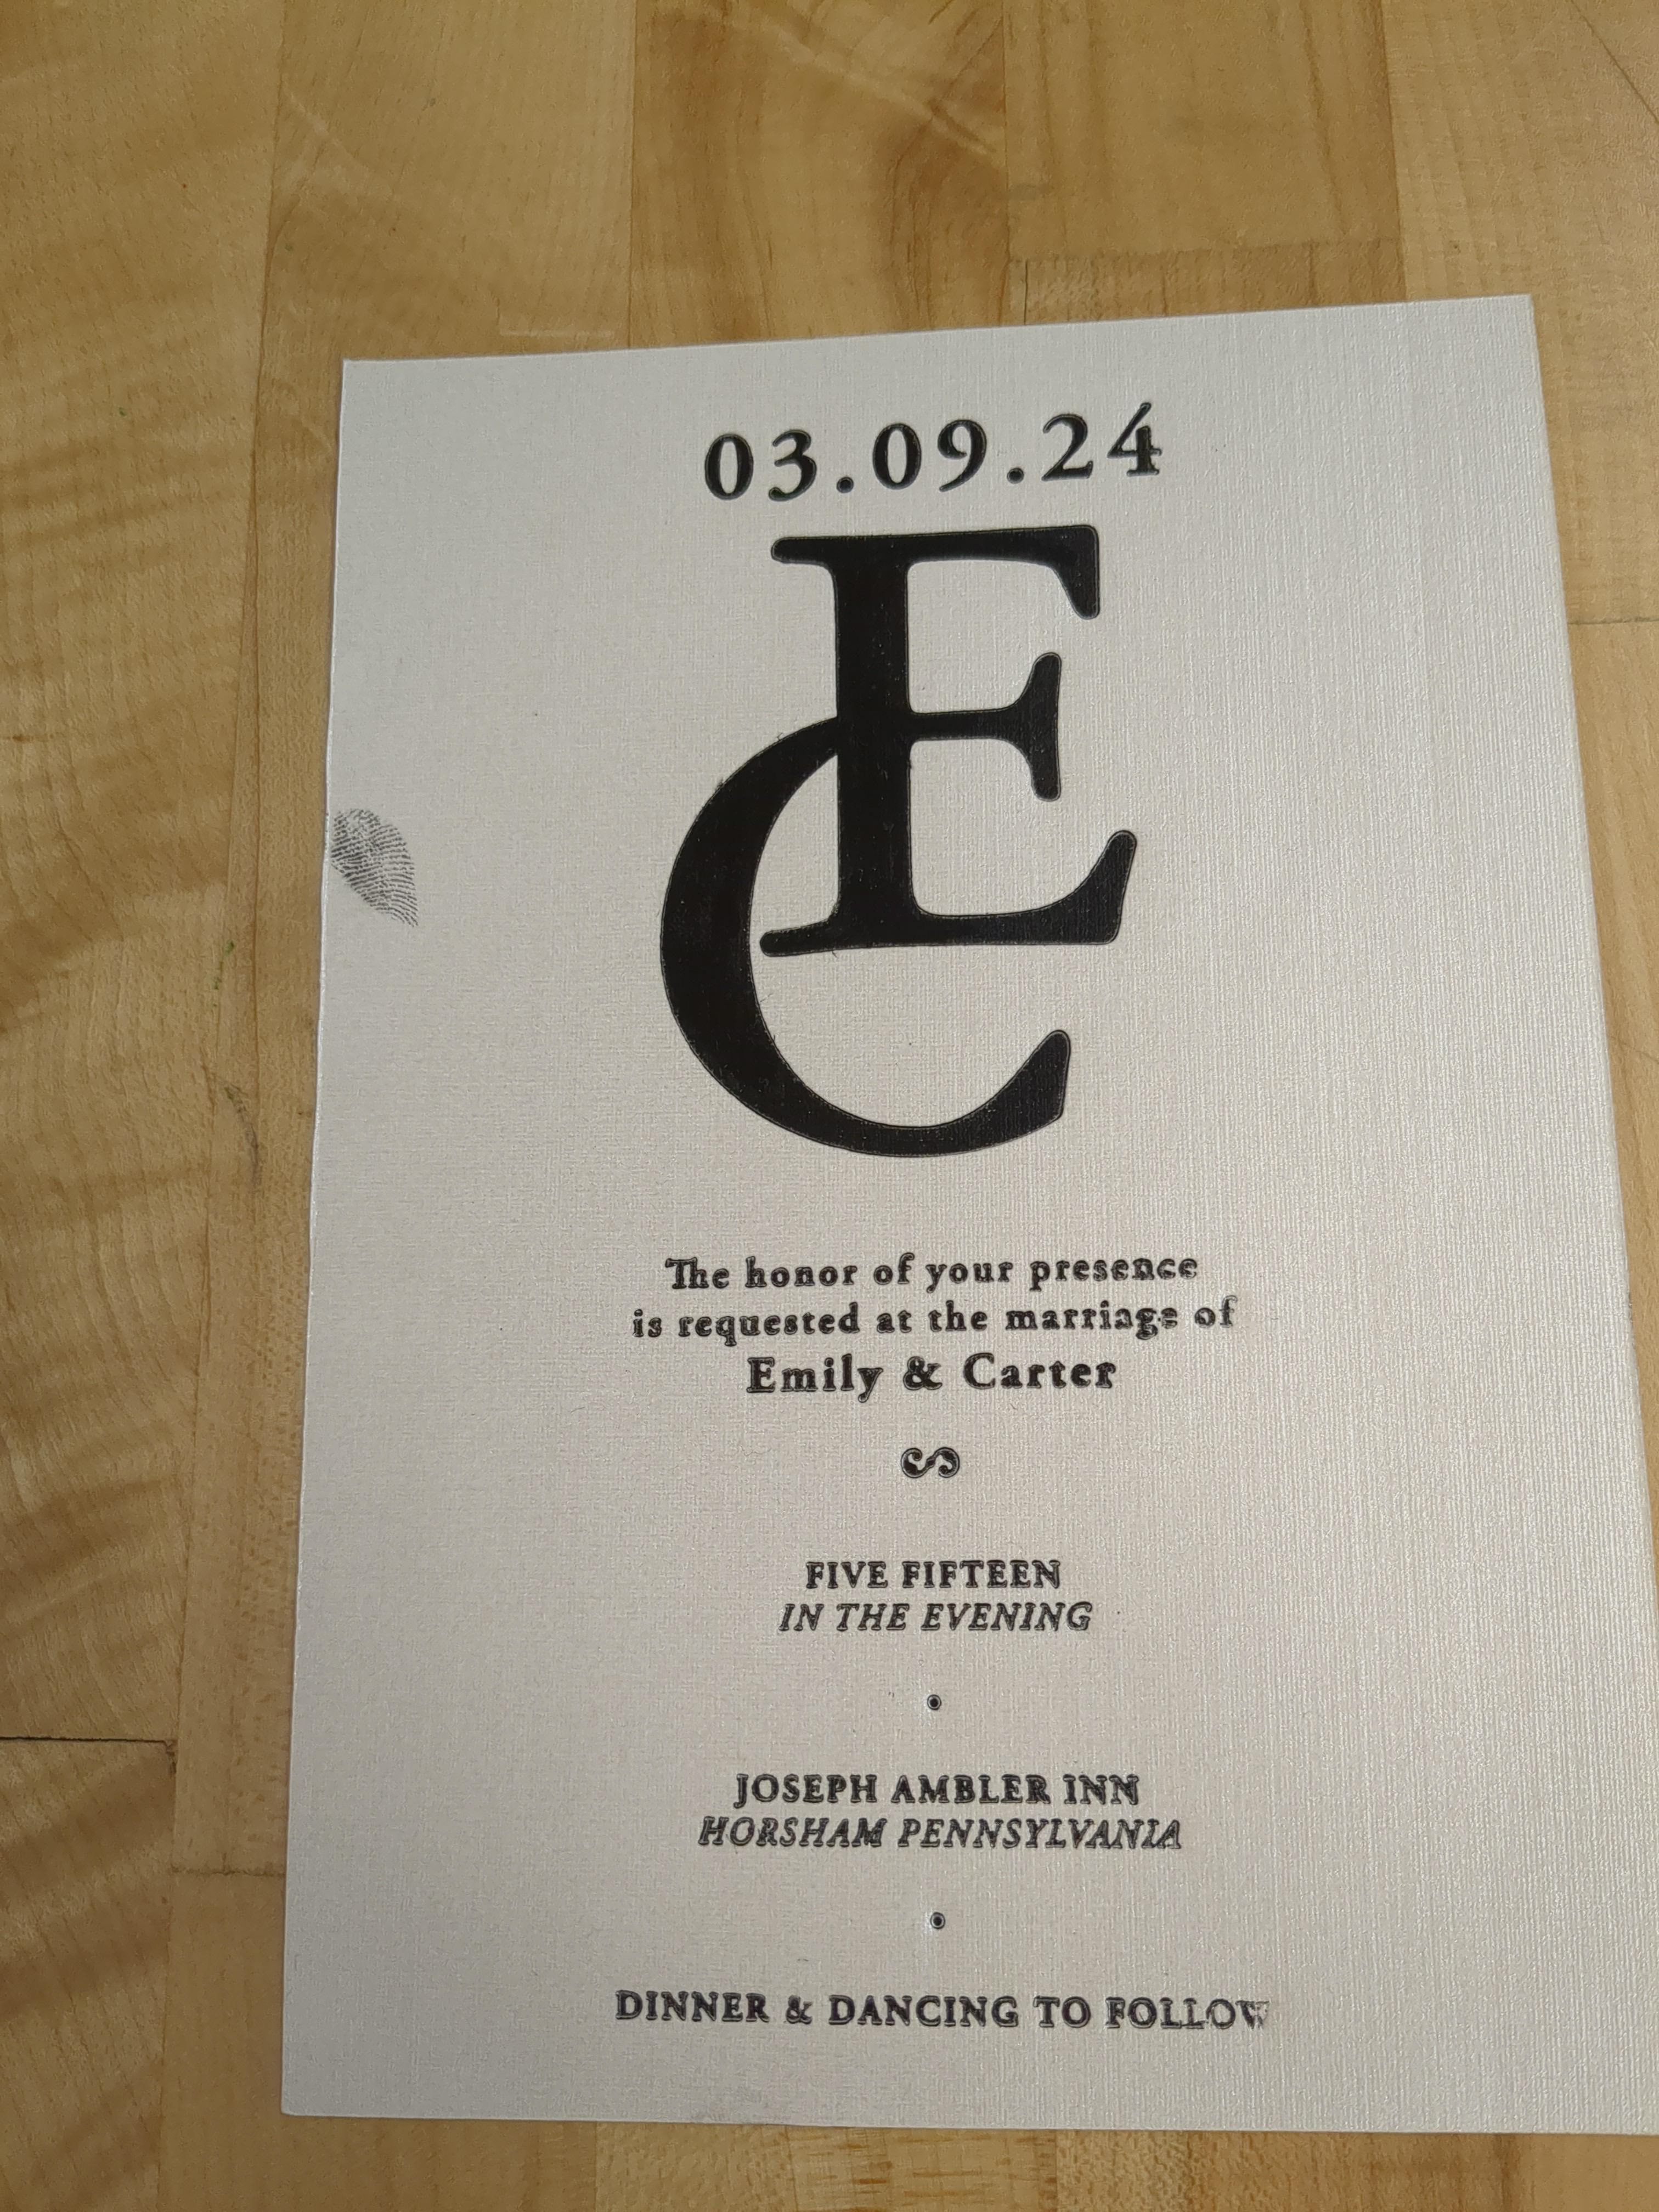
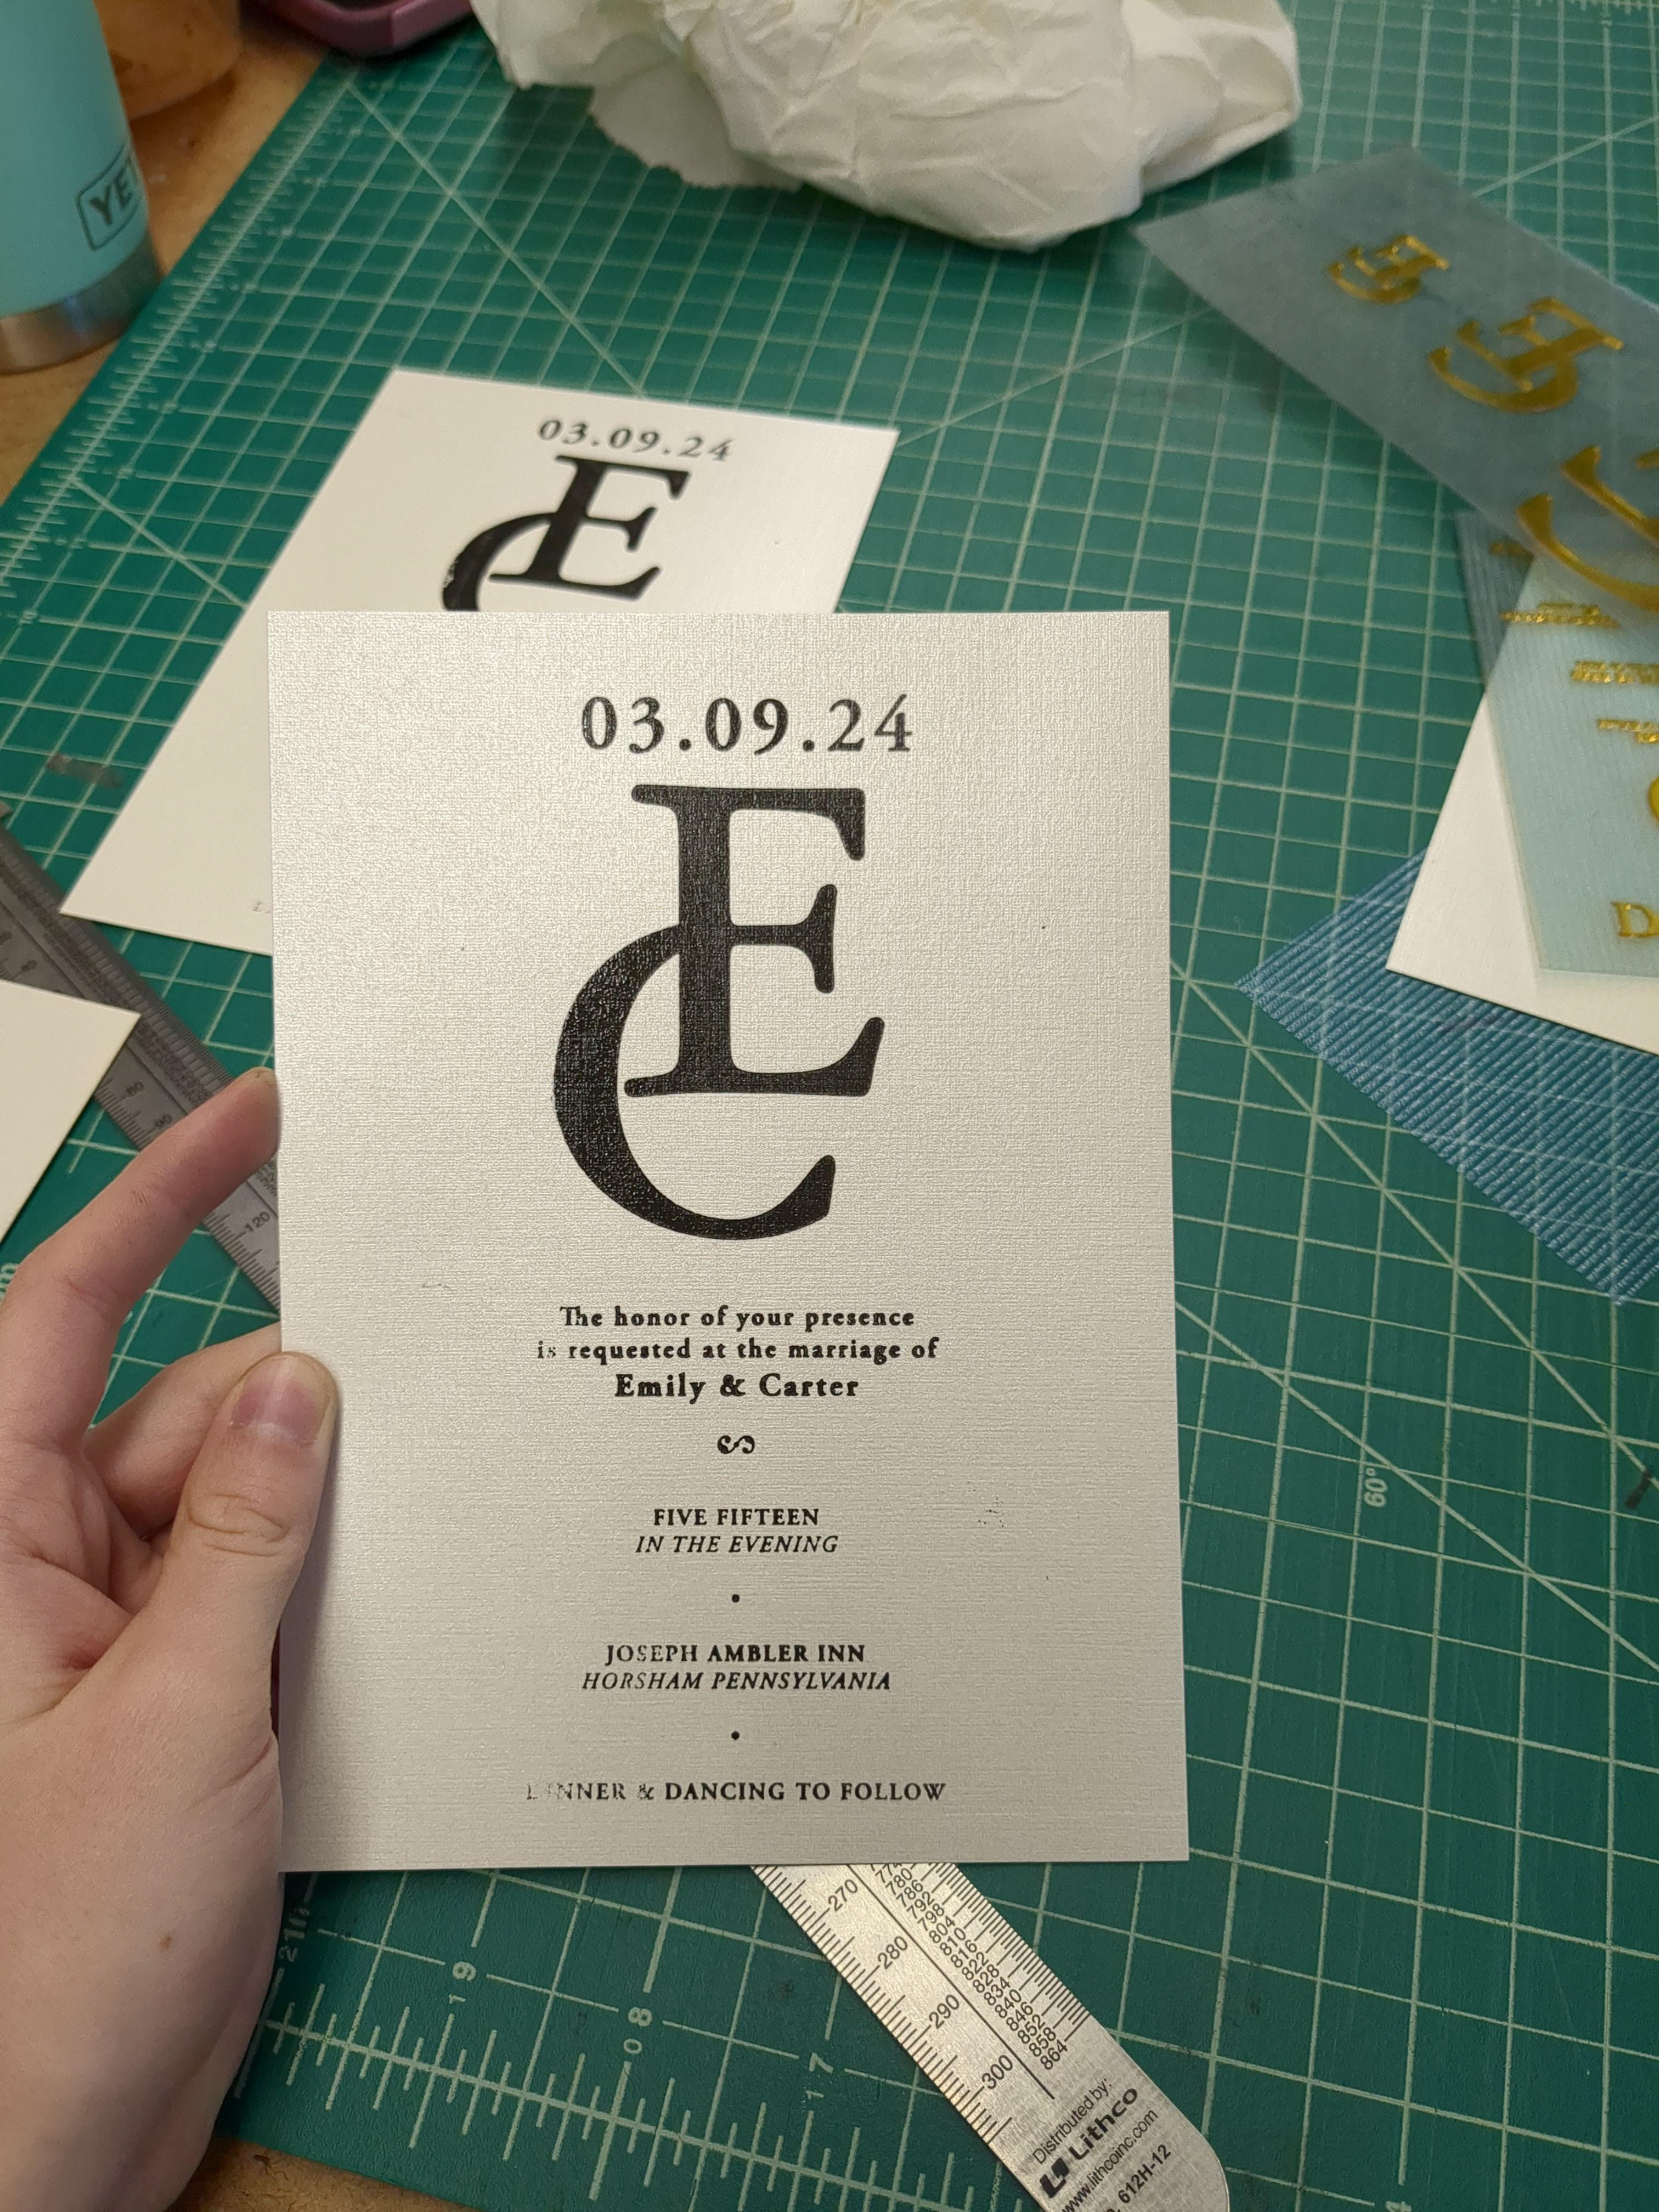
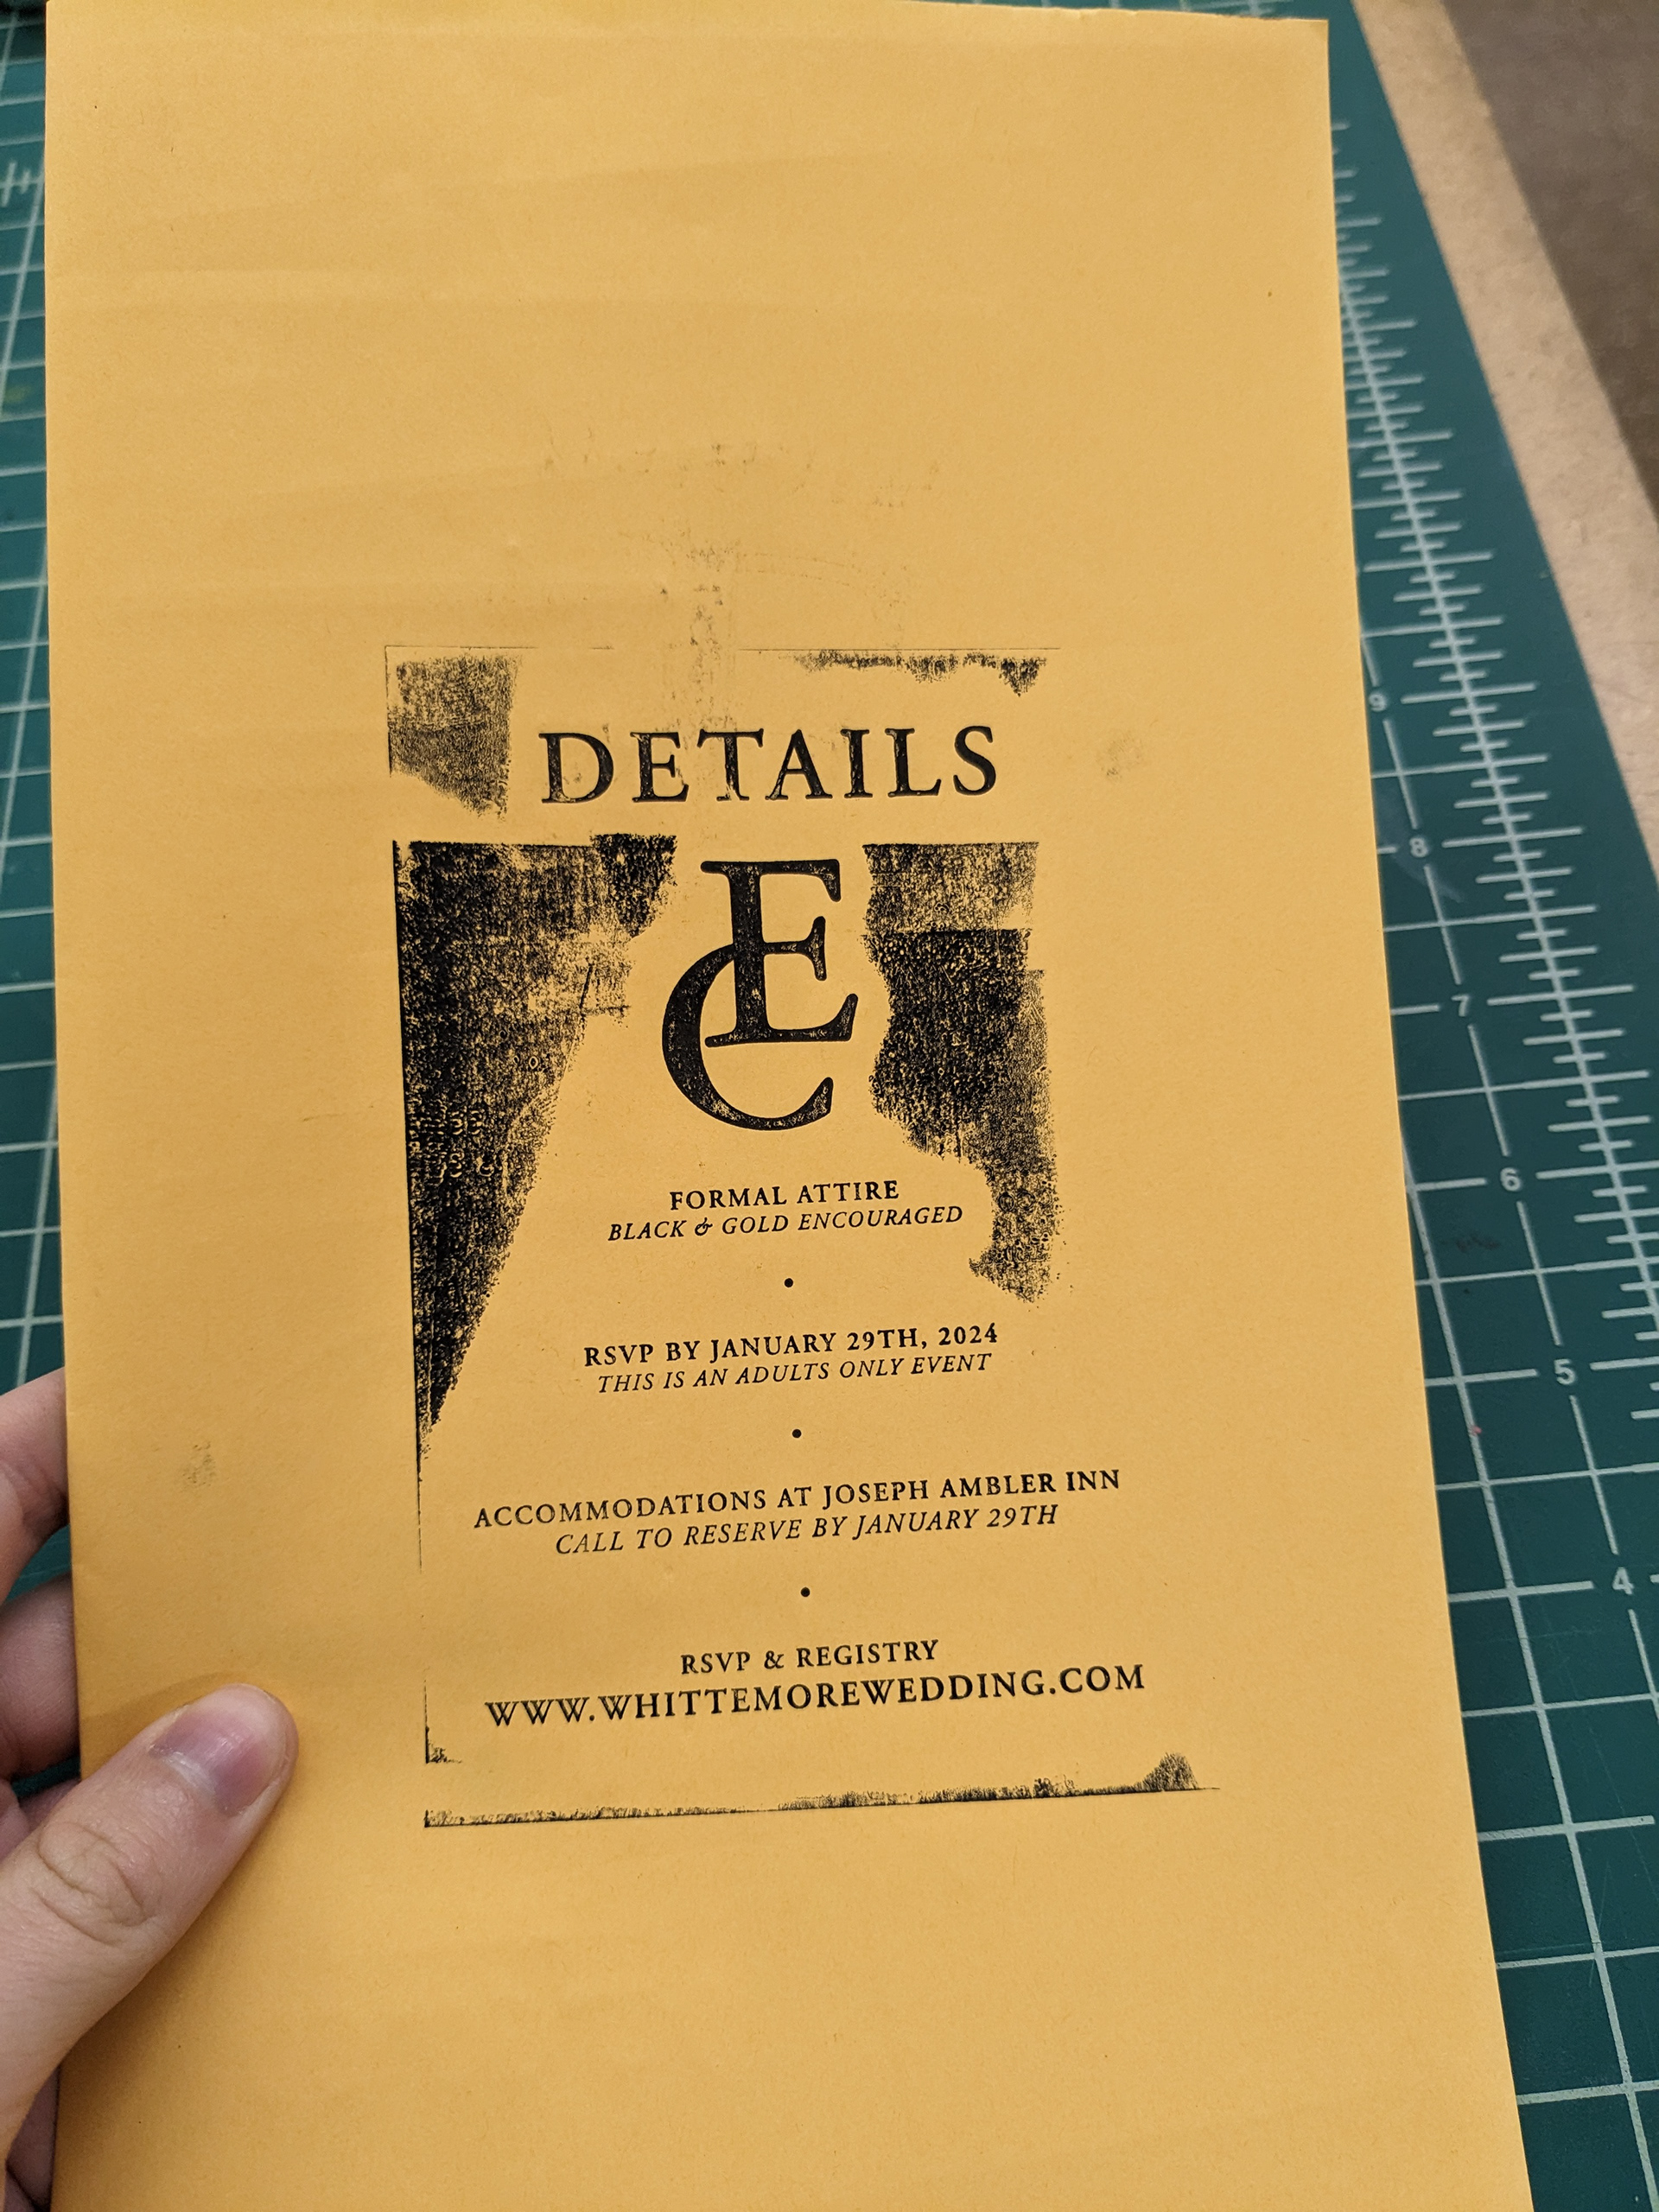
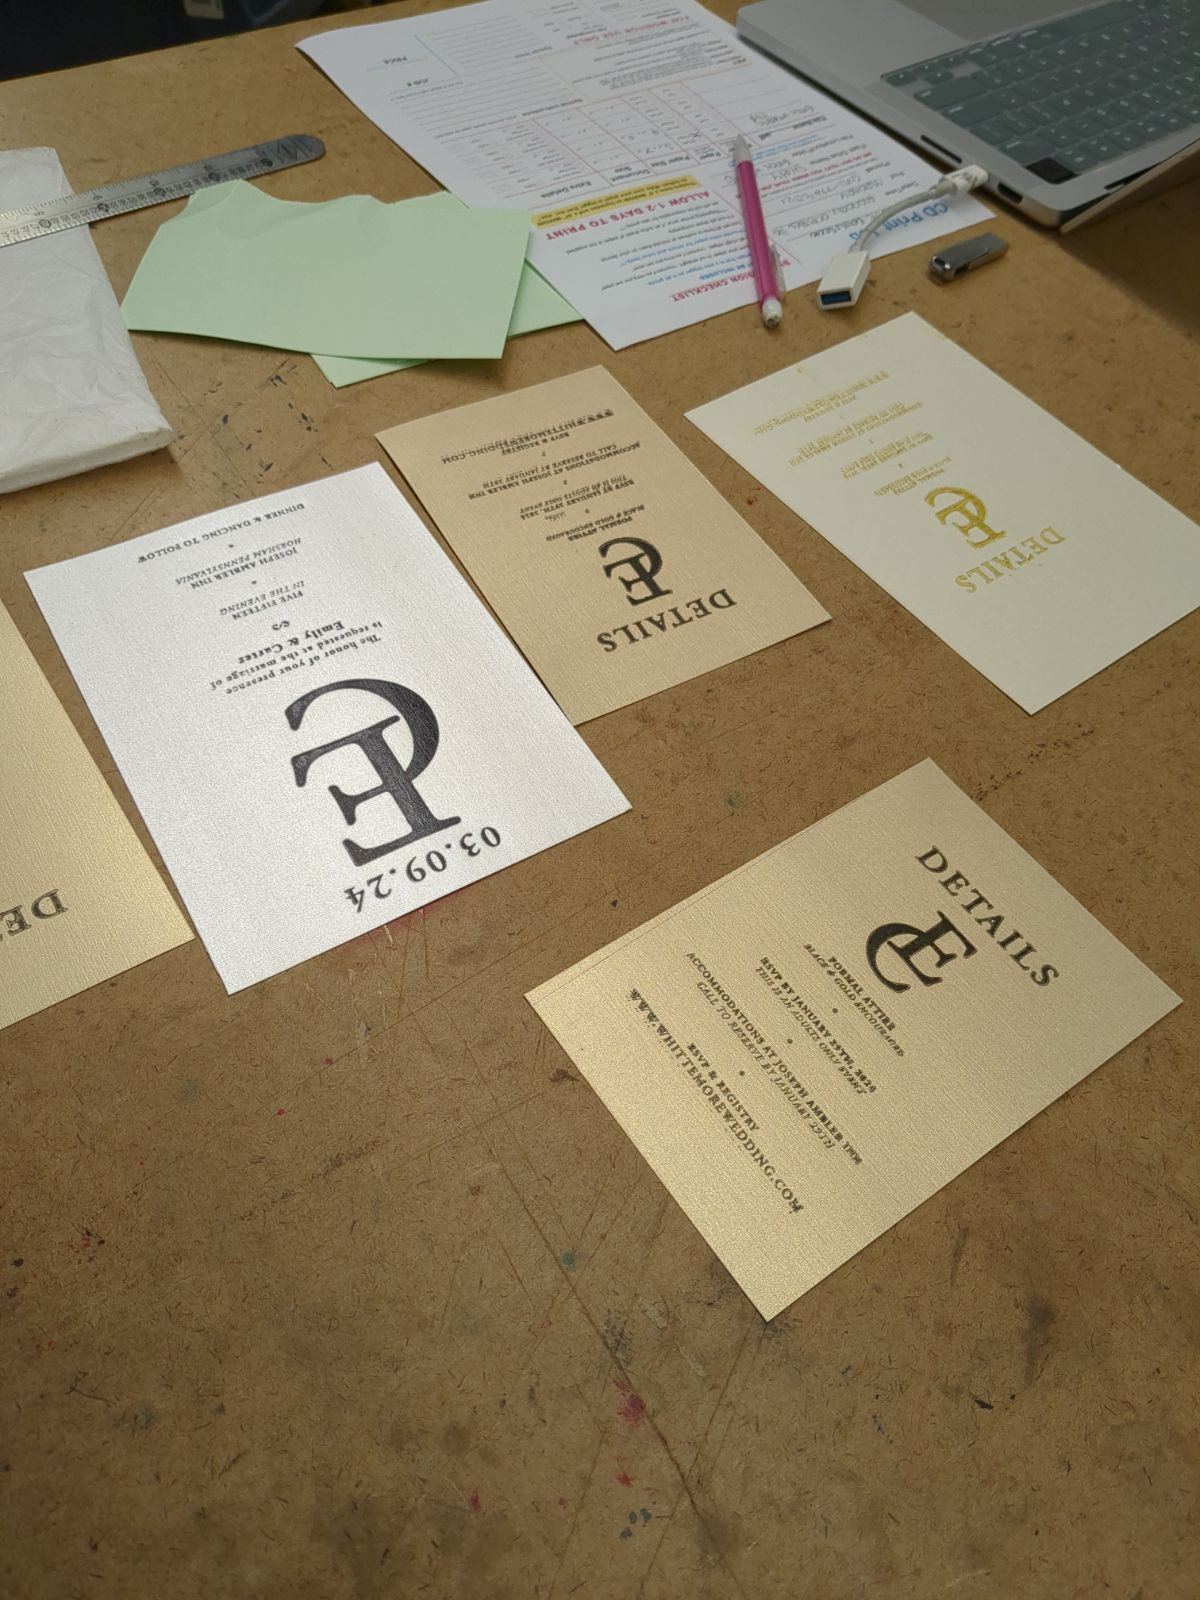
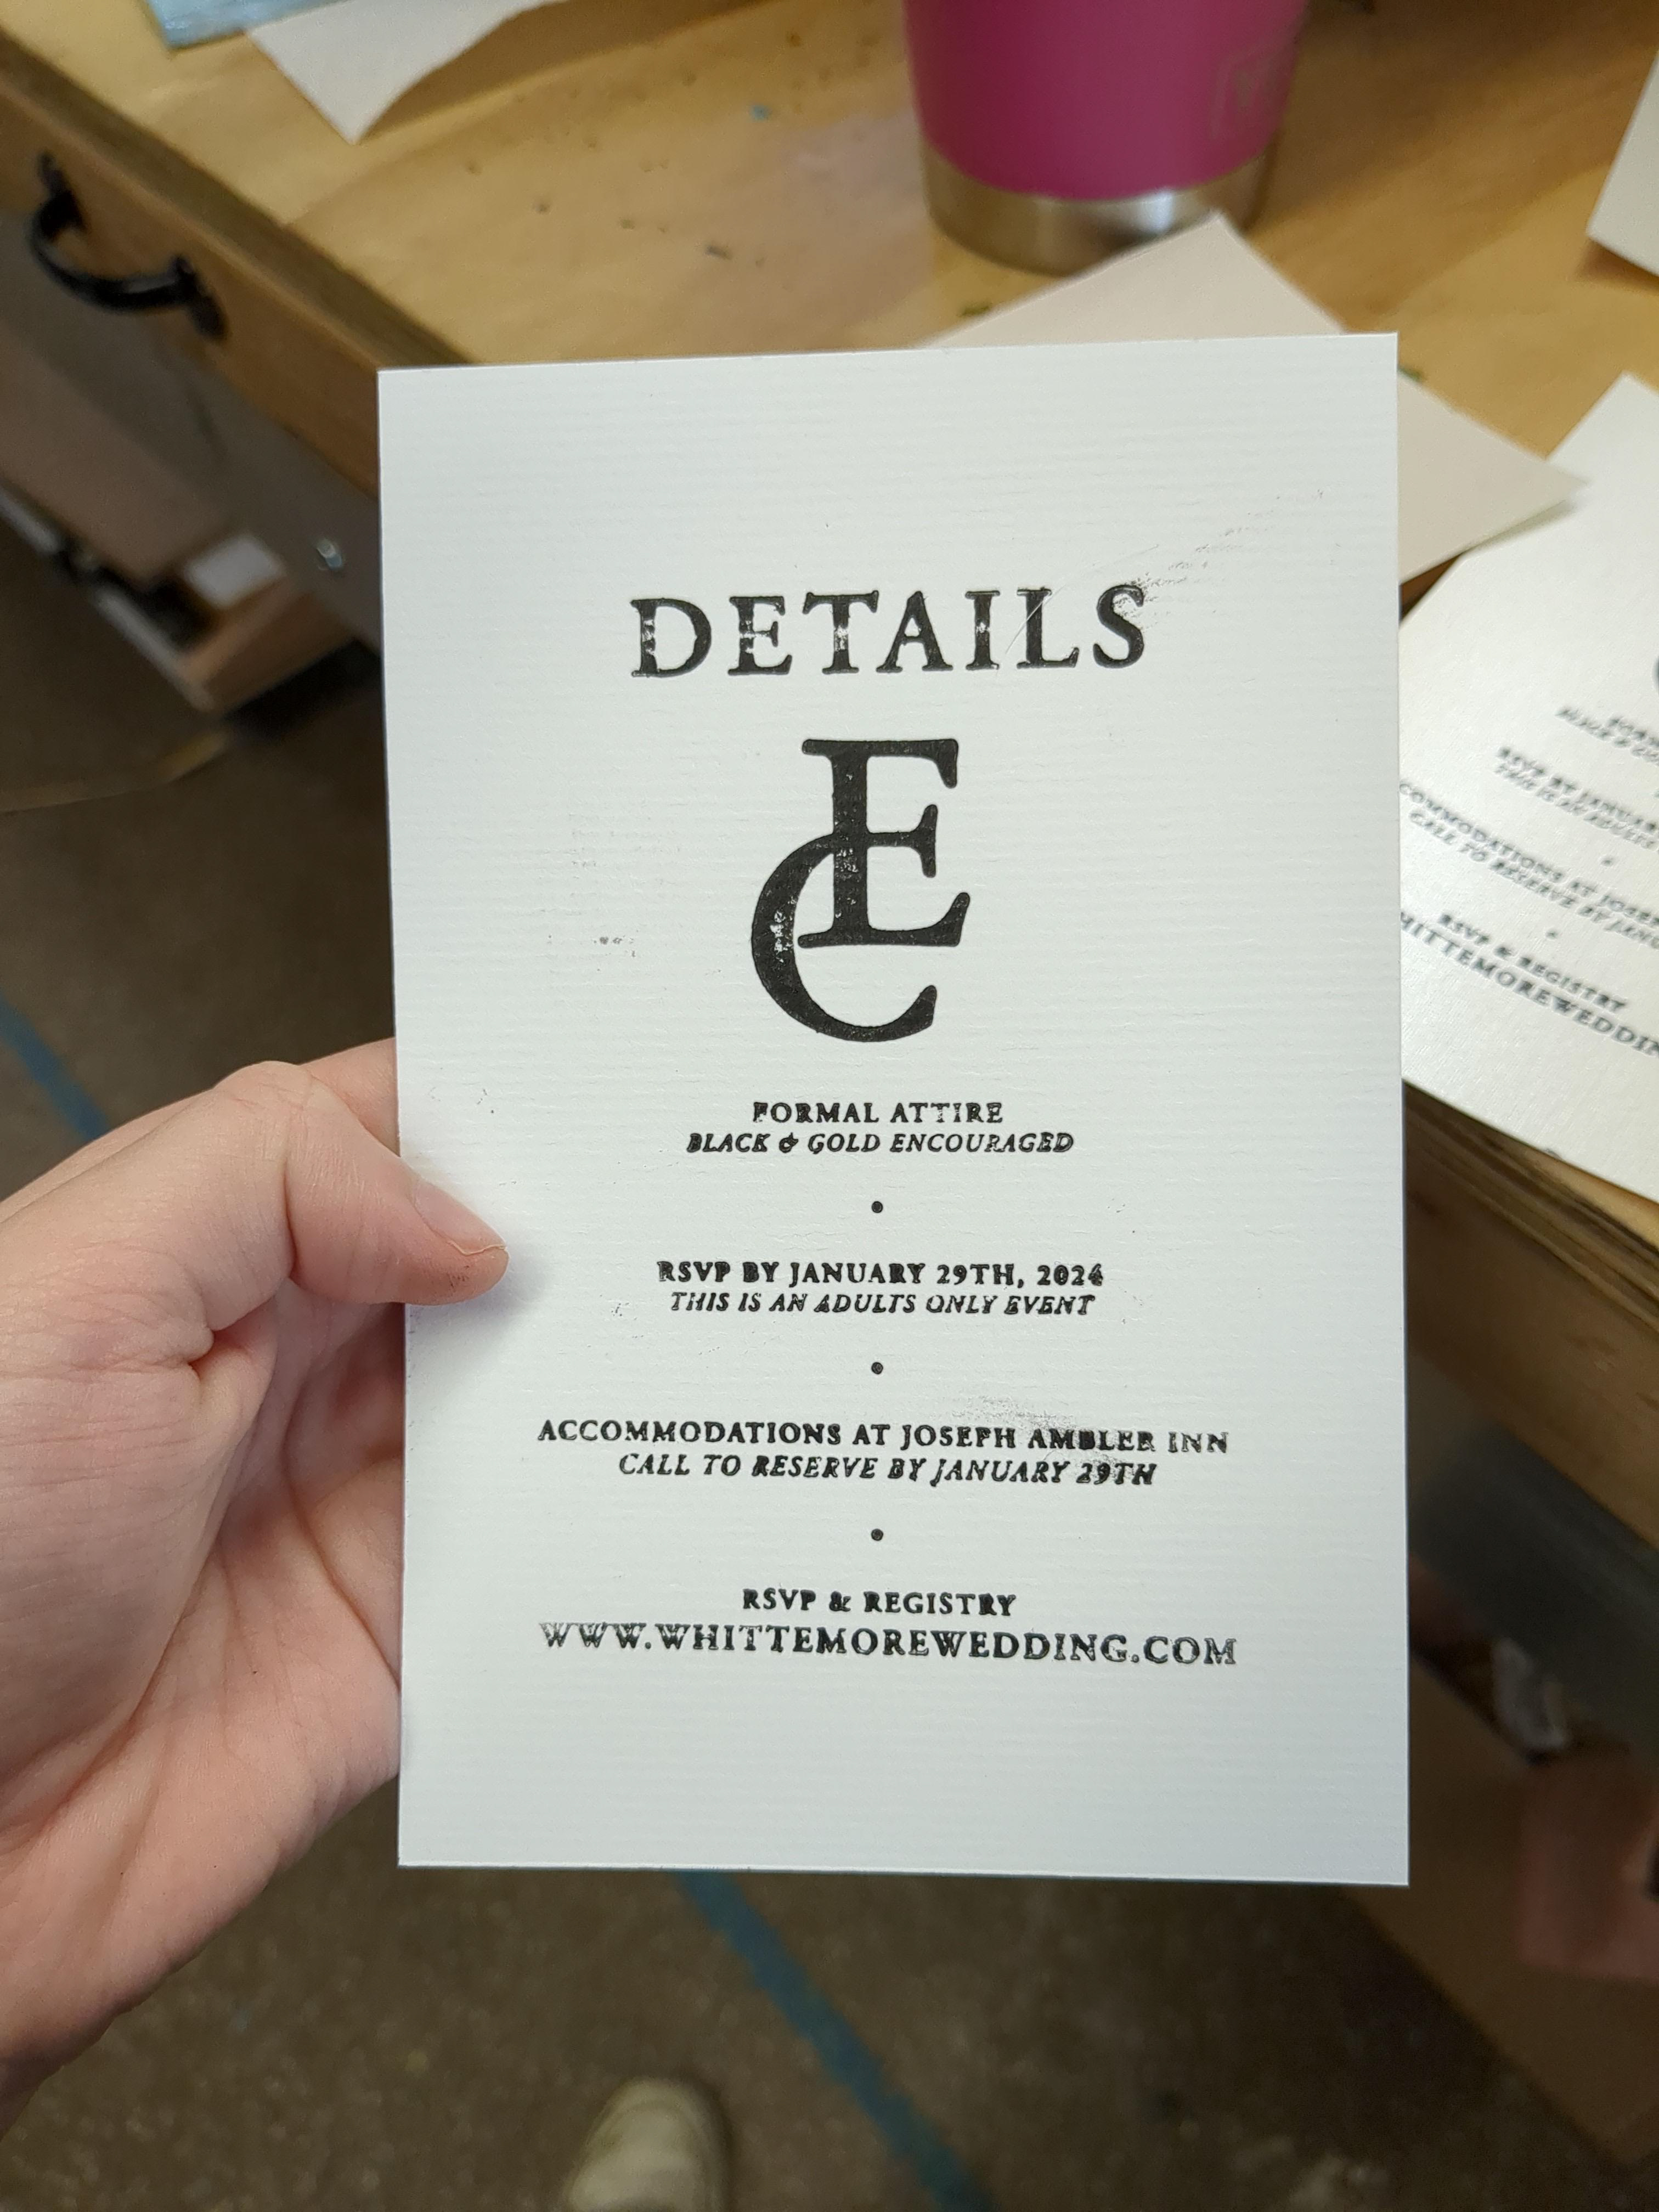
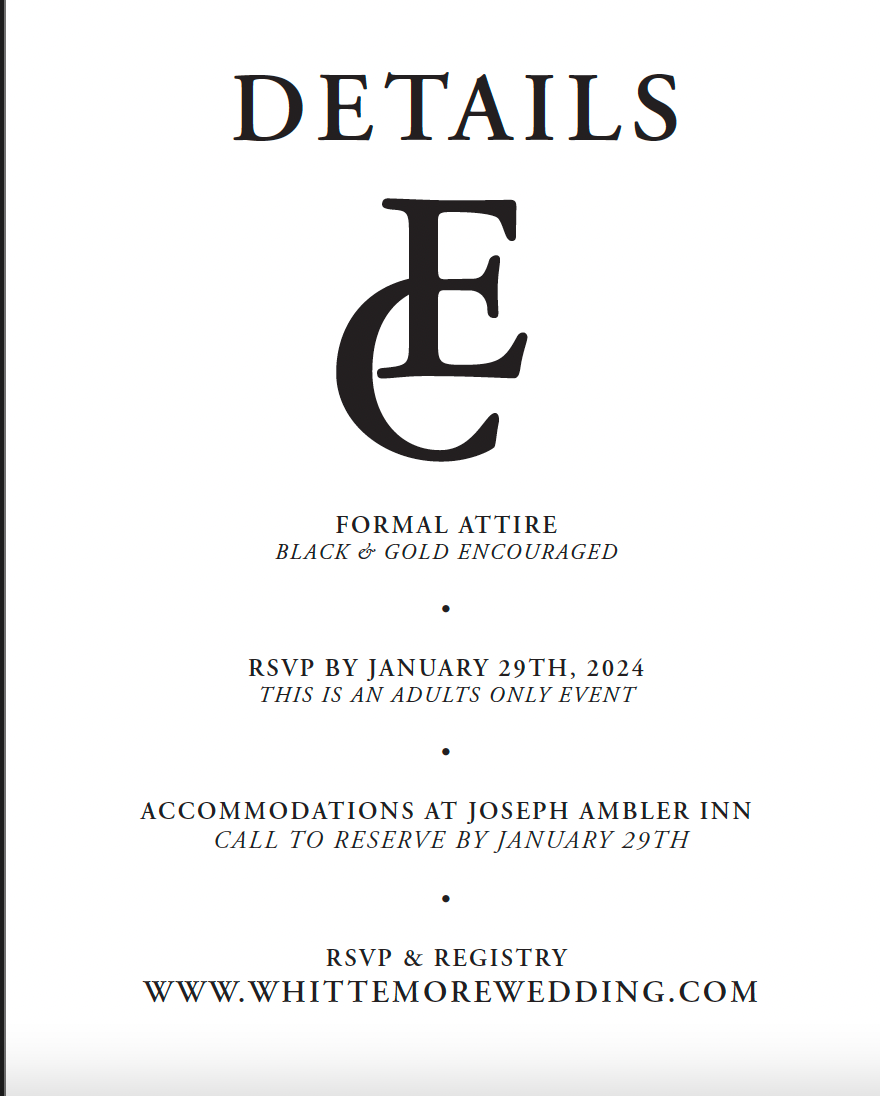
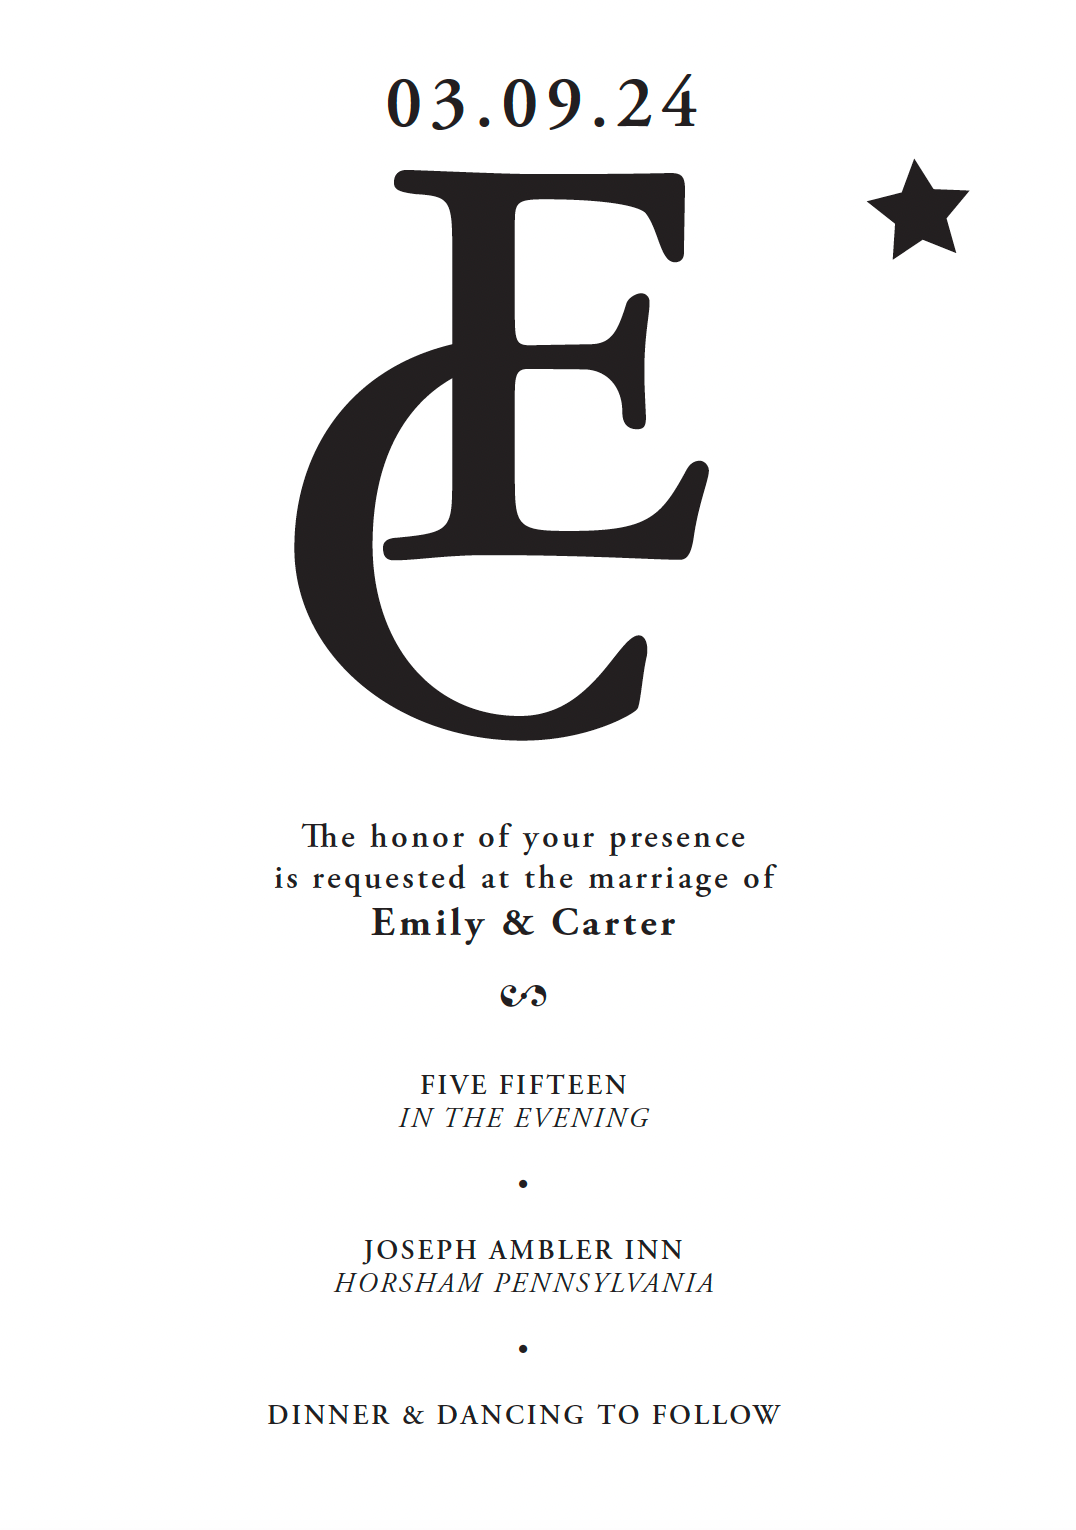
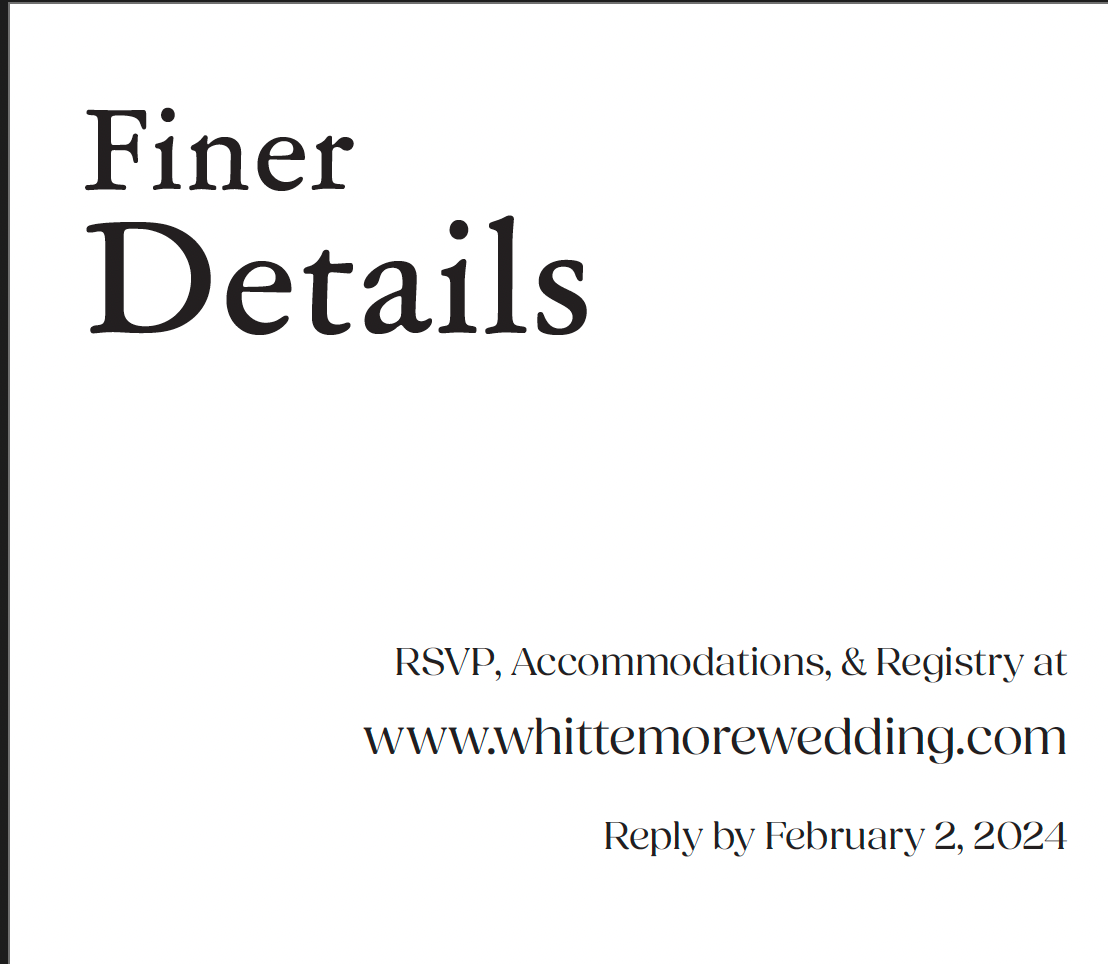
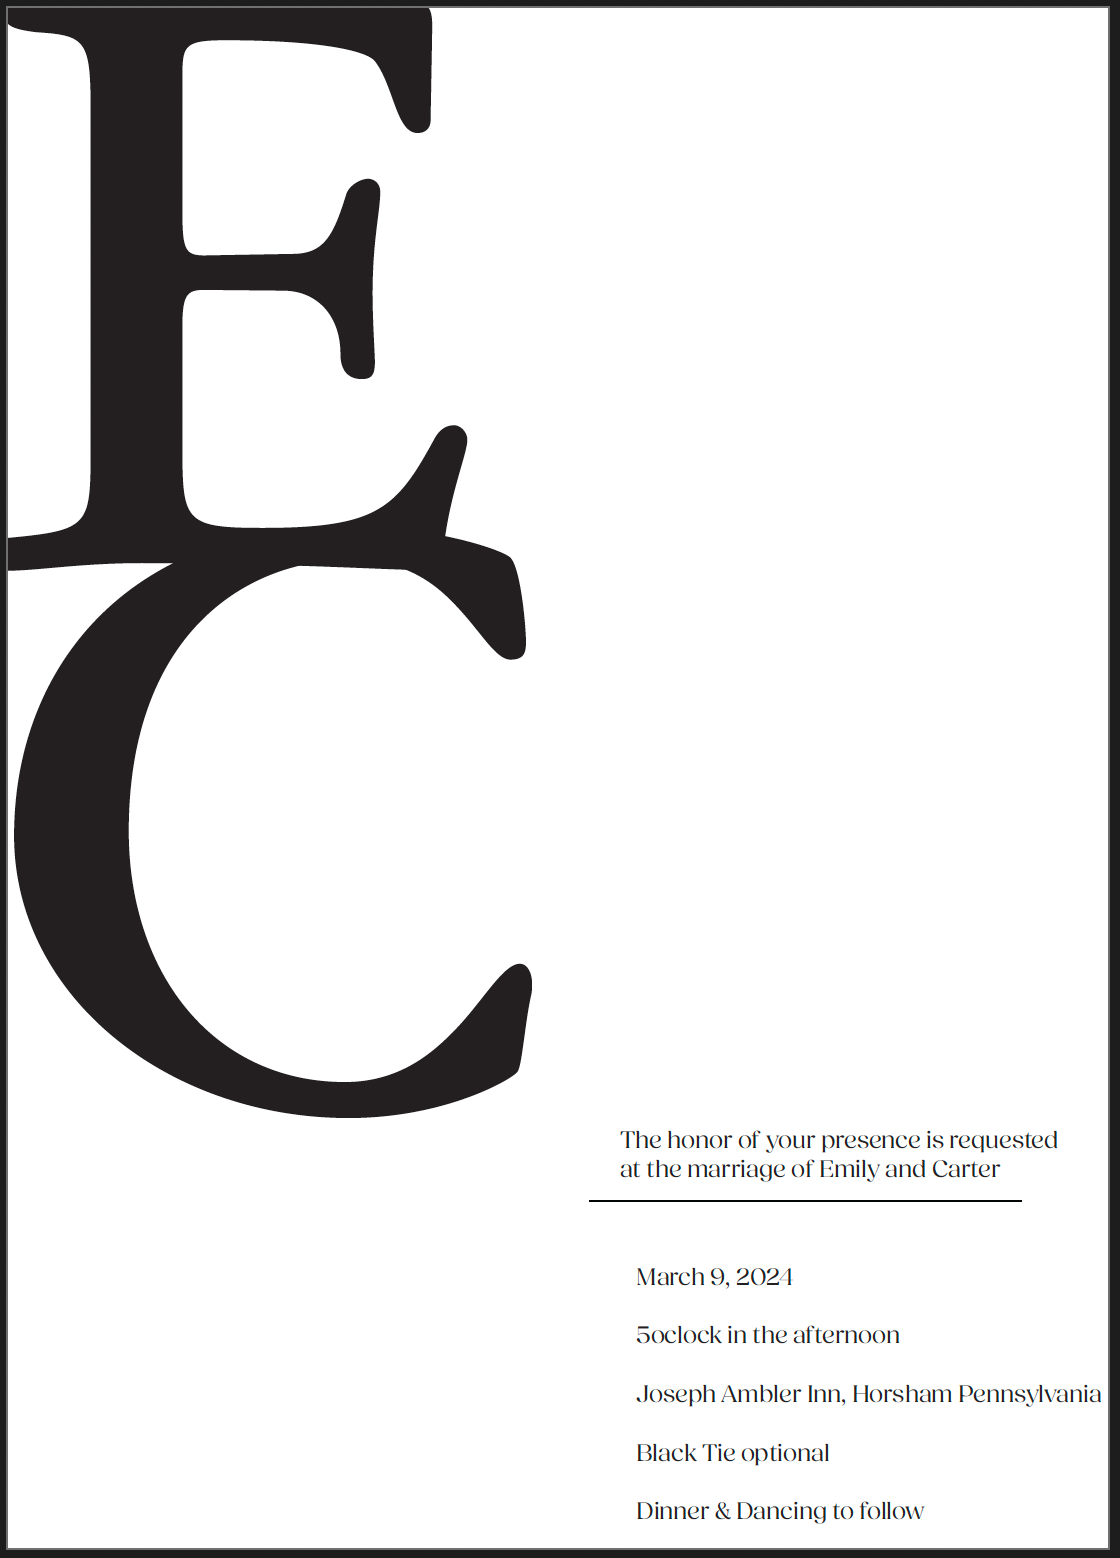
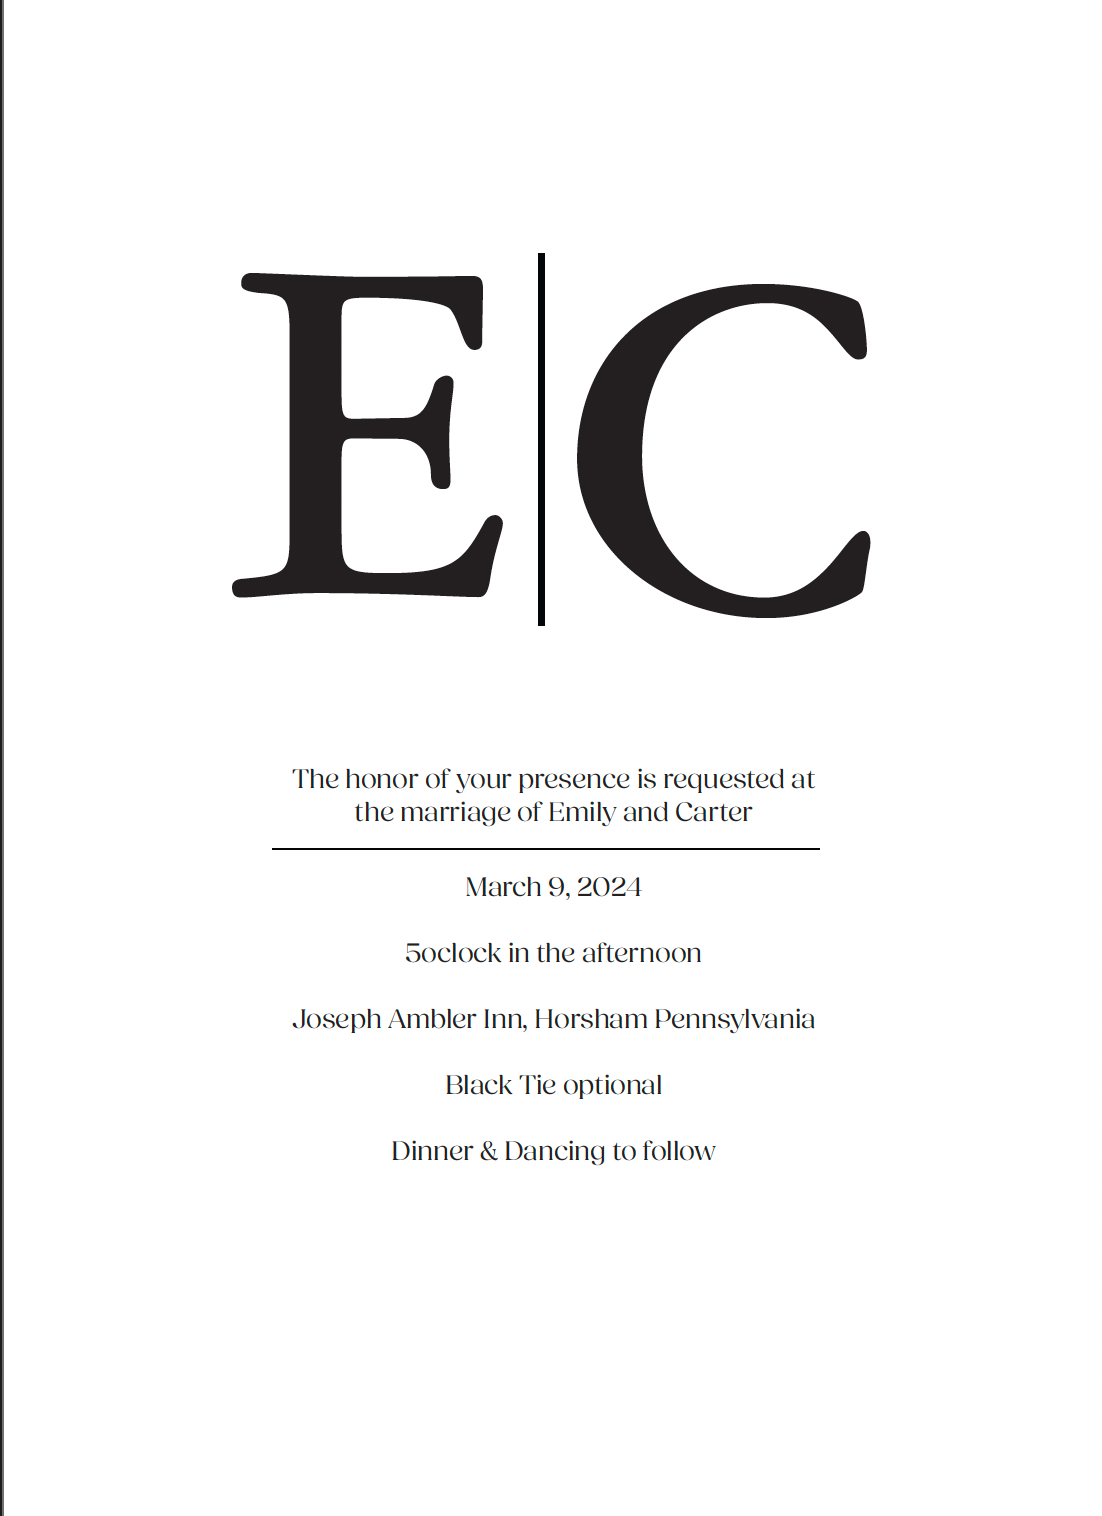
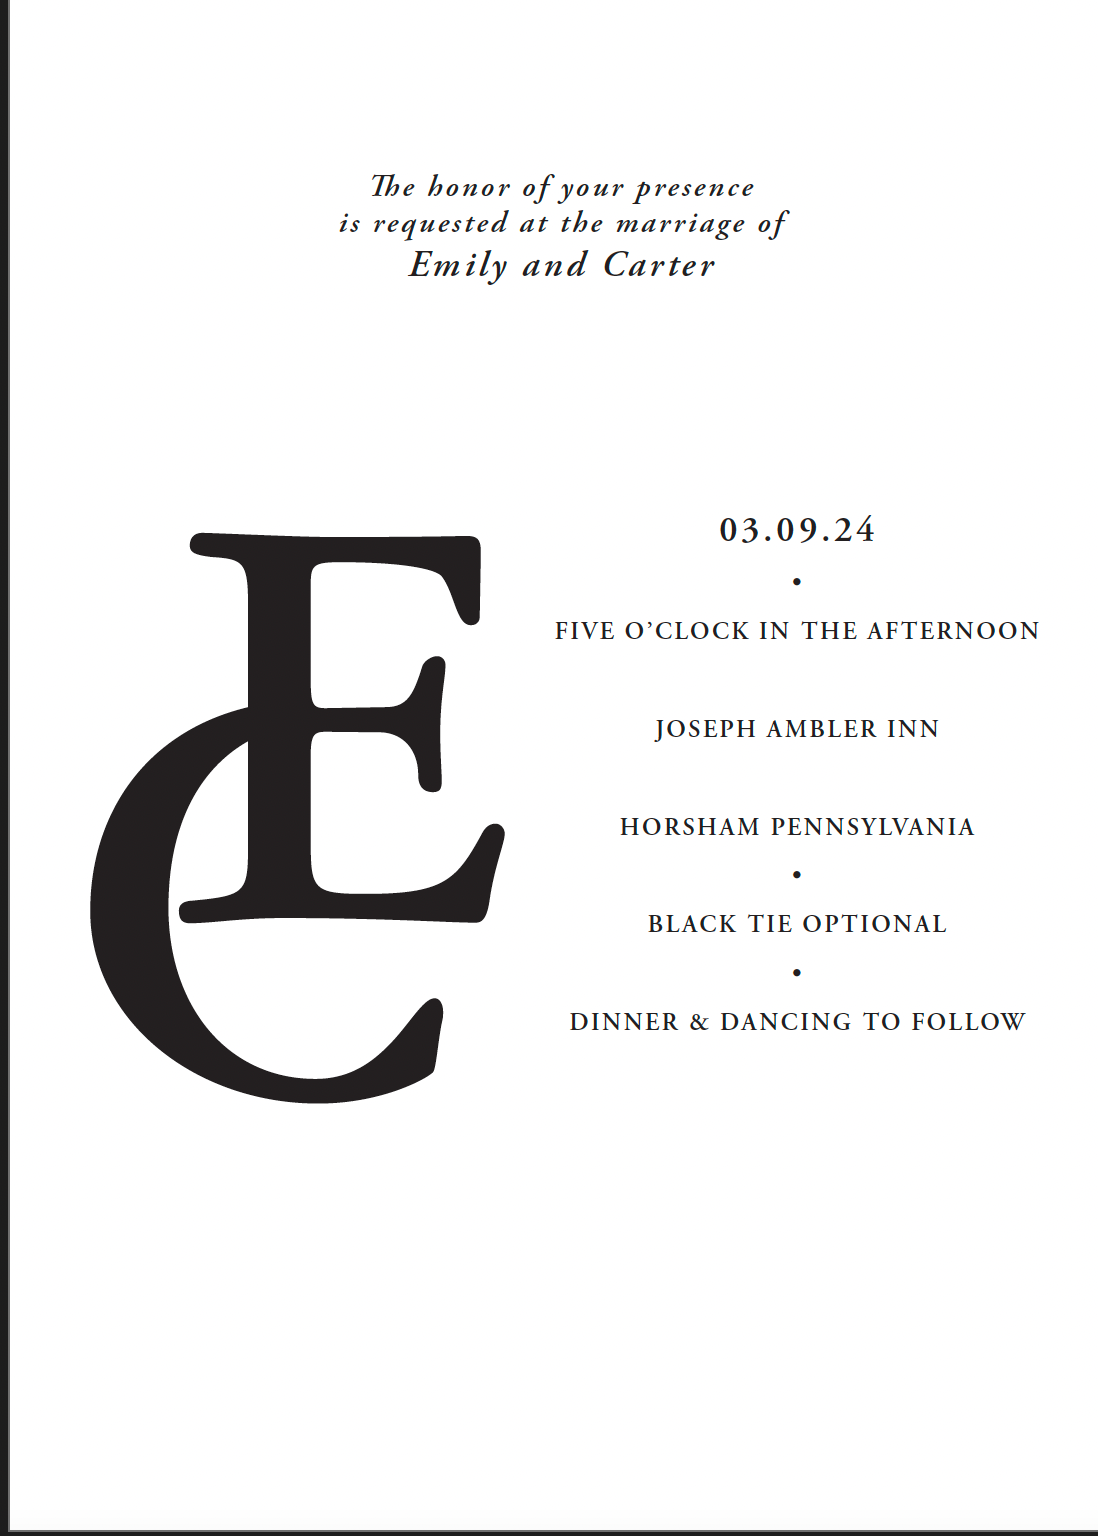
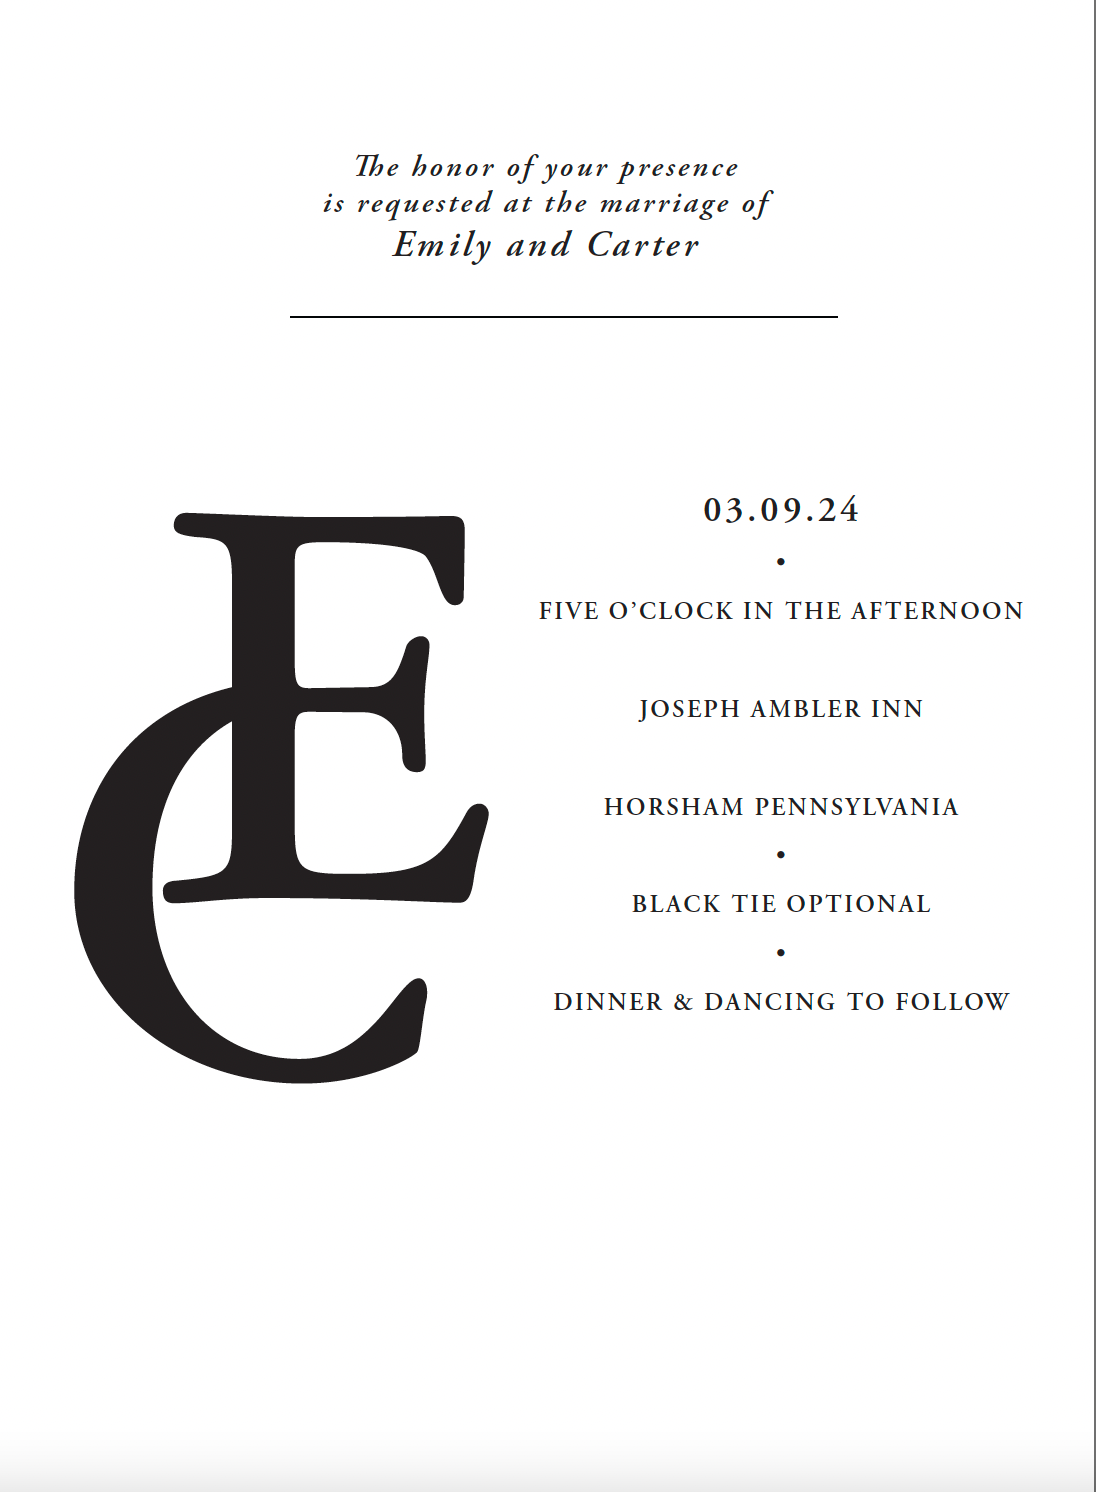
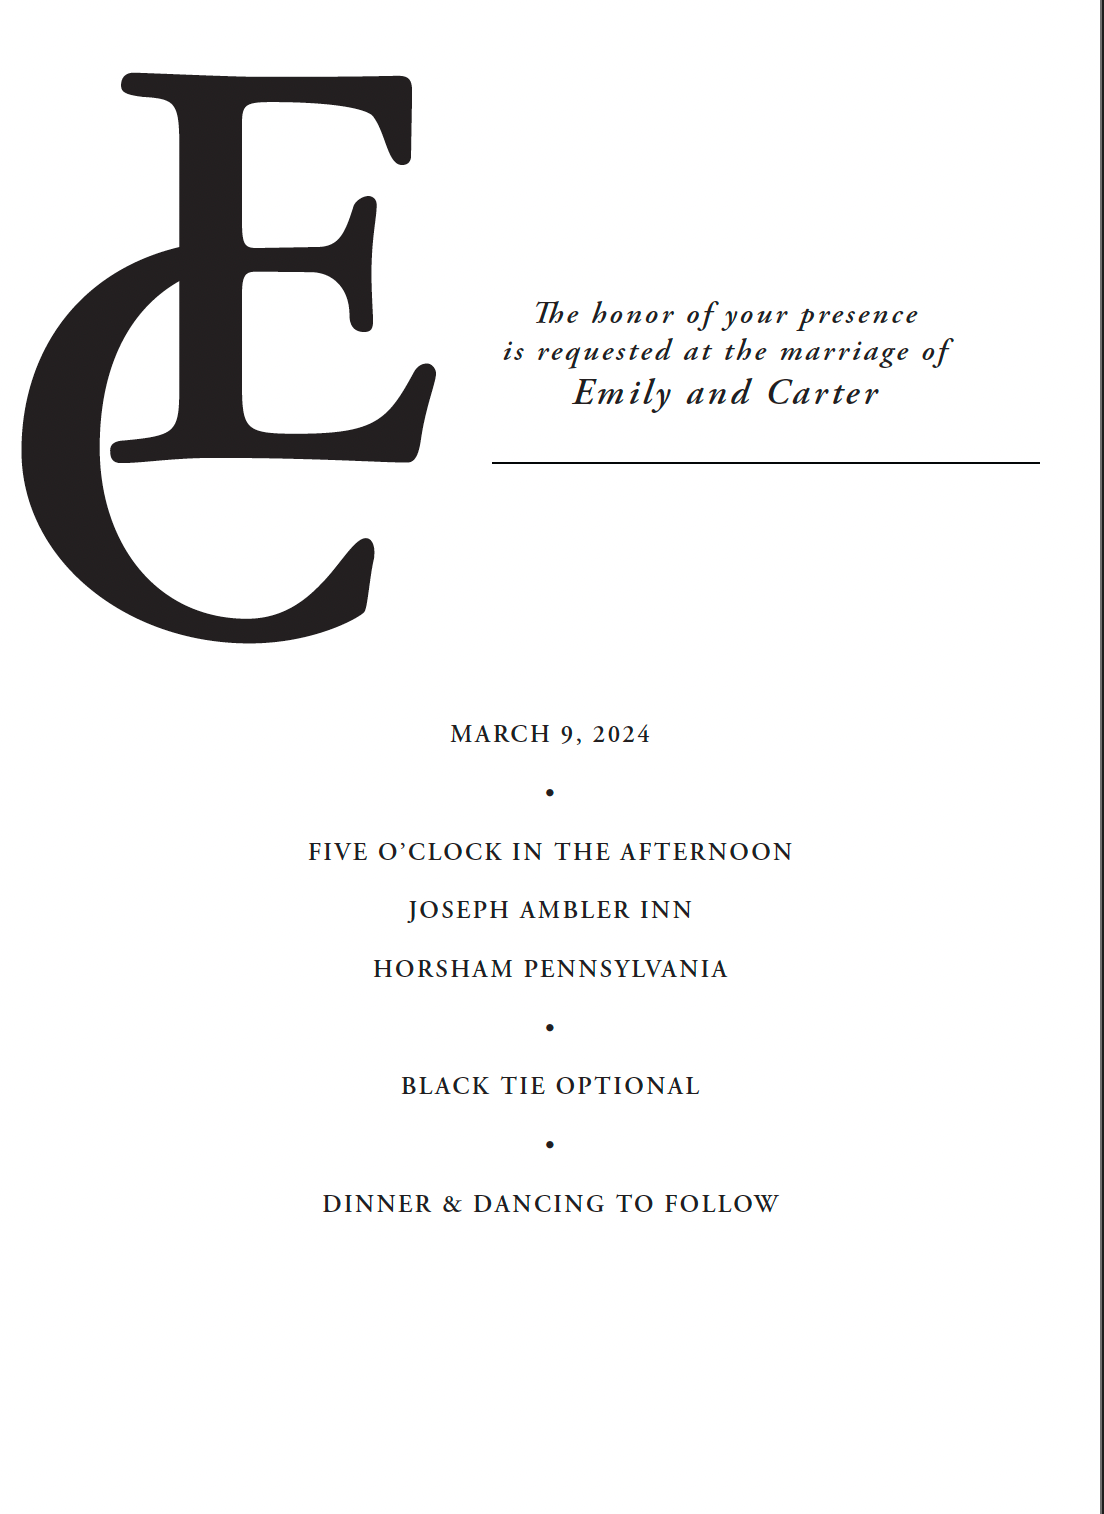
Final Invitations sent out to guests.
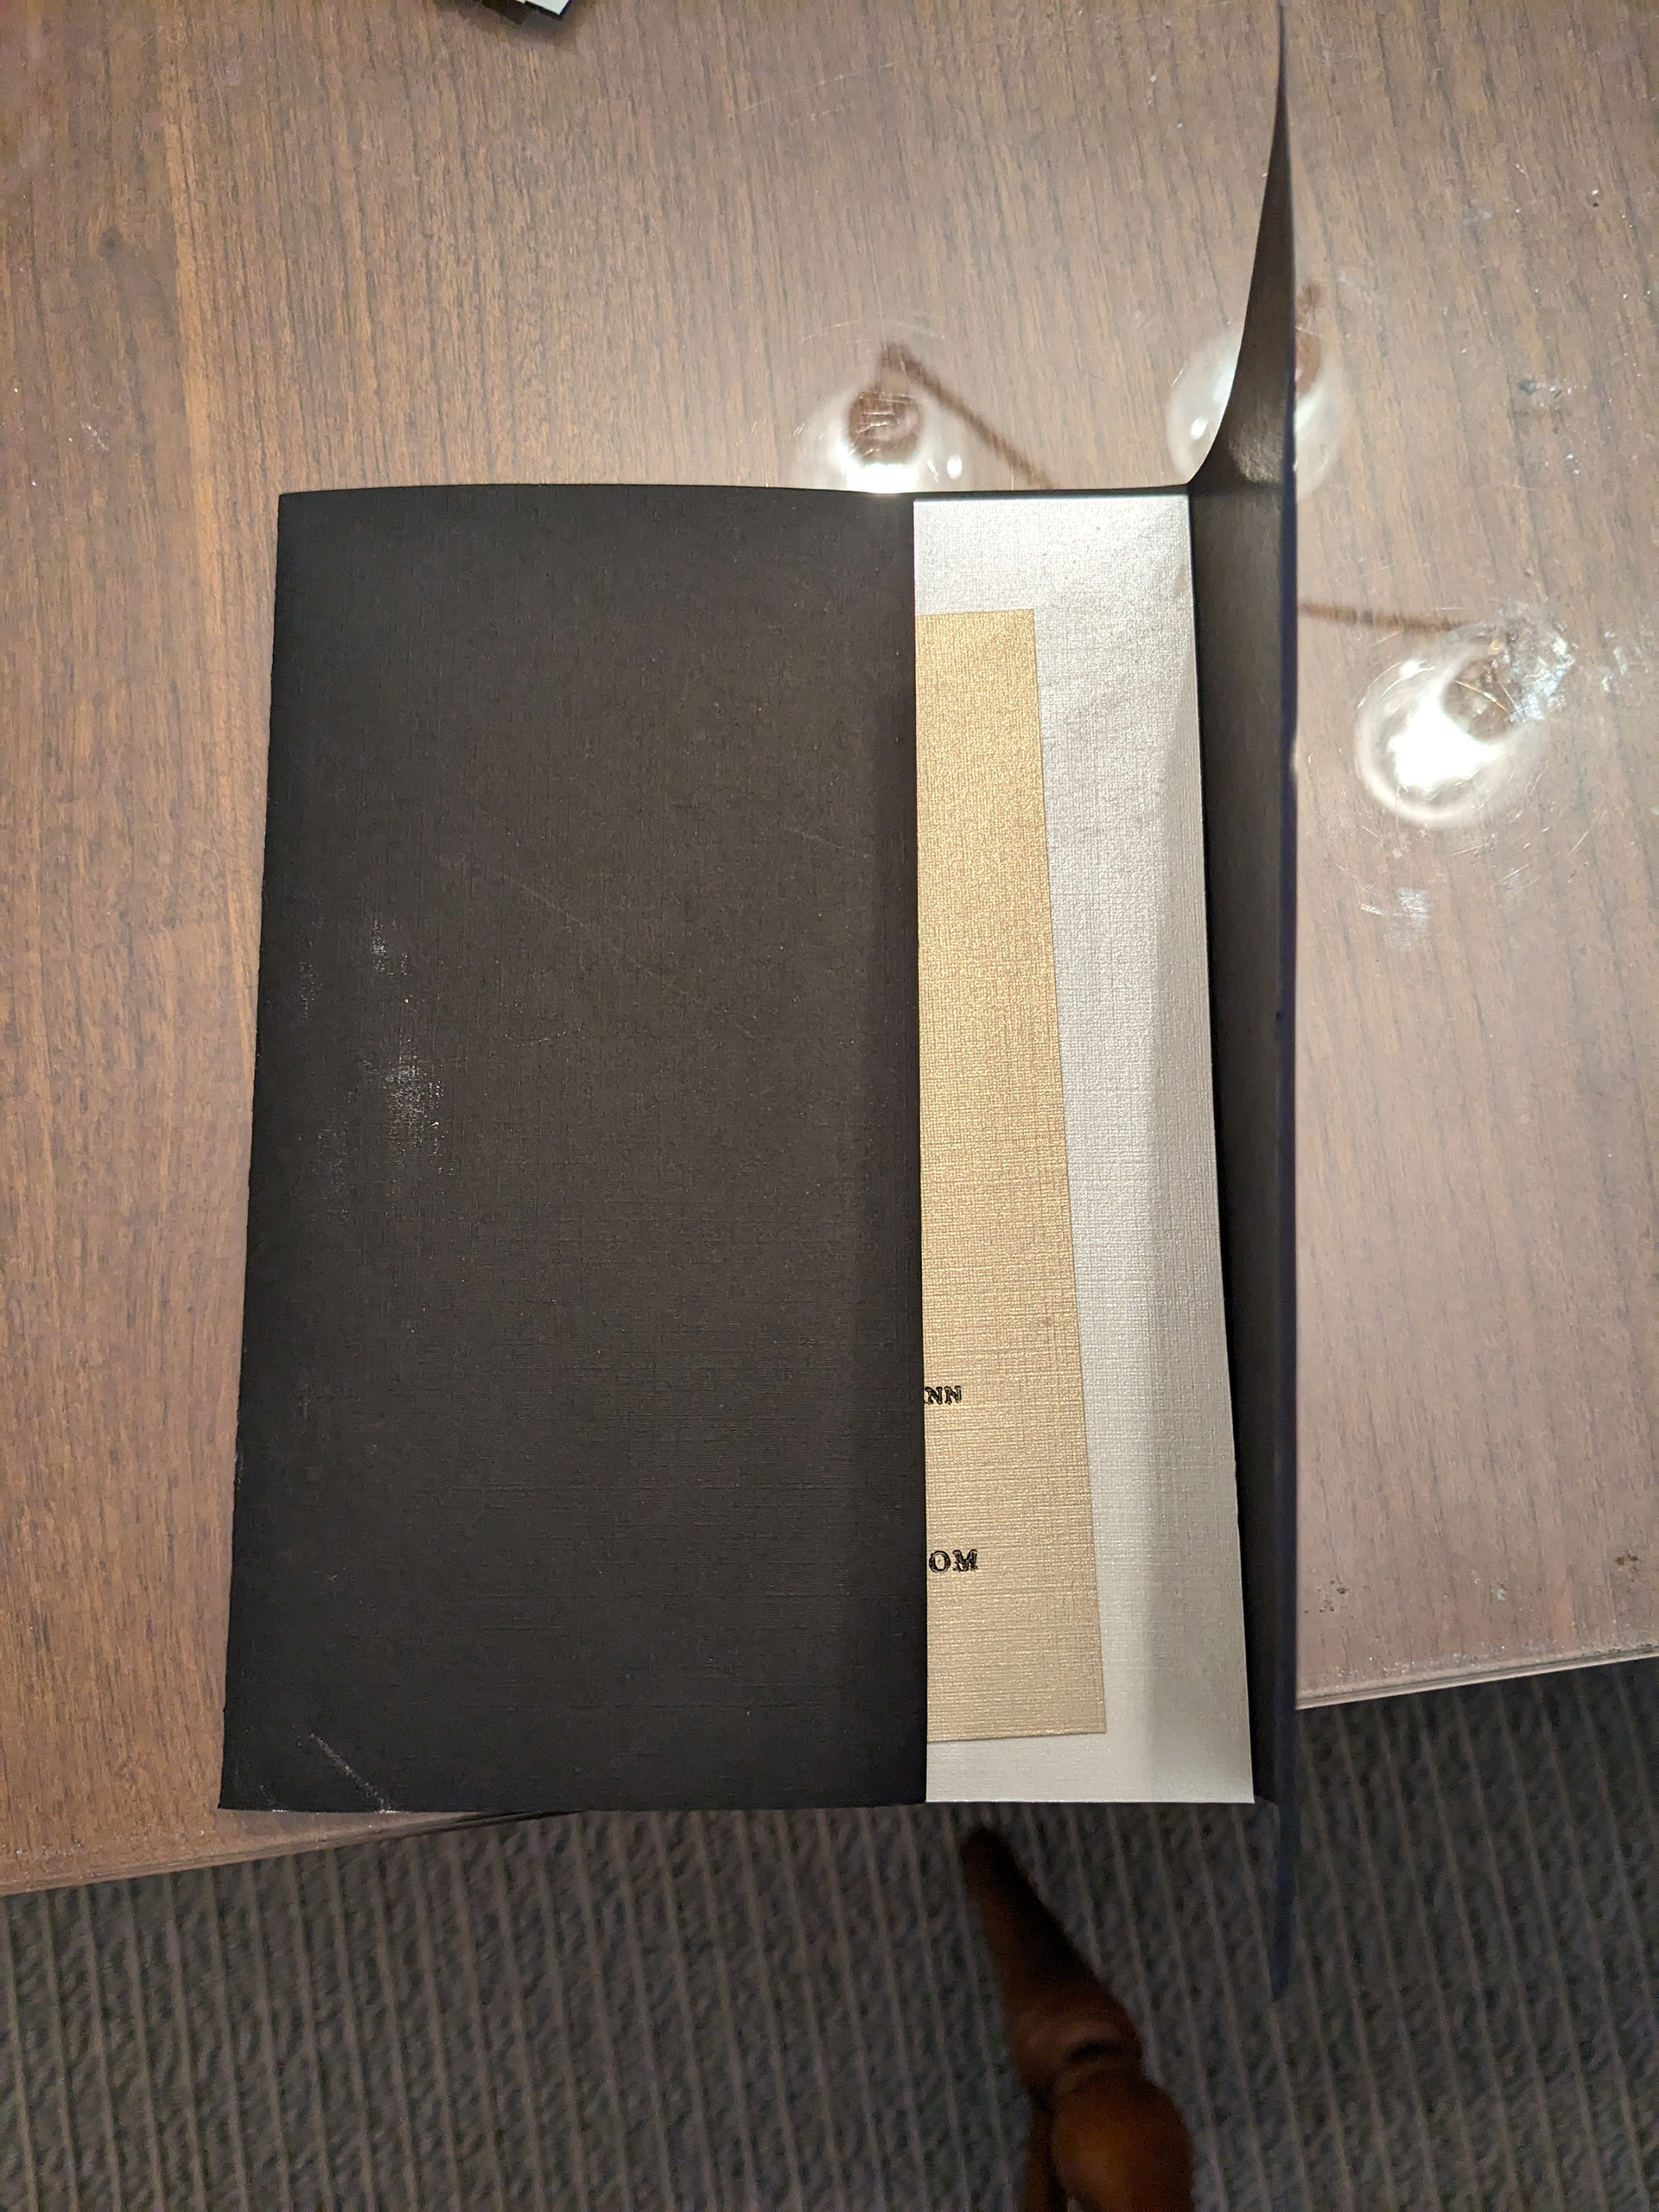
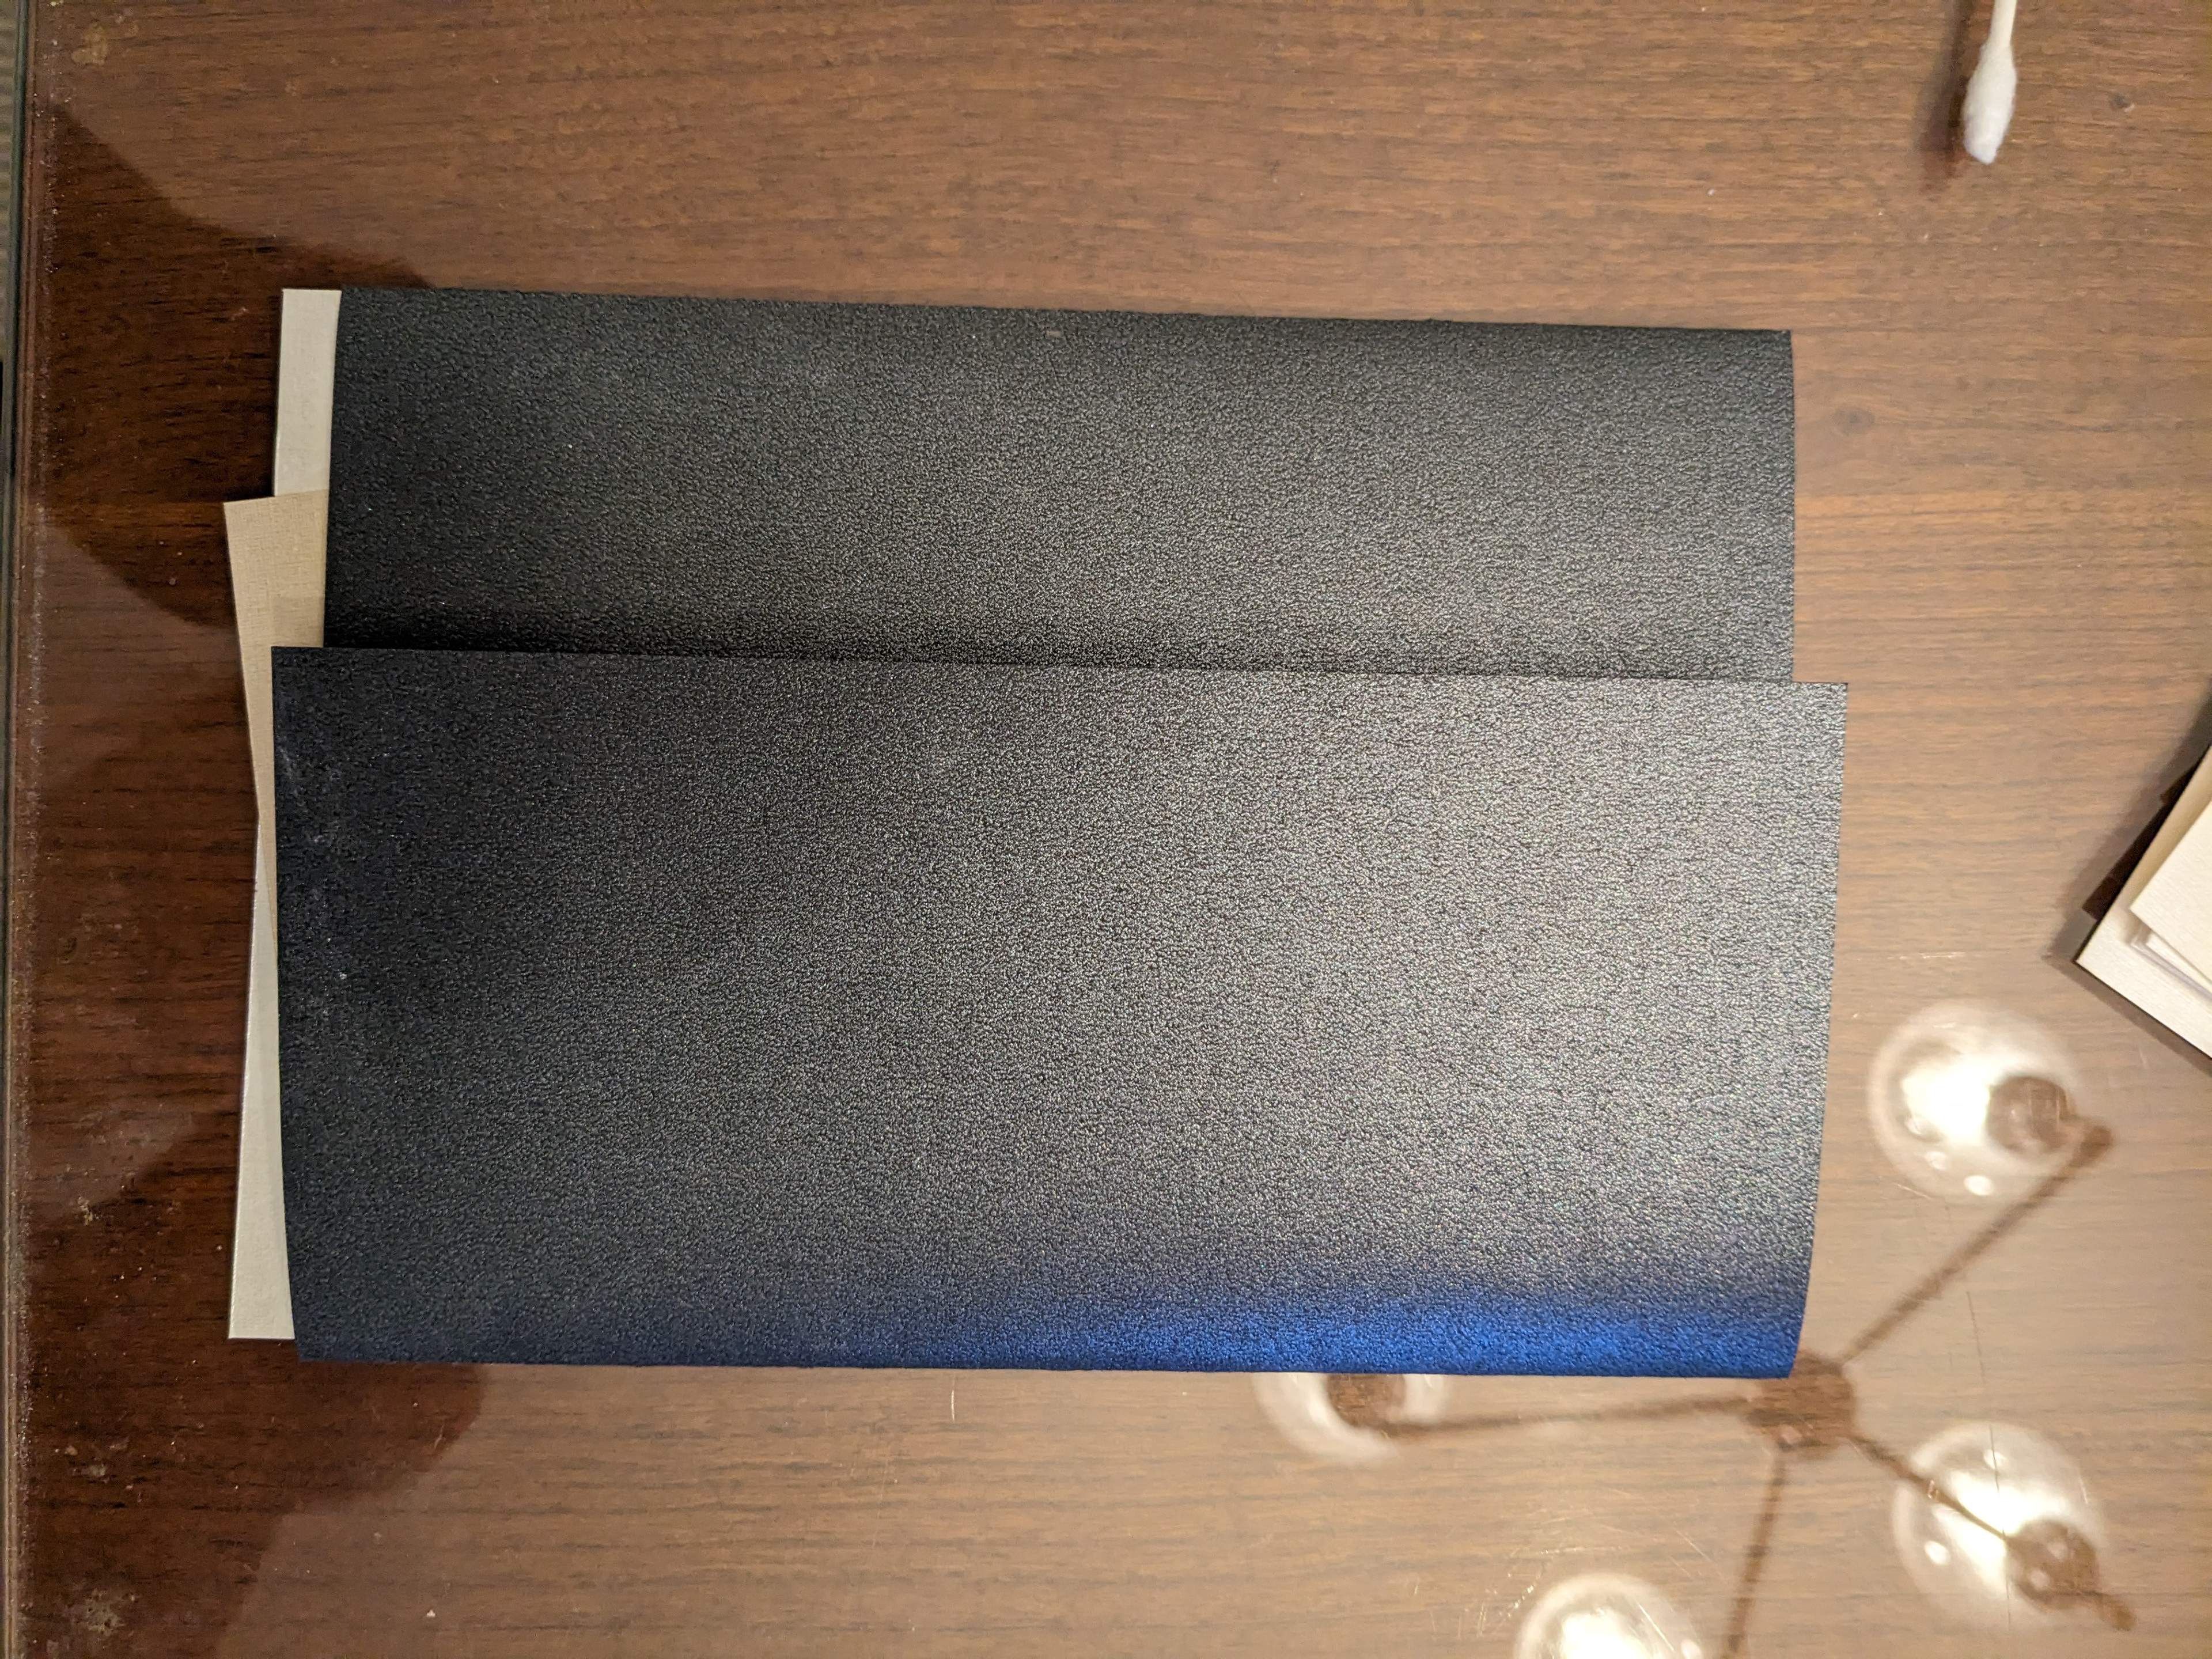
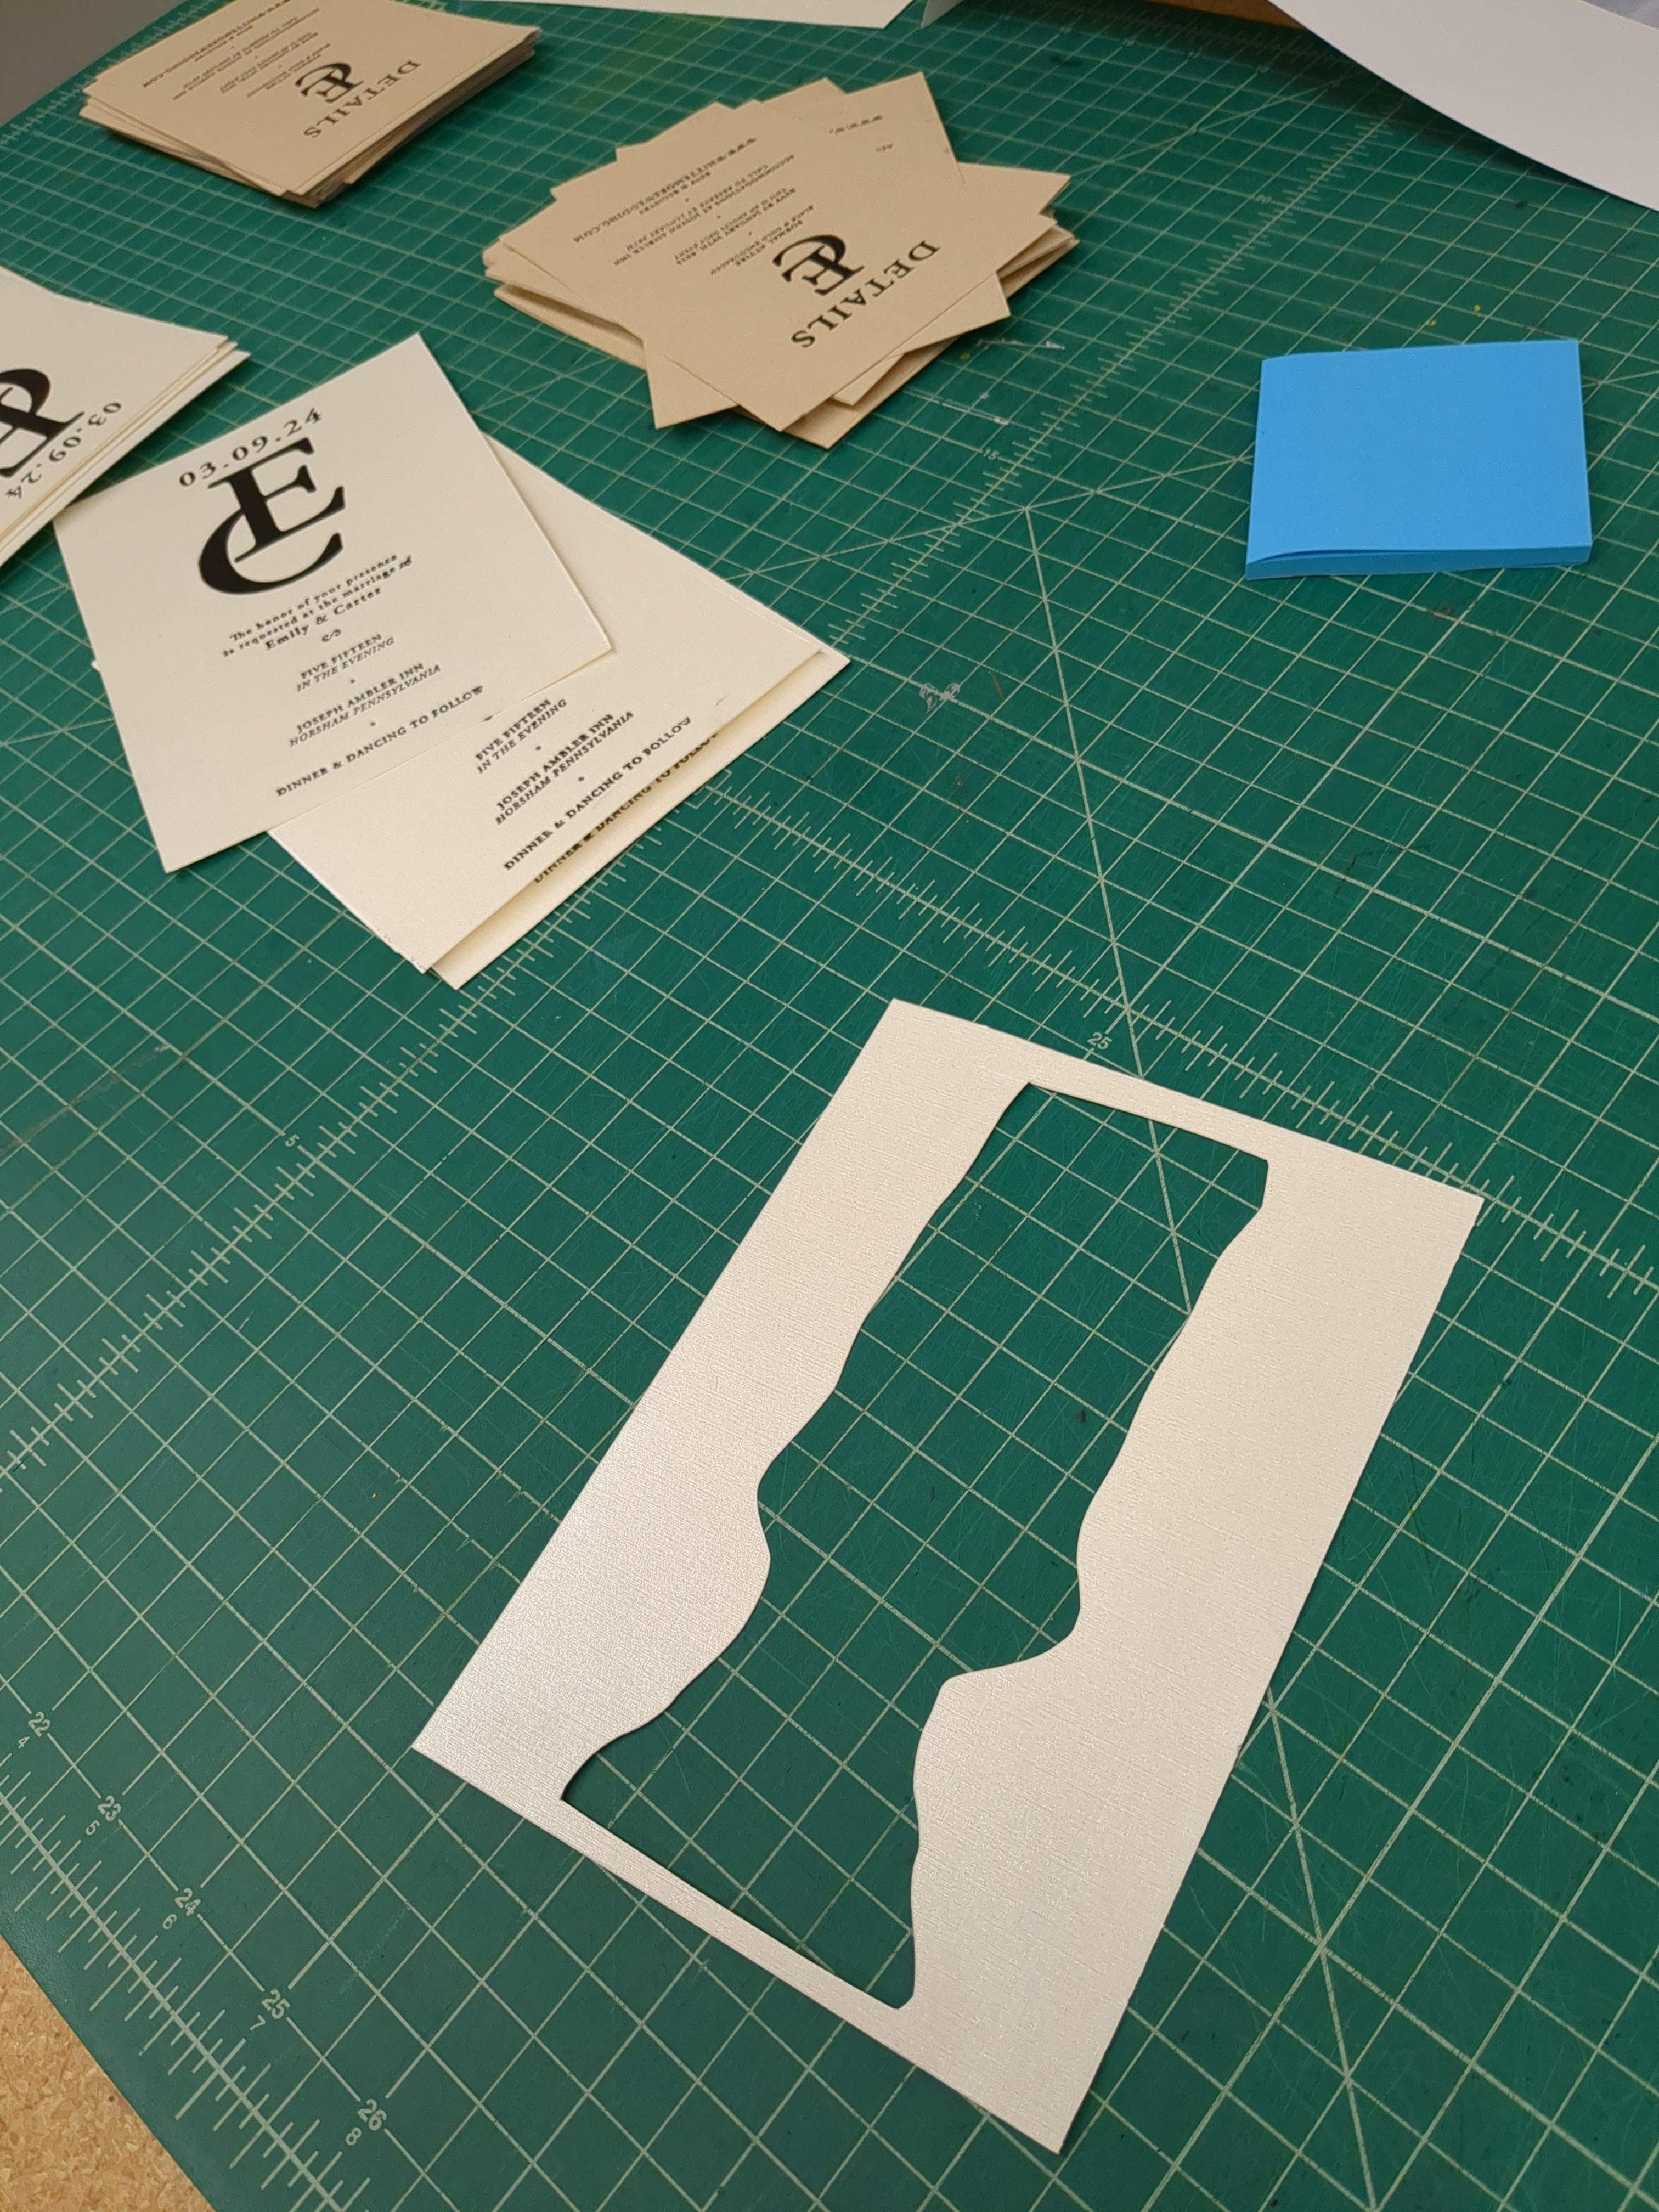
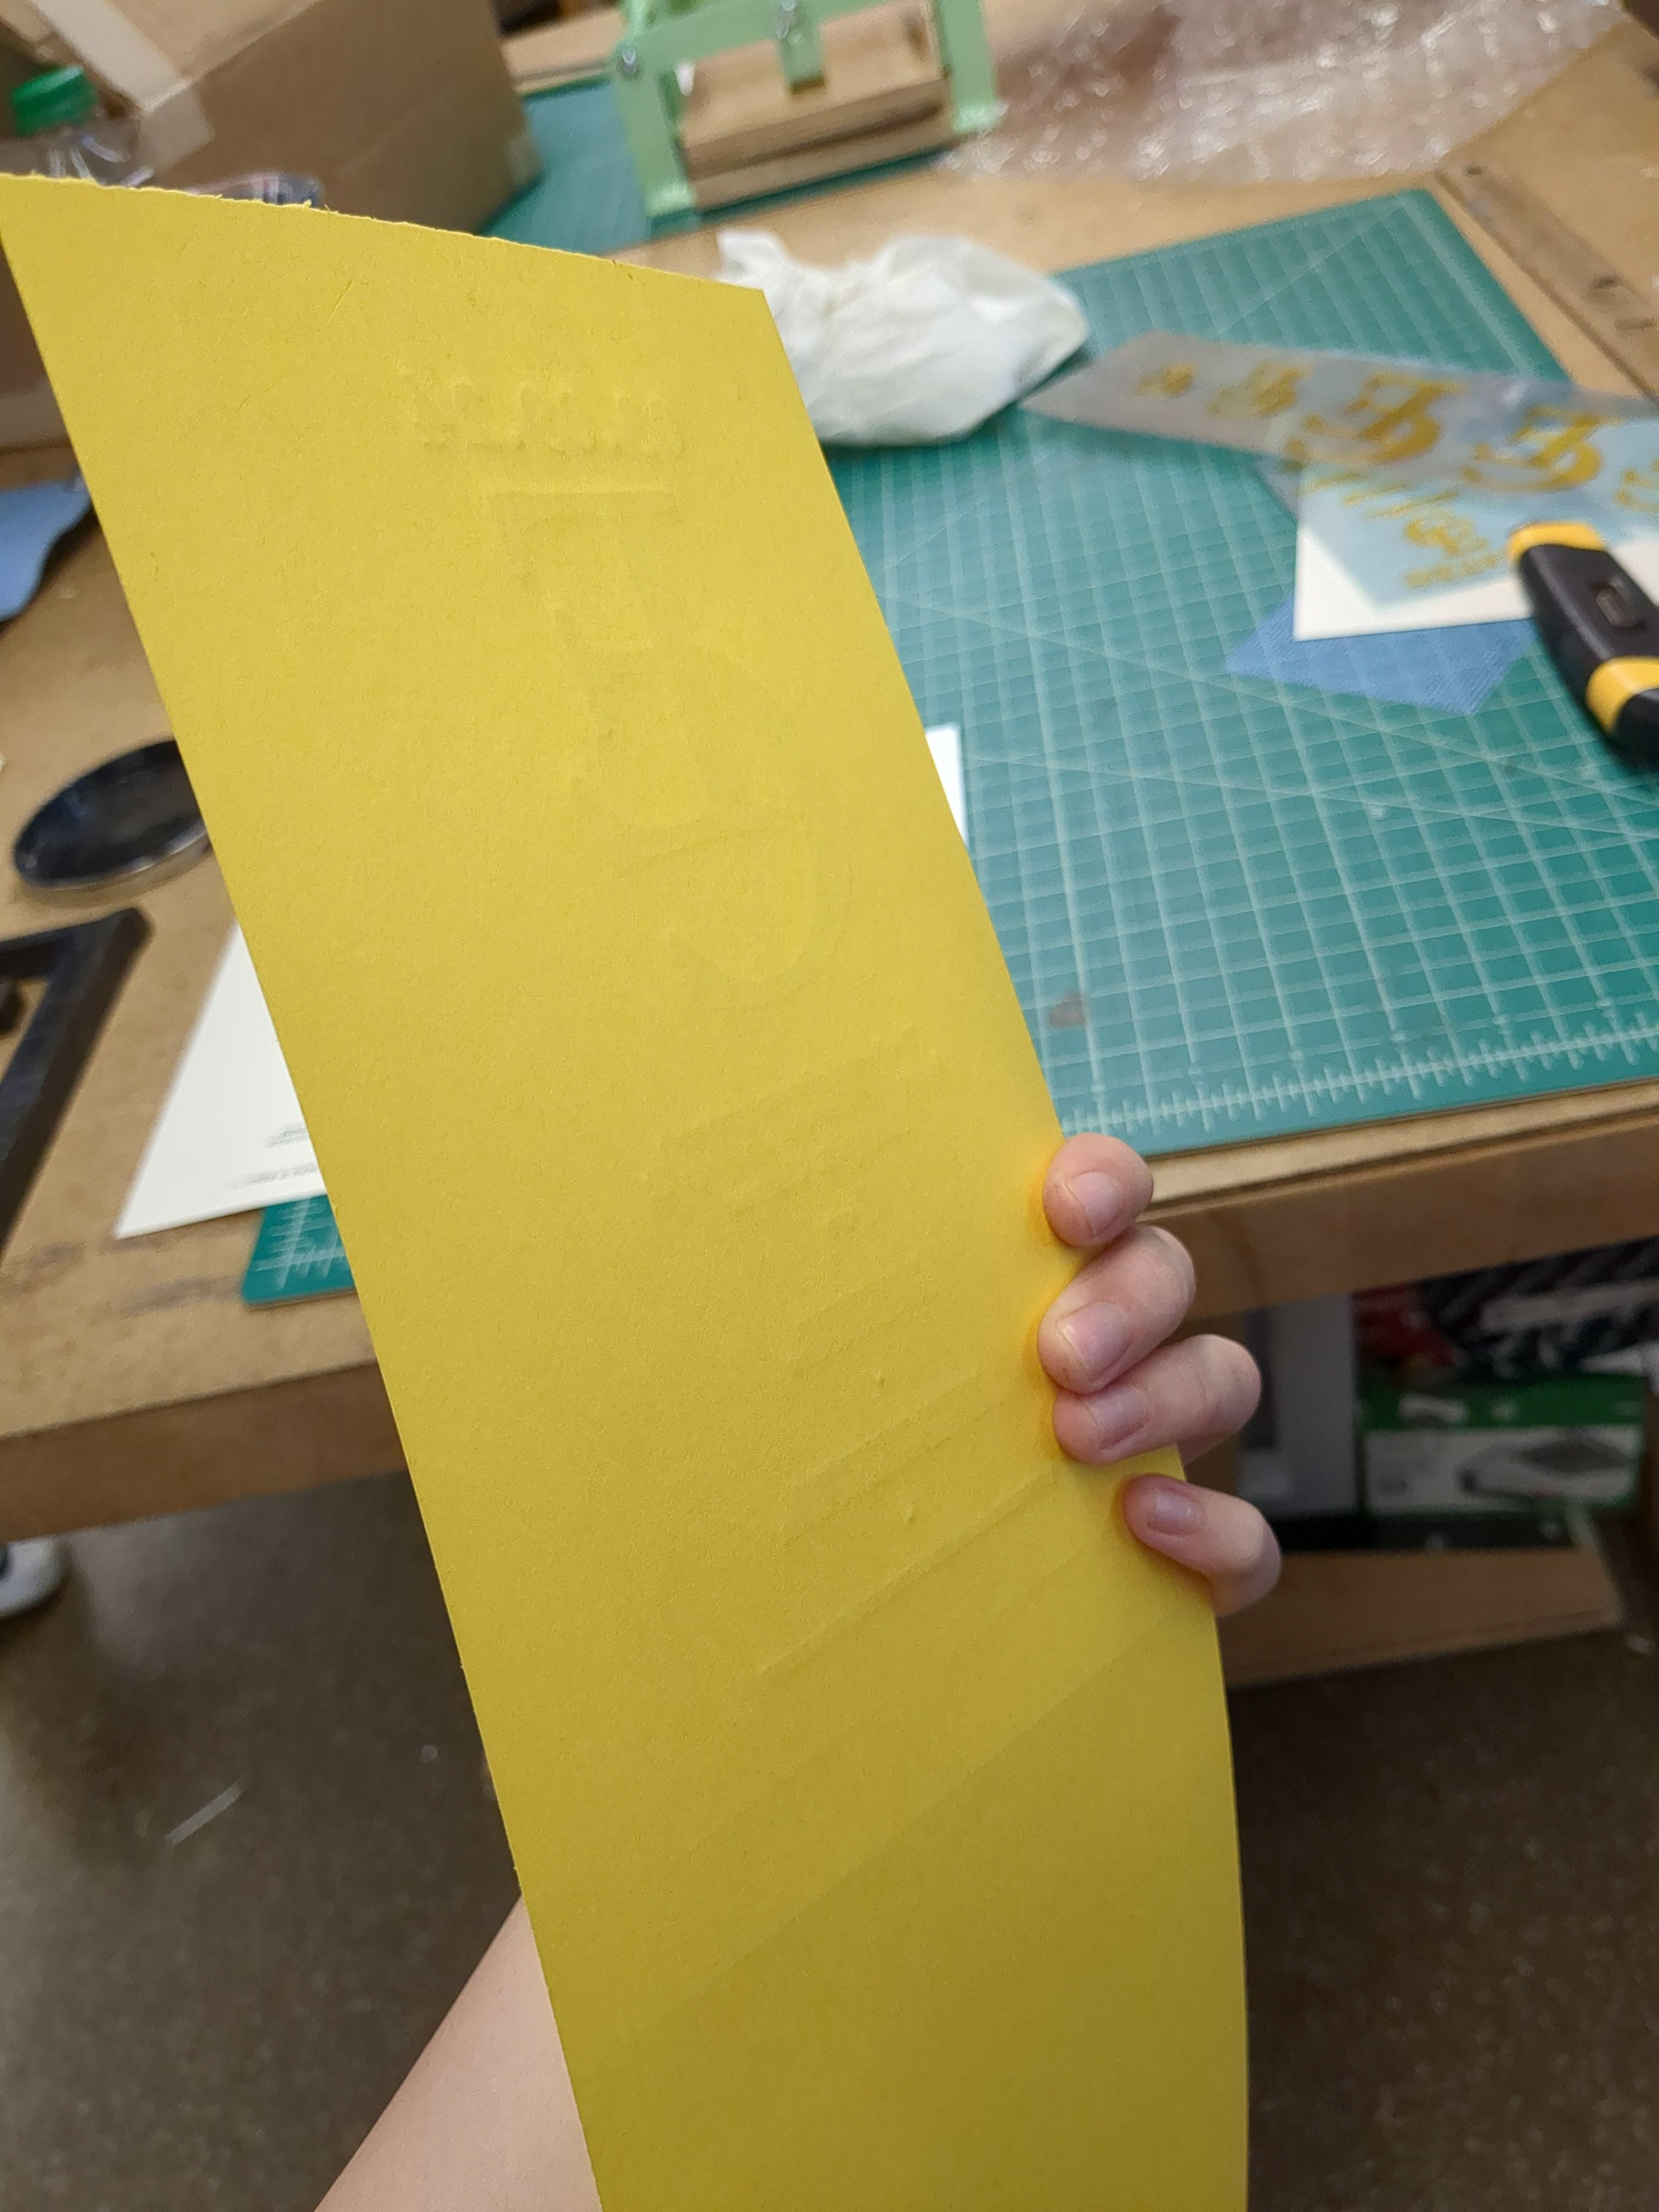
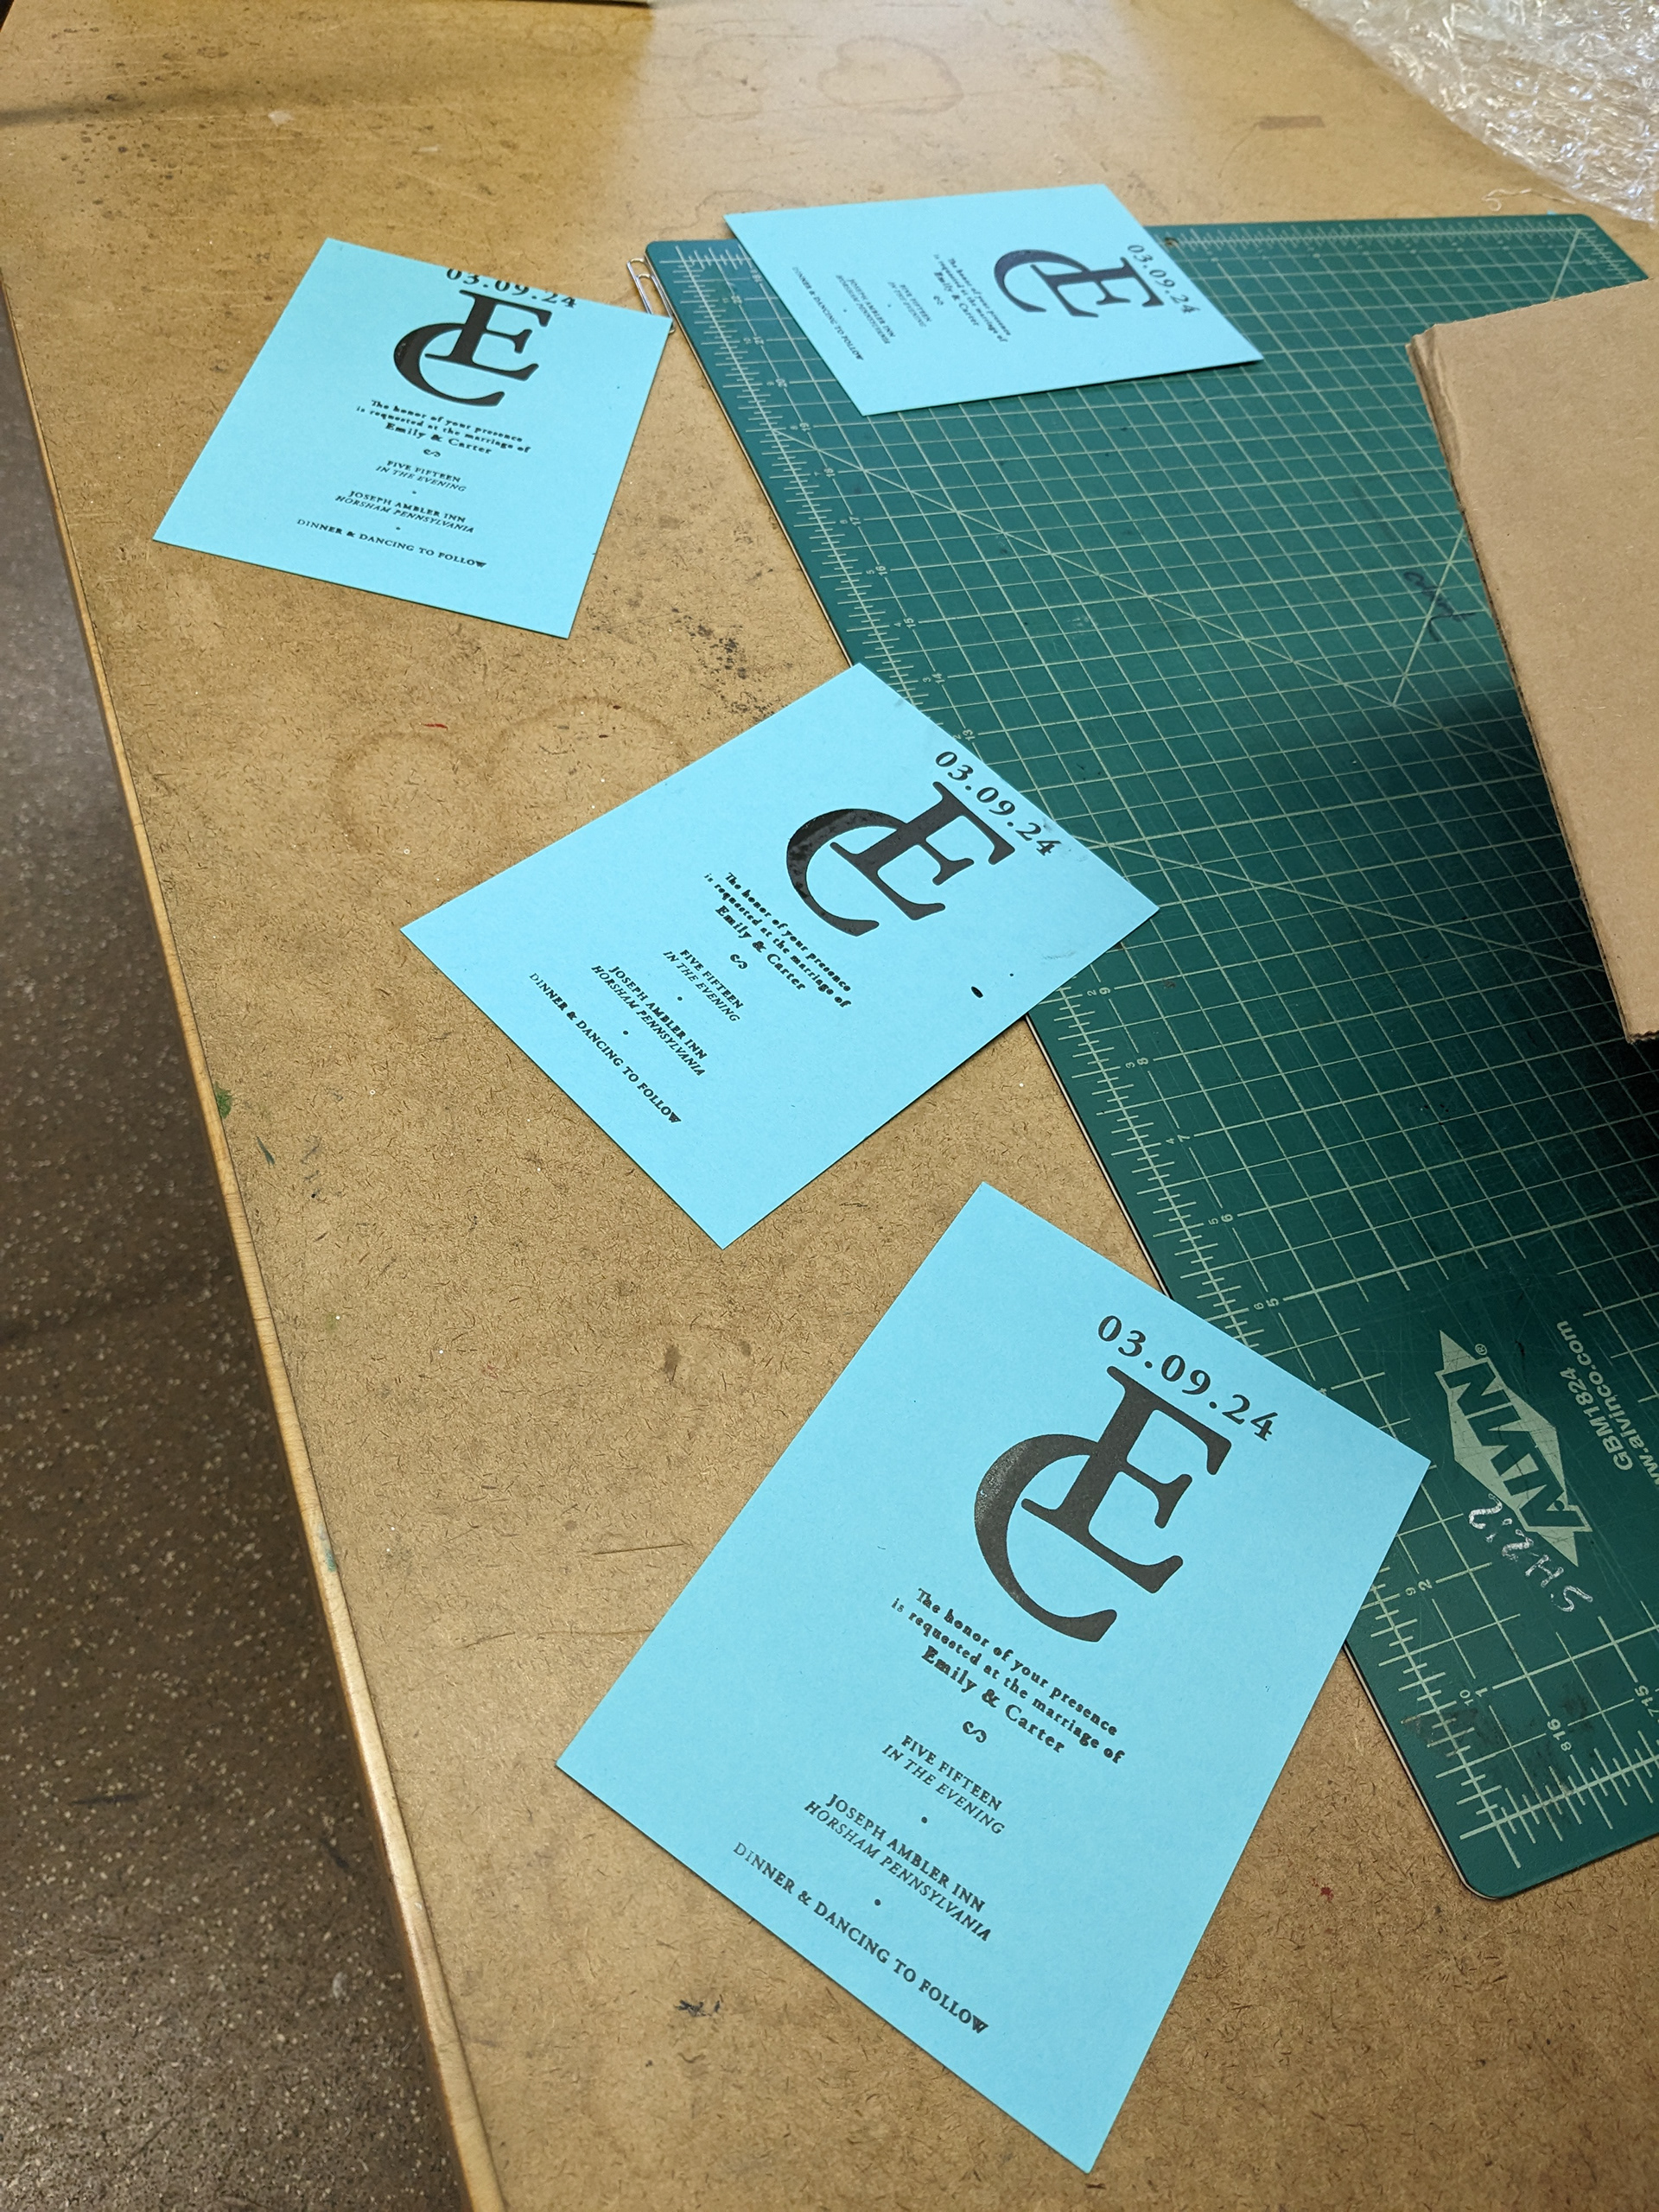
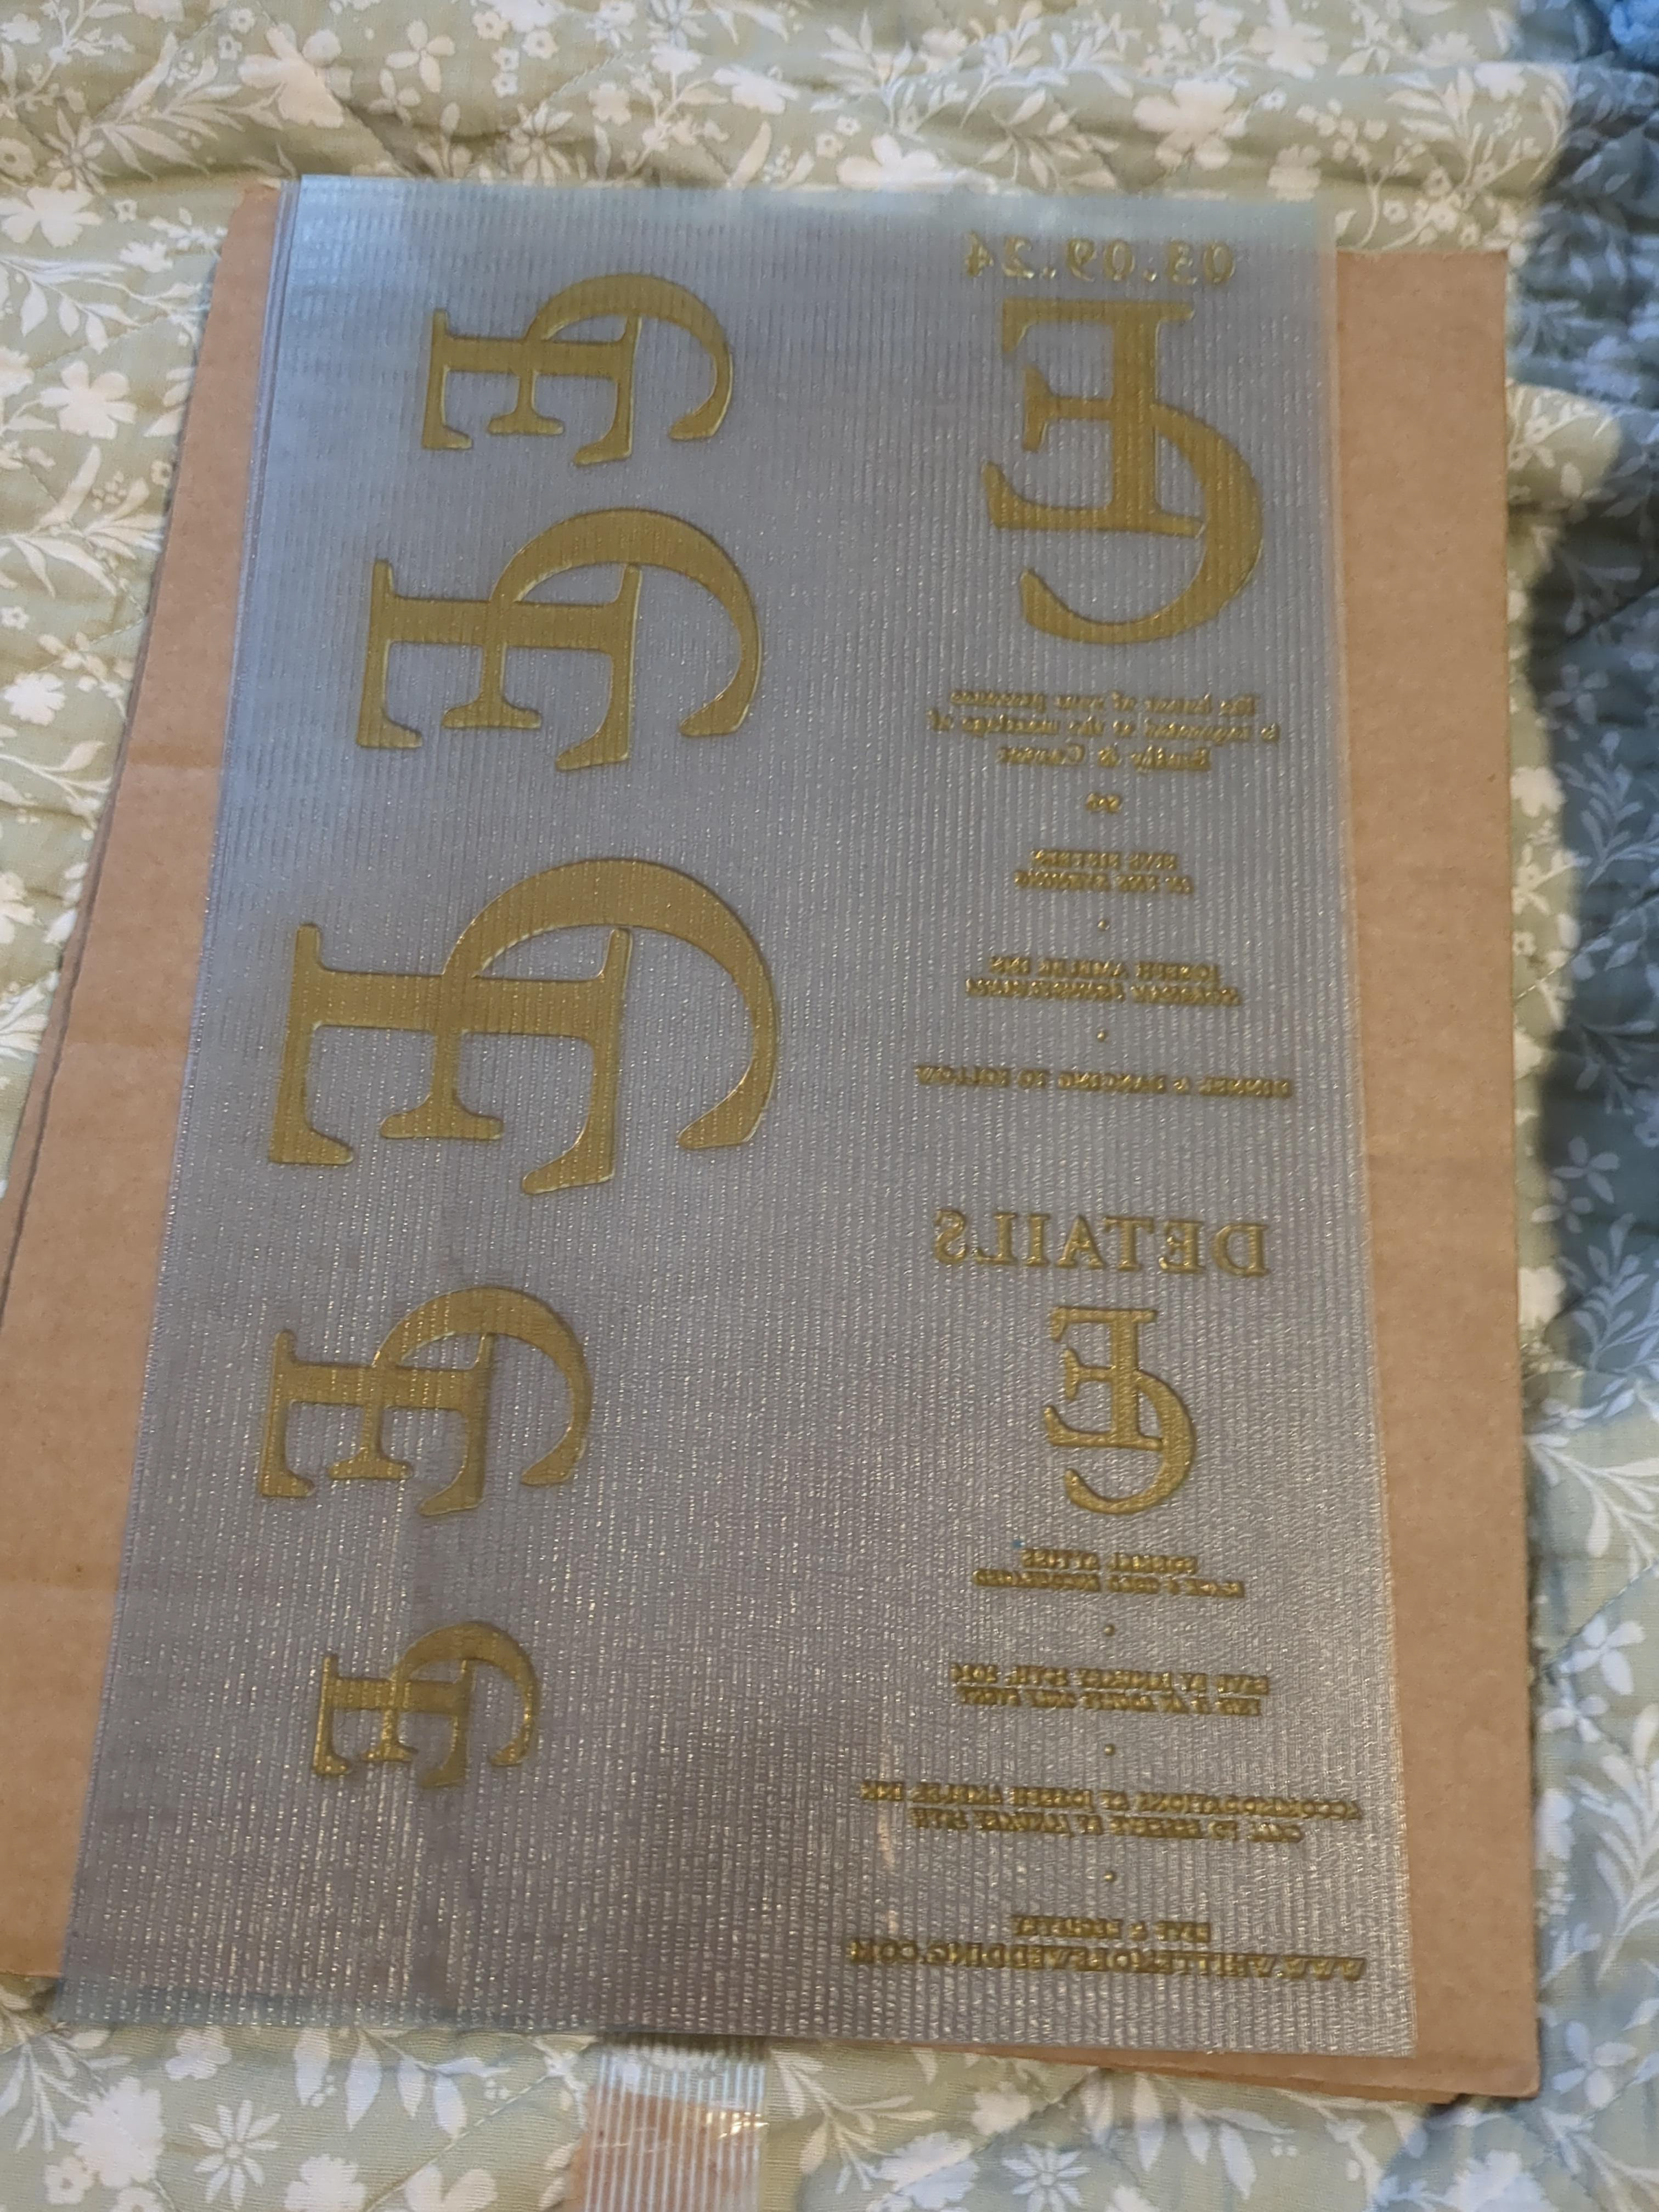
After picking out the paper, I created a general stencil for the invitations and hand cut the wrap. Because of the paper size, we ended up with smaller width pieces from the scraps. I ended up liking the contrast of the three colors in the paper. My client and I sent out a mix of sizes to the crowd.
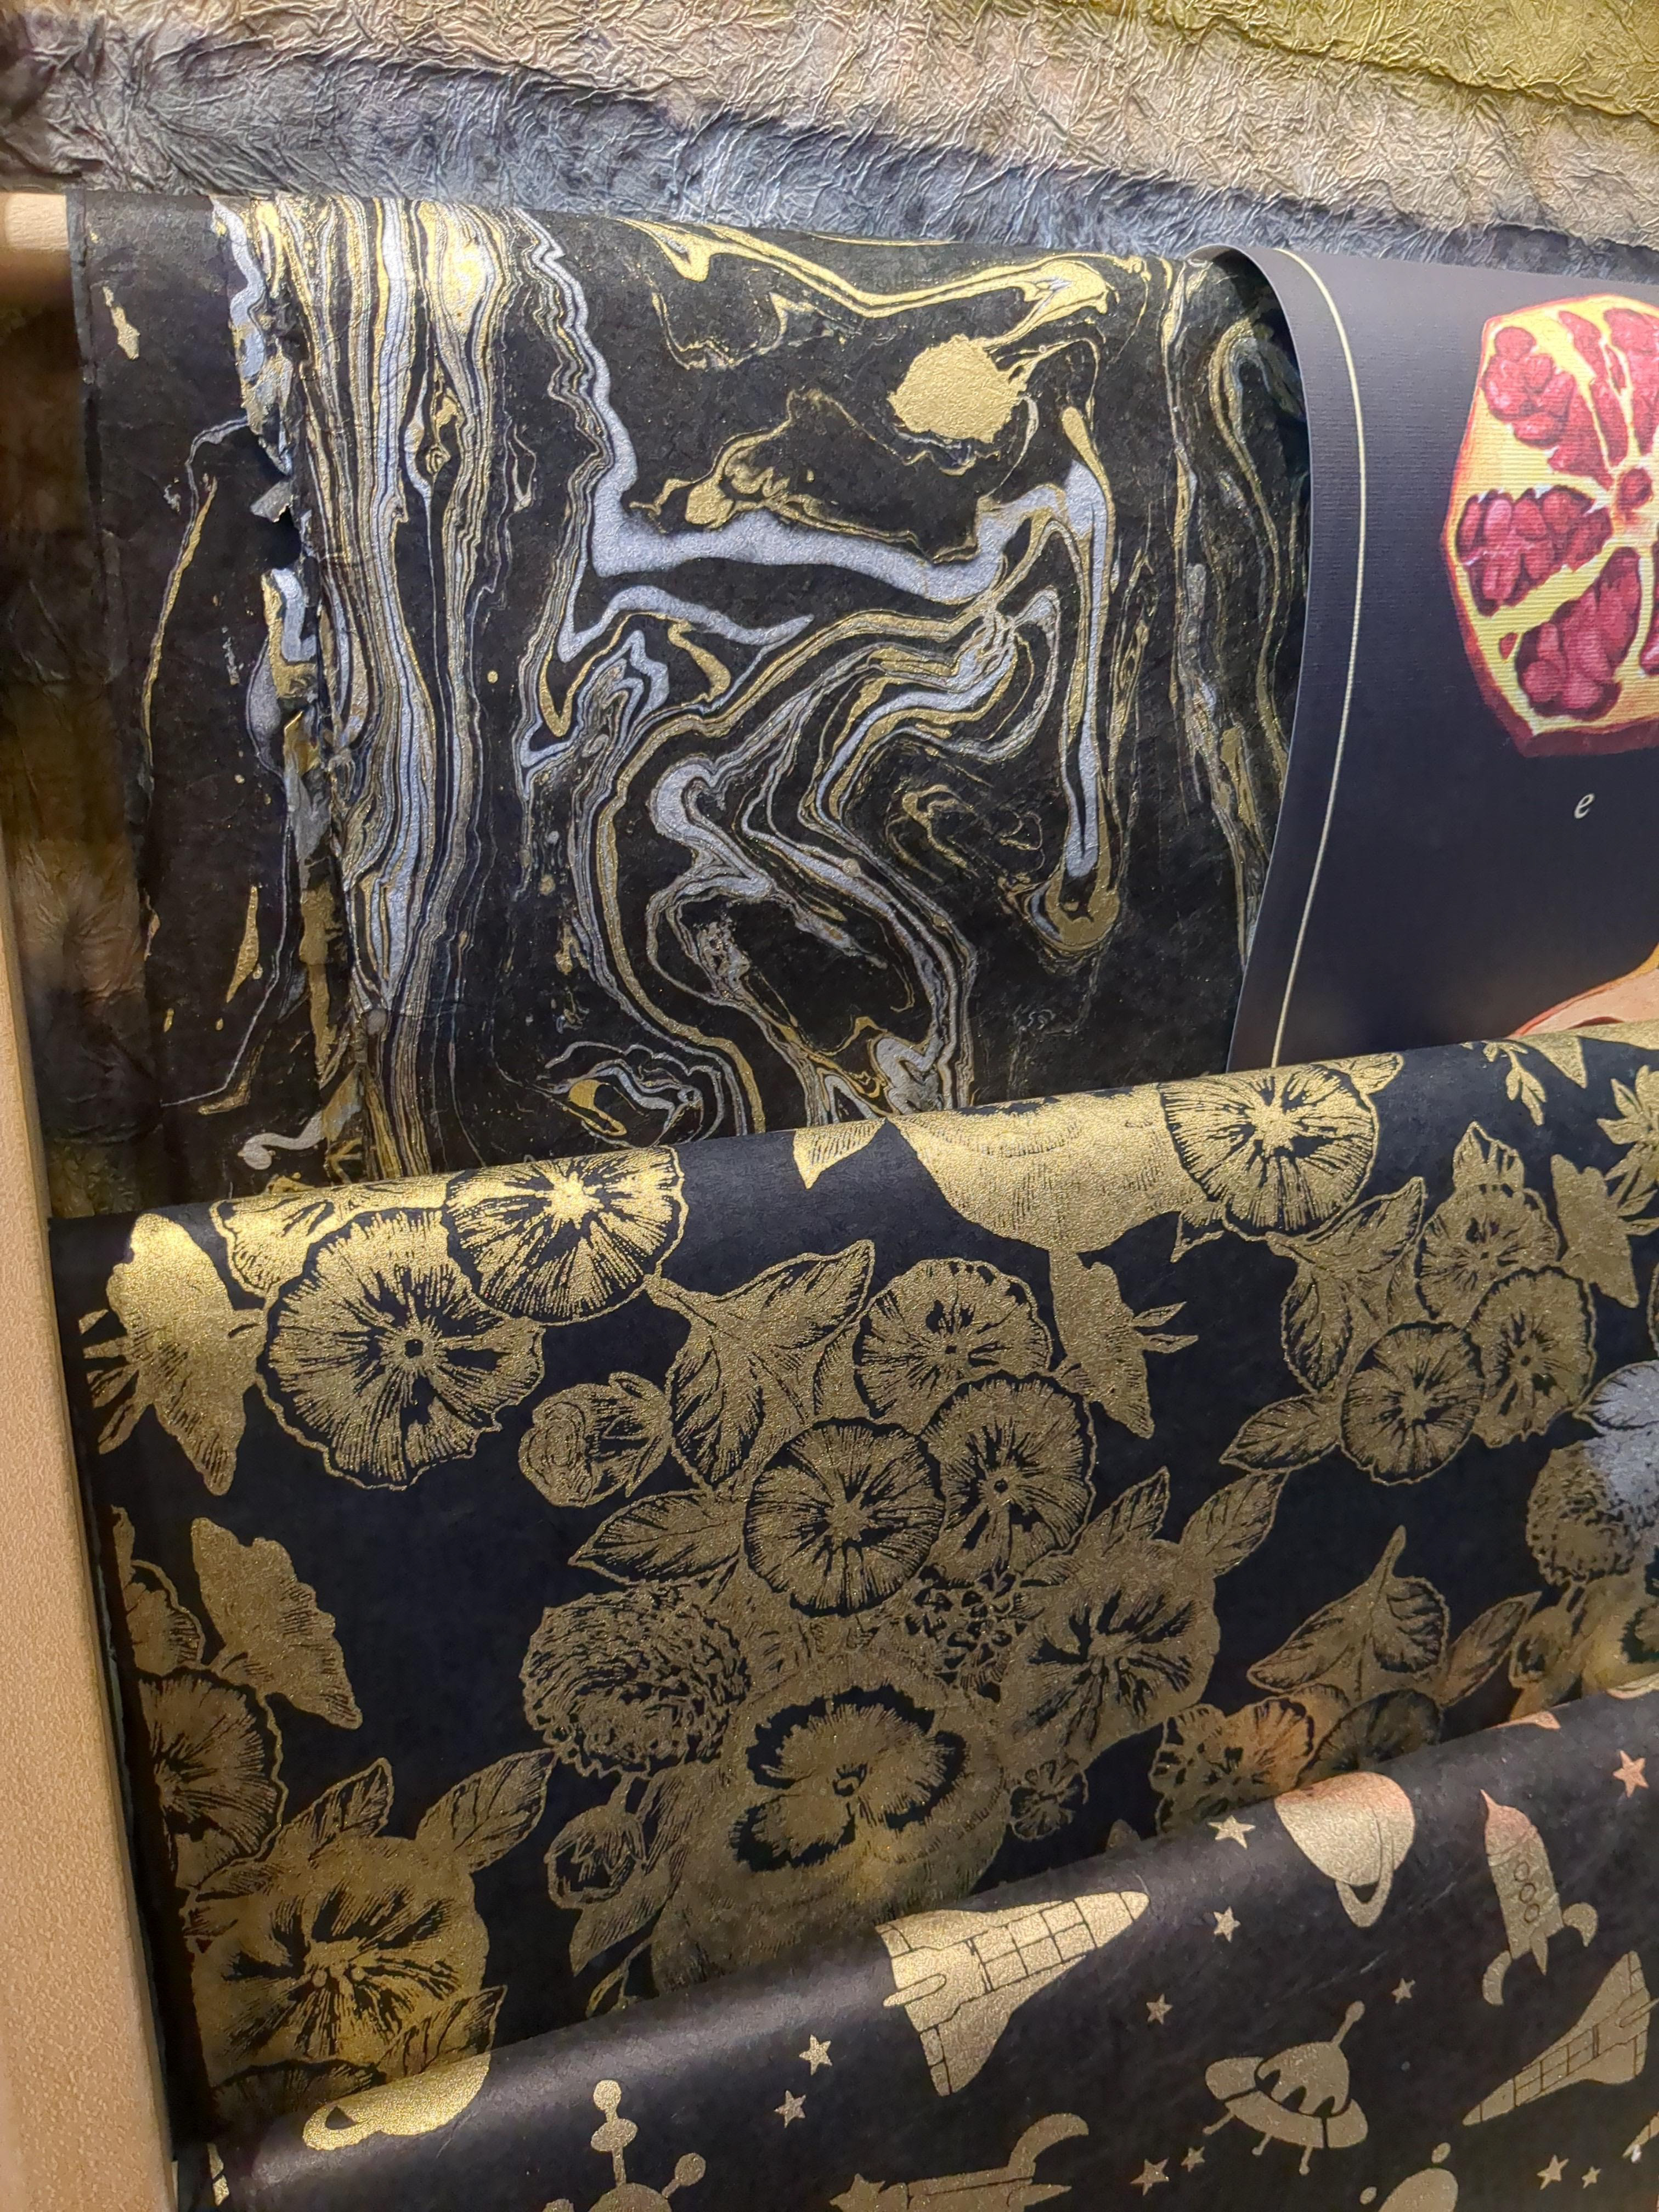
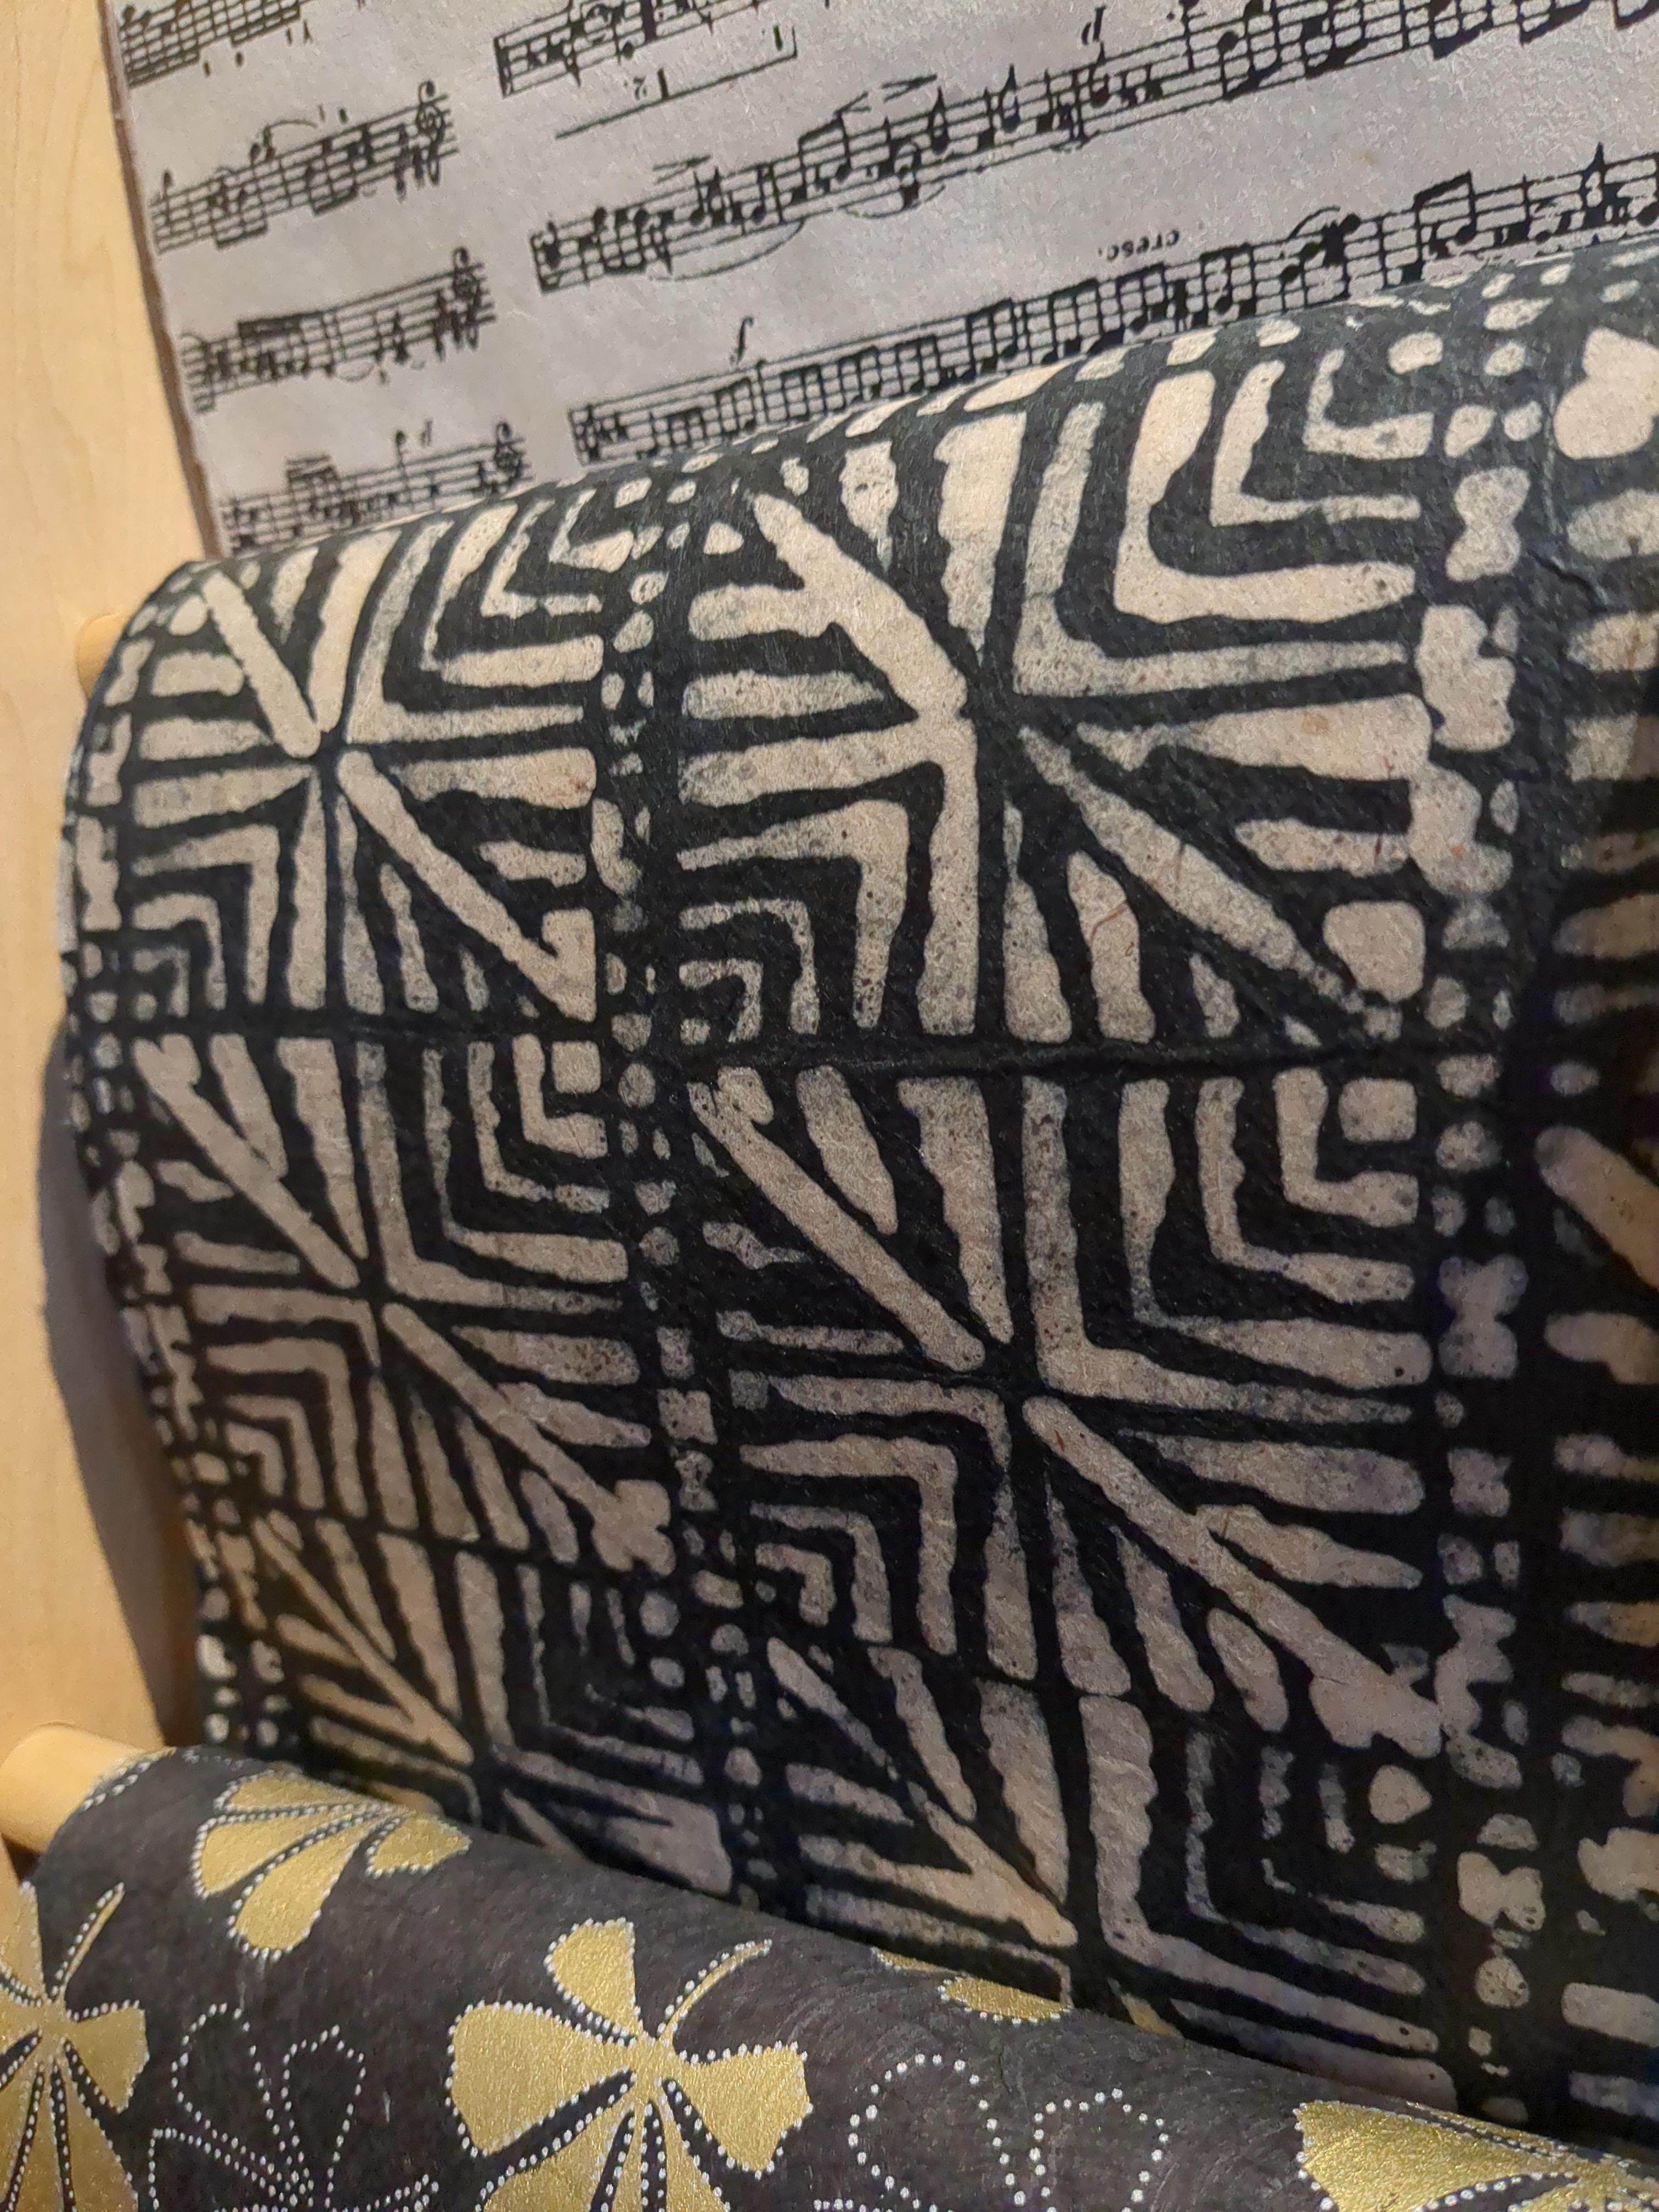
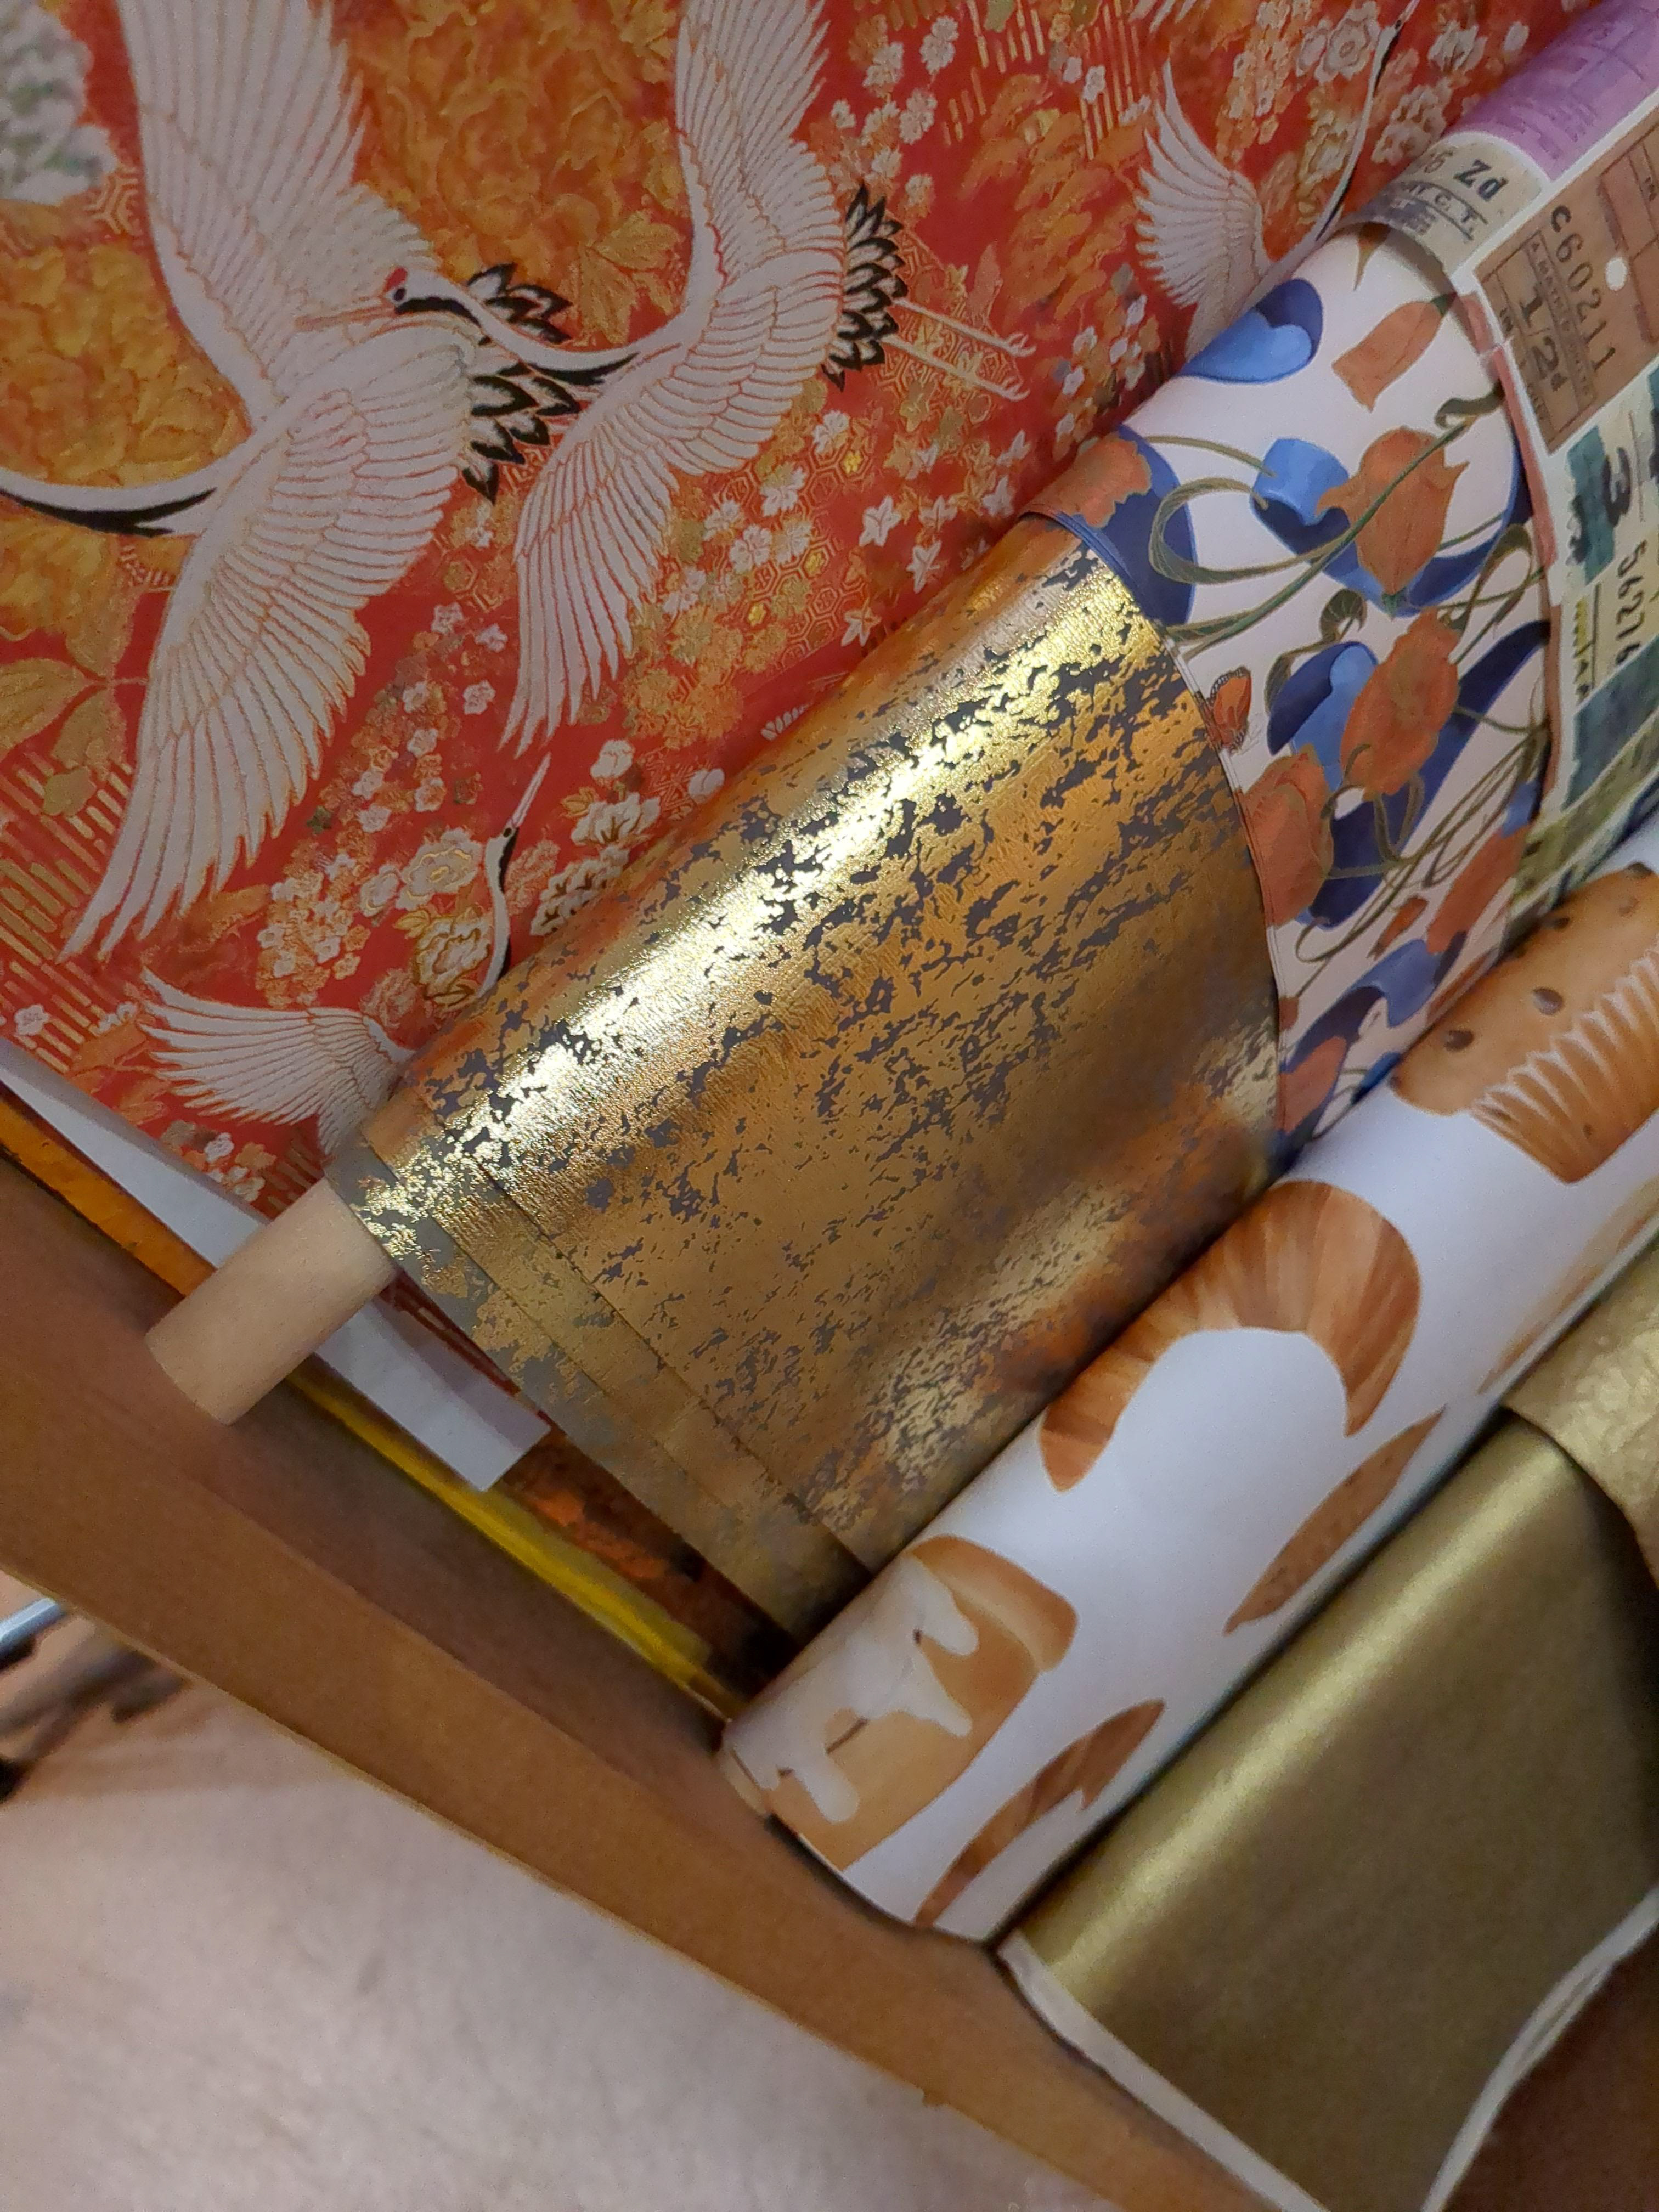
I then went to paper source to find a paper on theme with the invitations and the wedding.
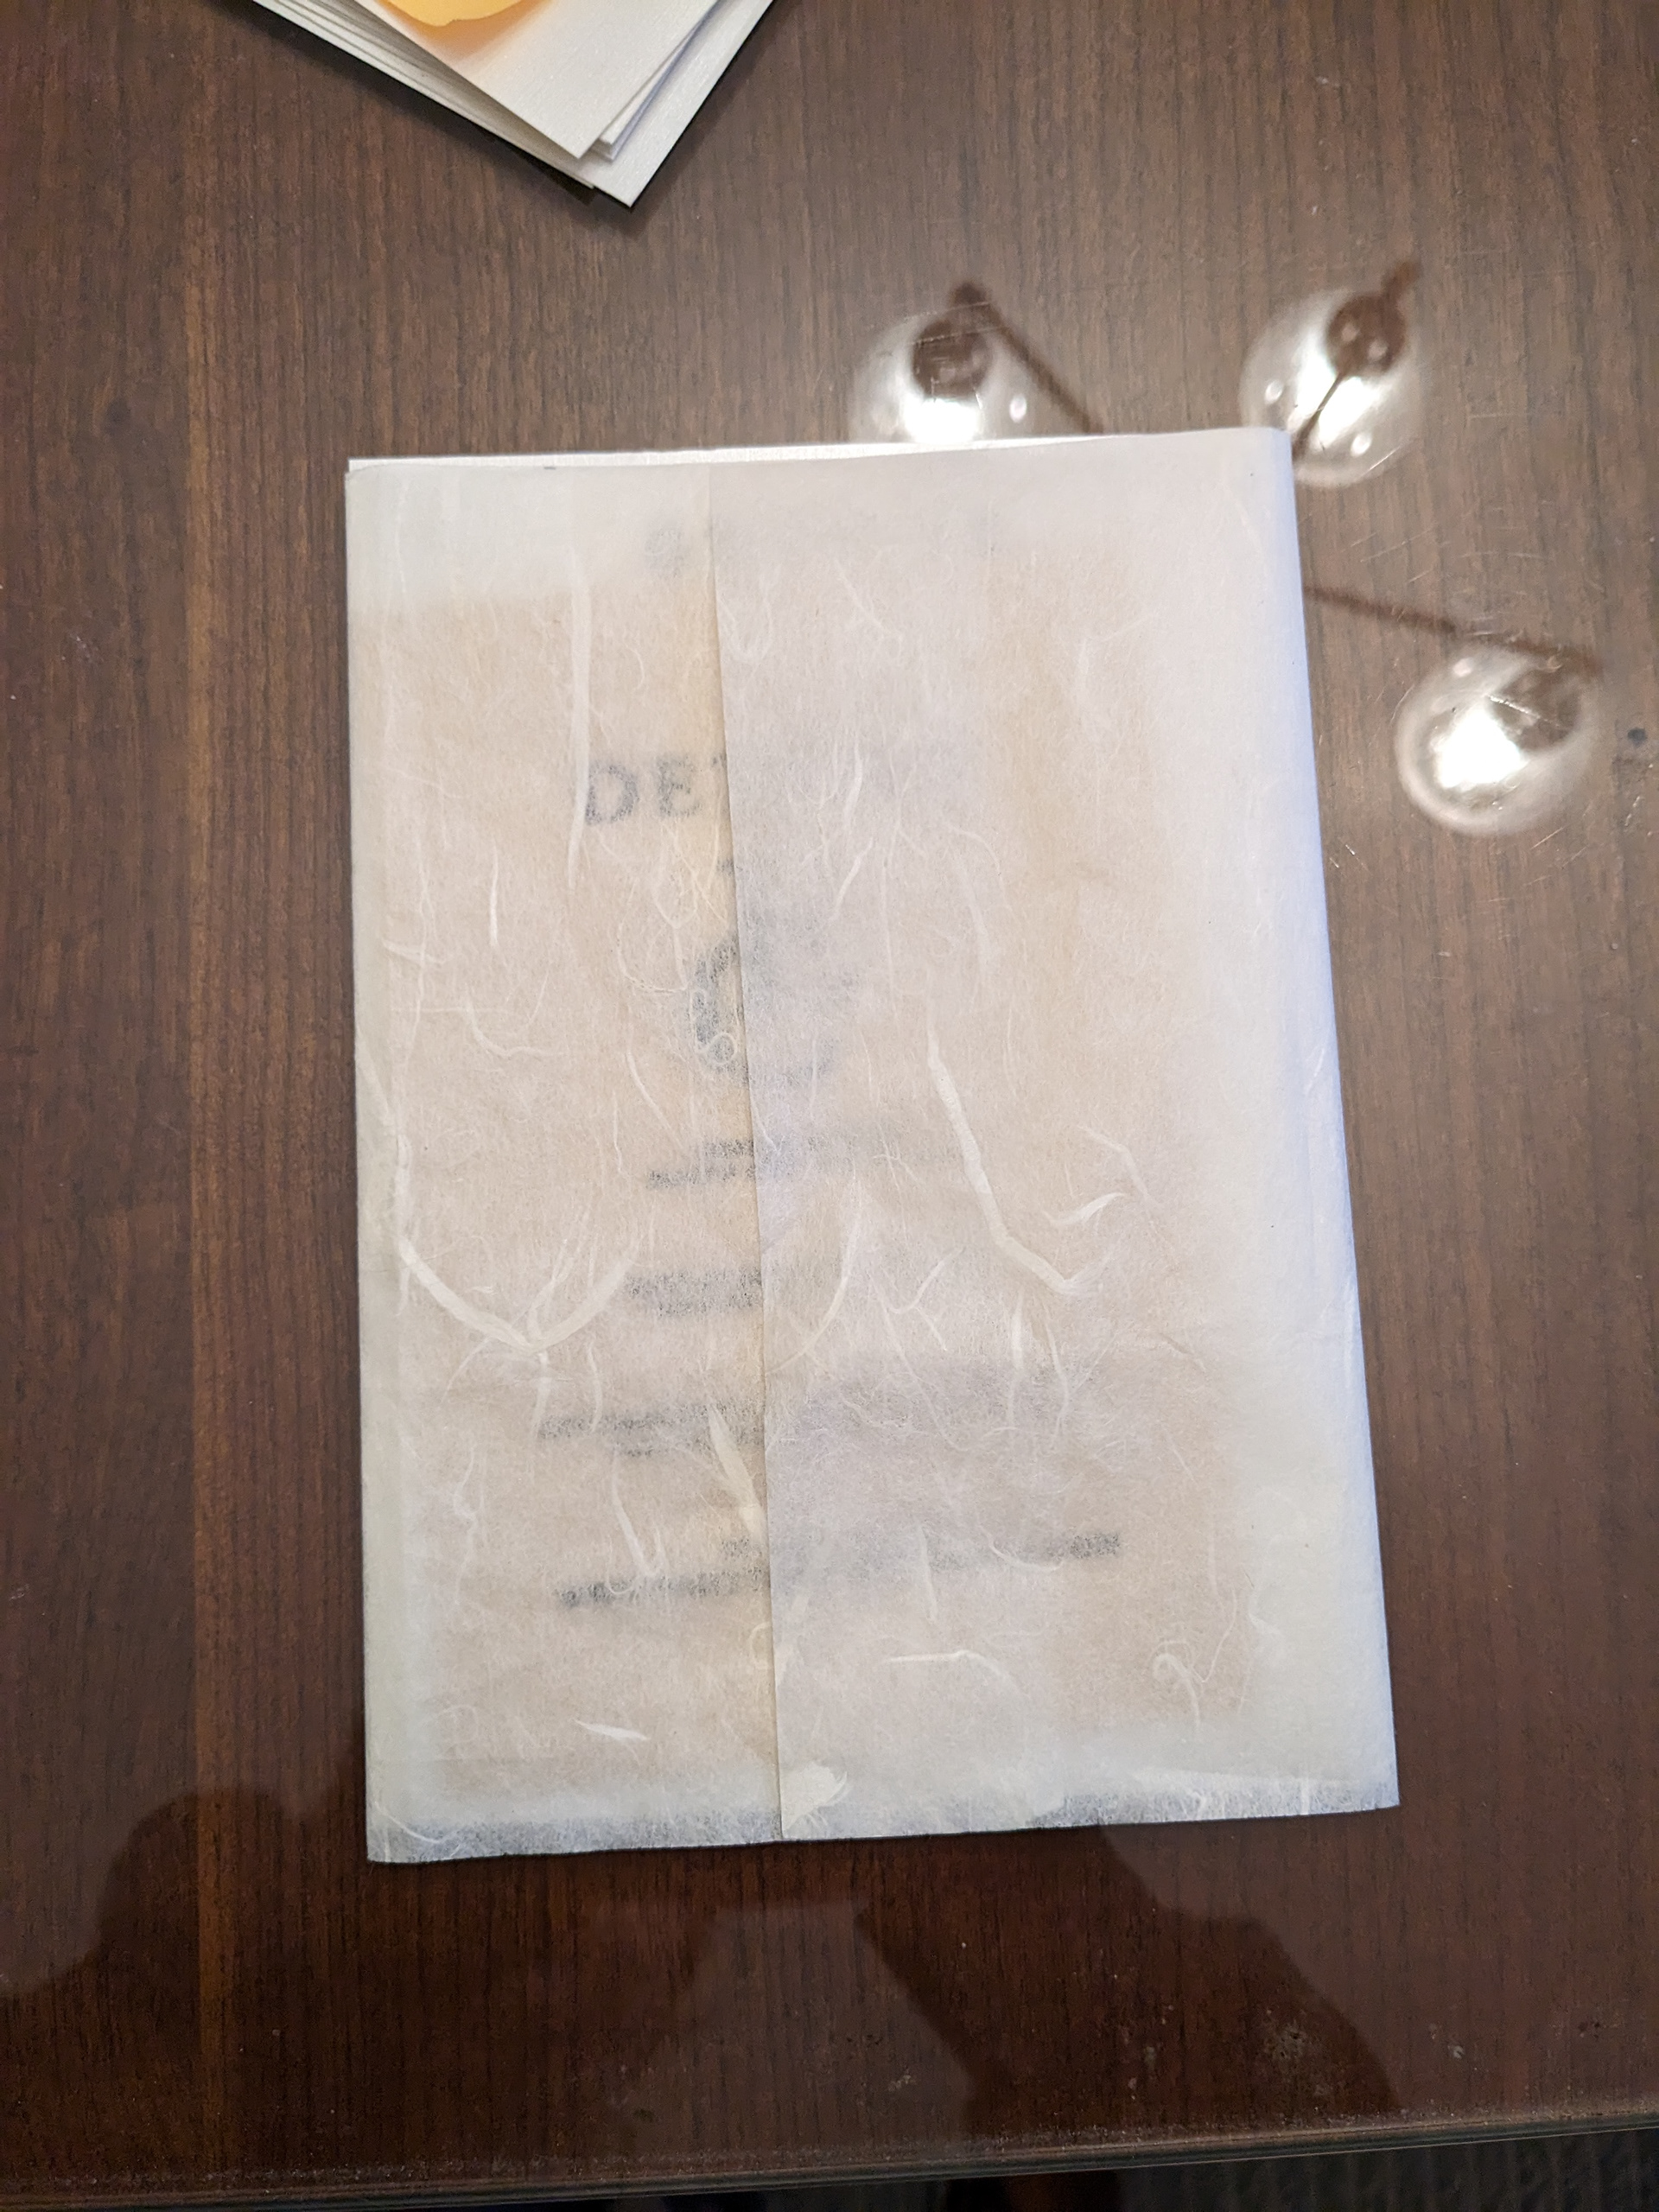

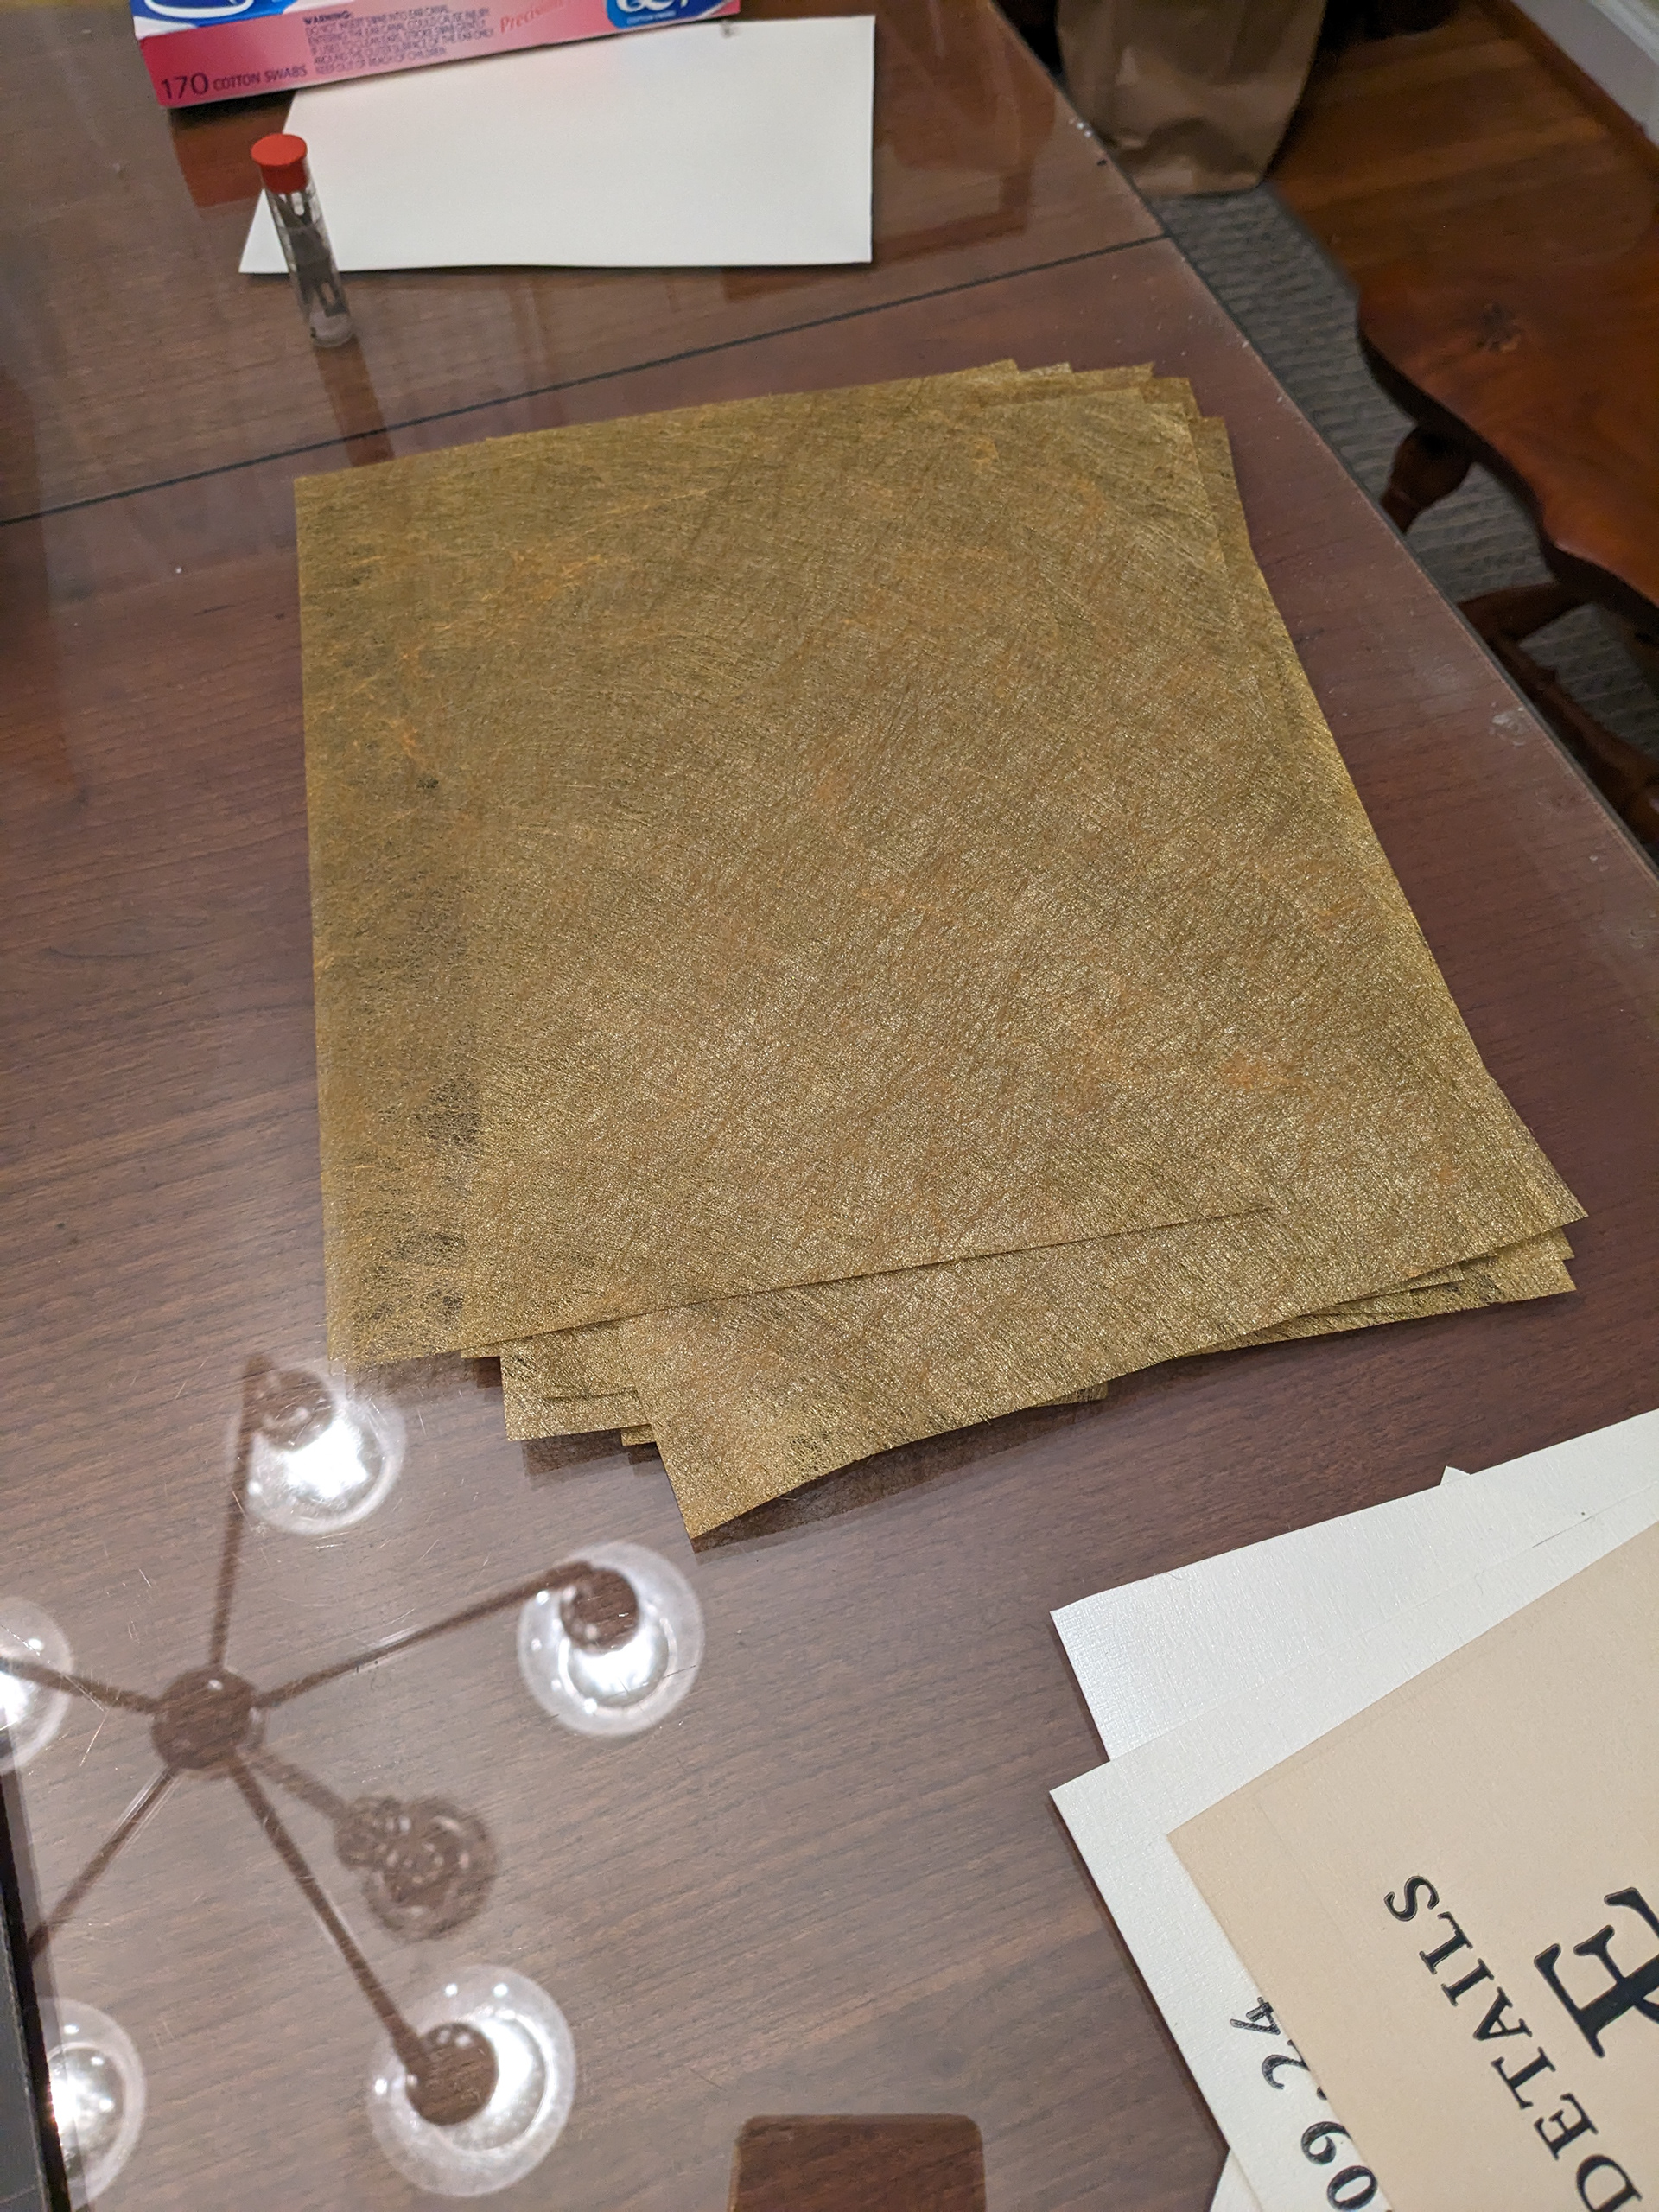
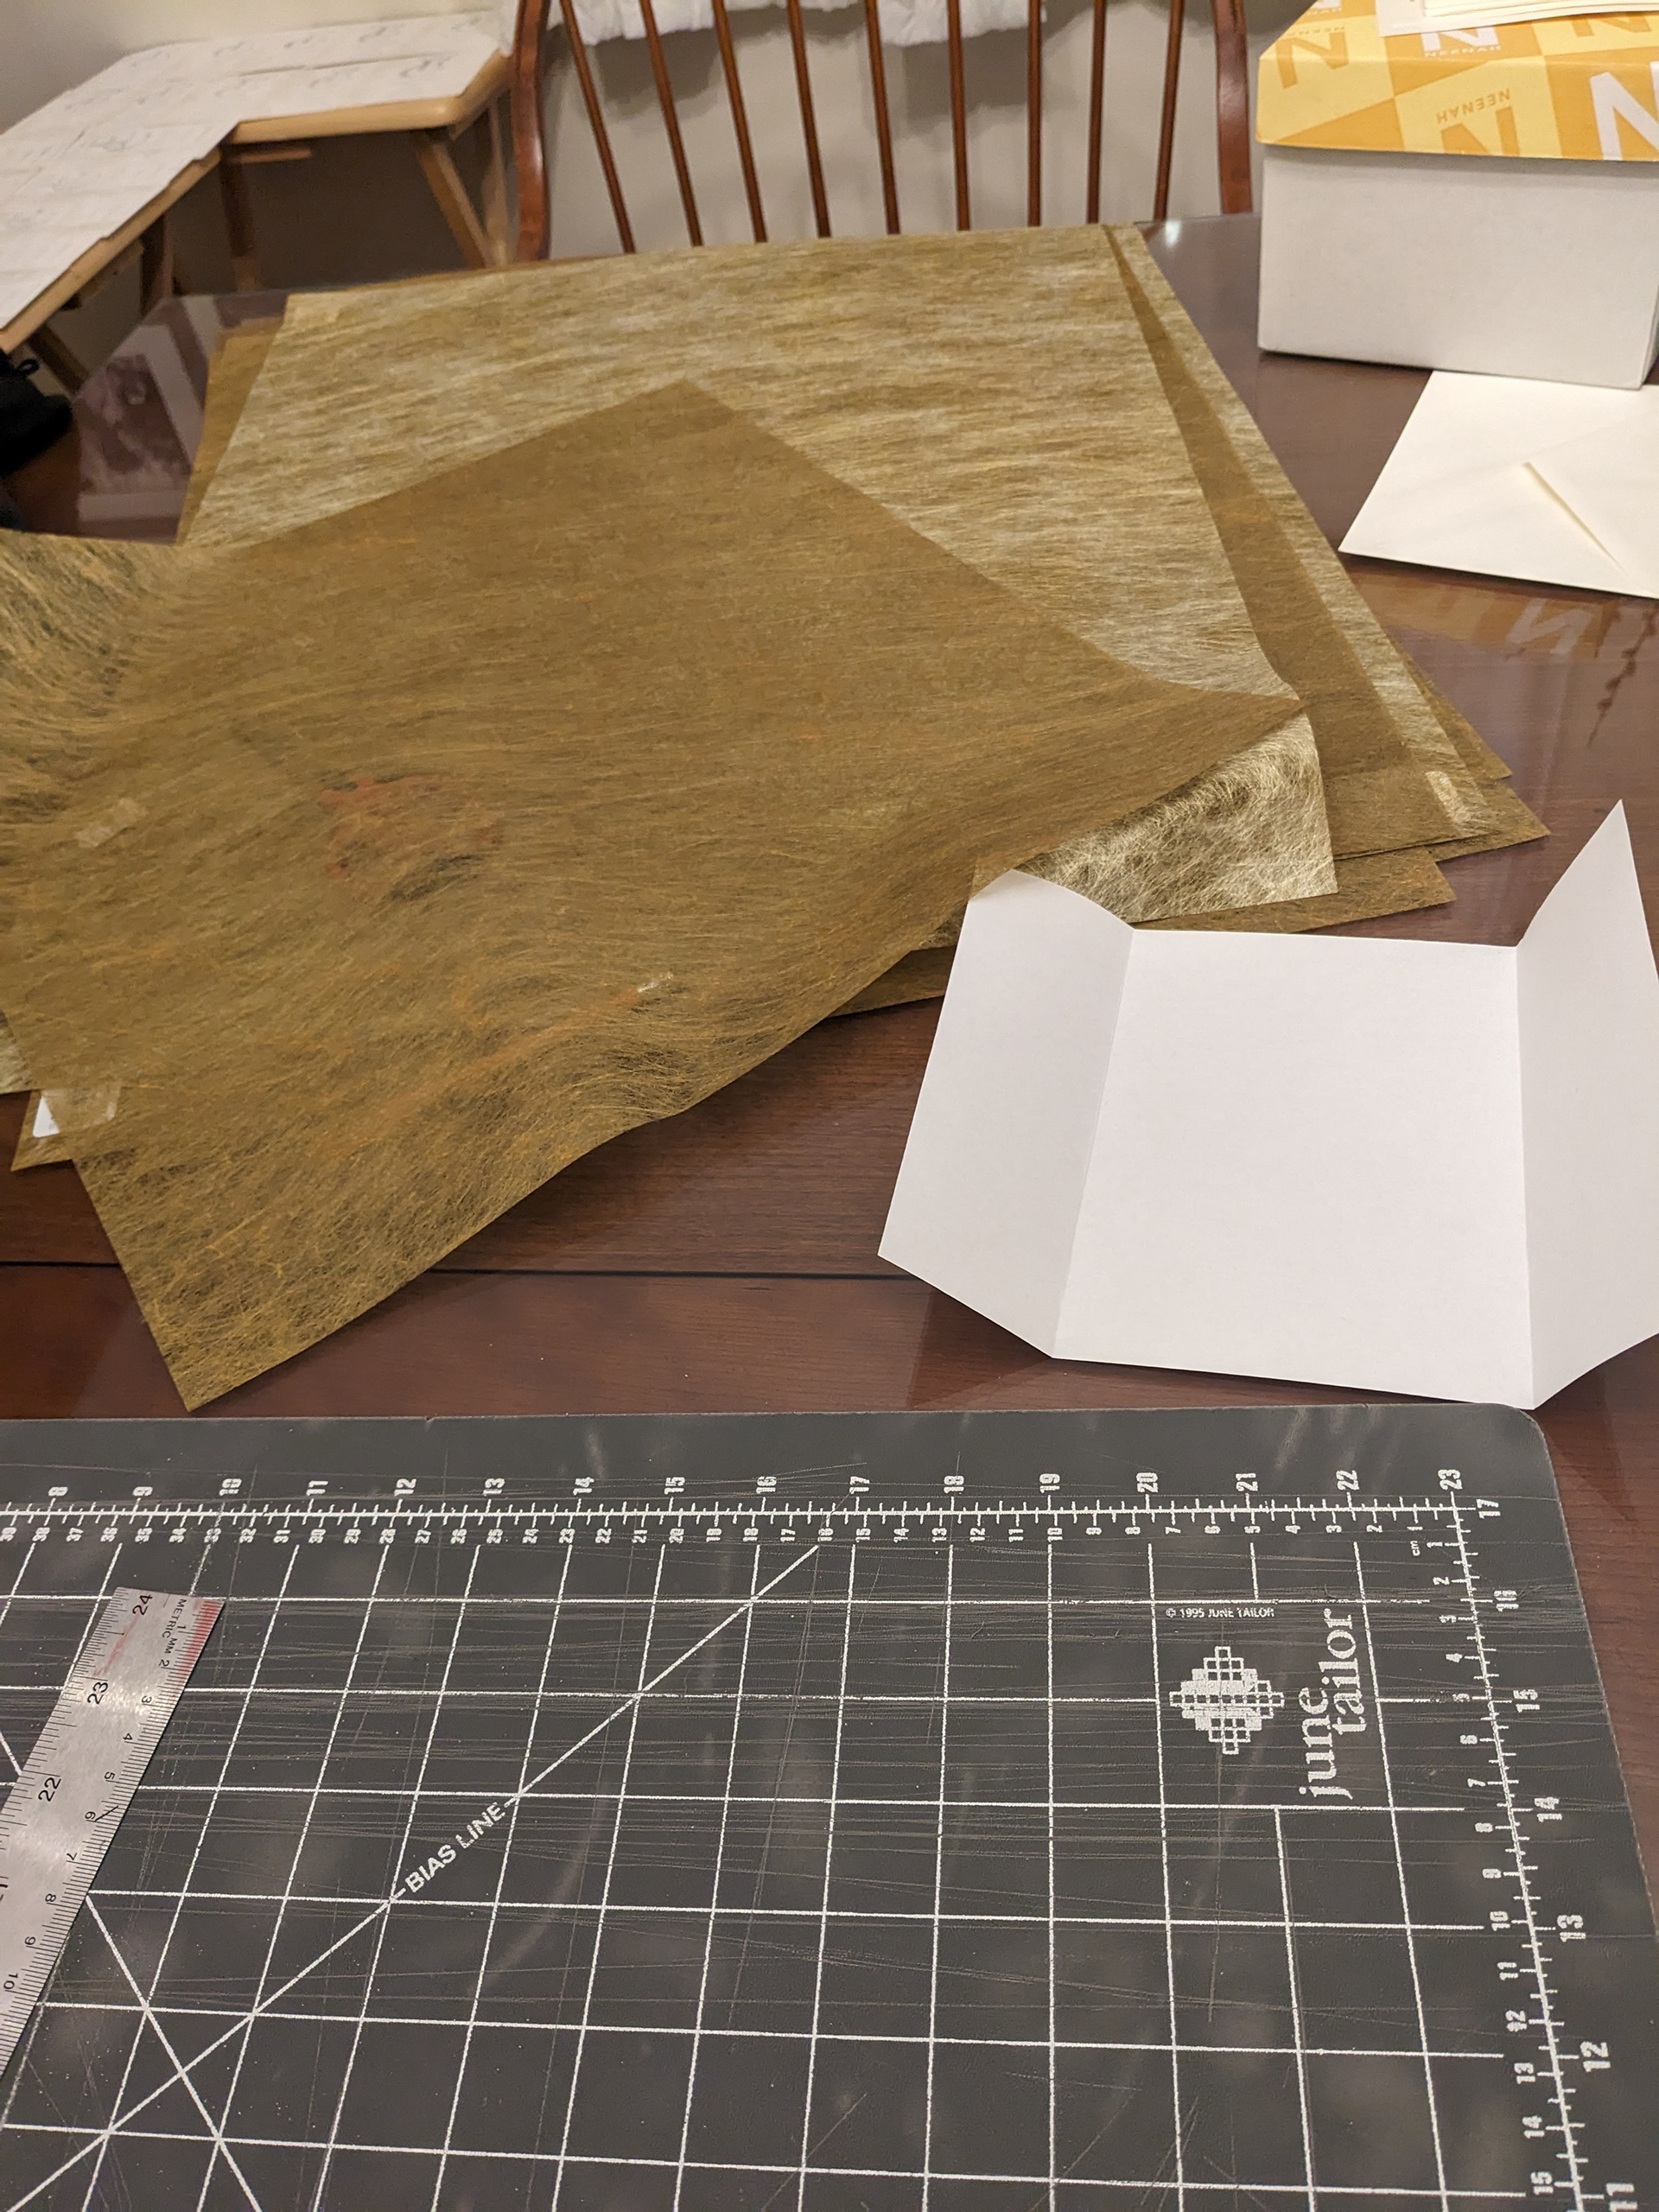
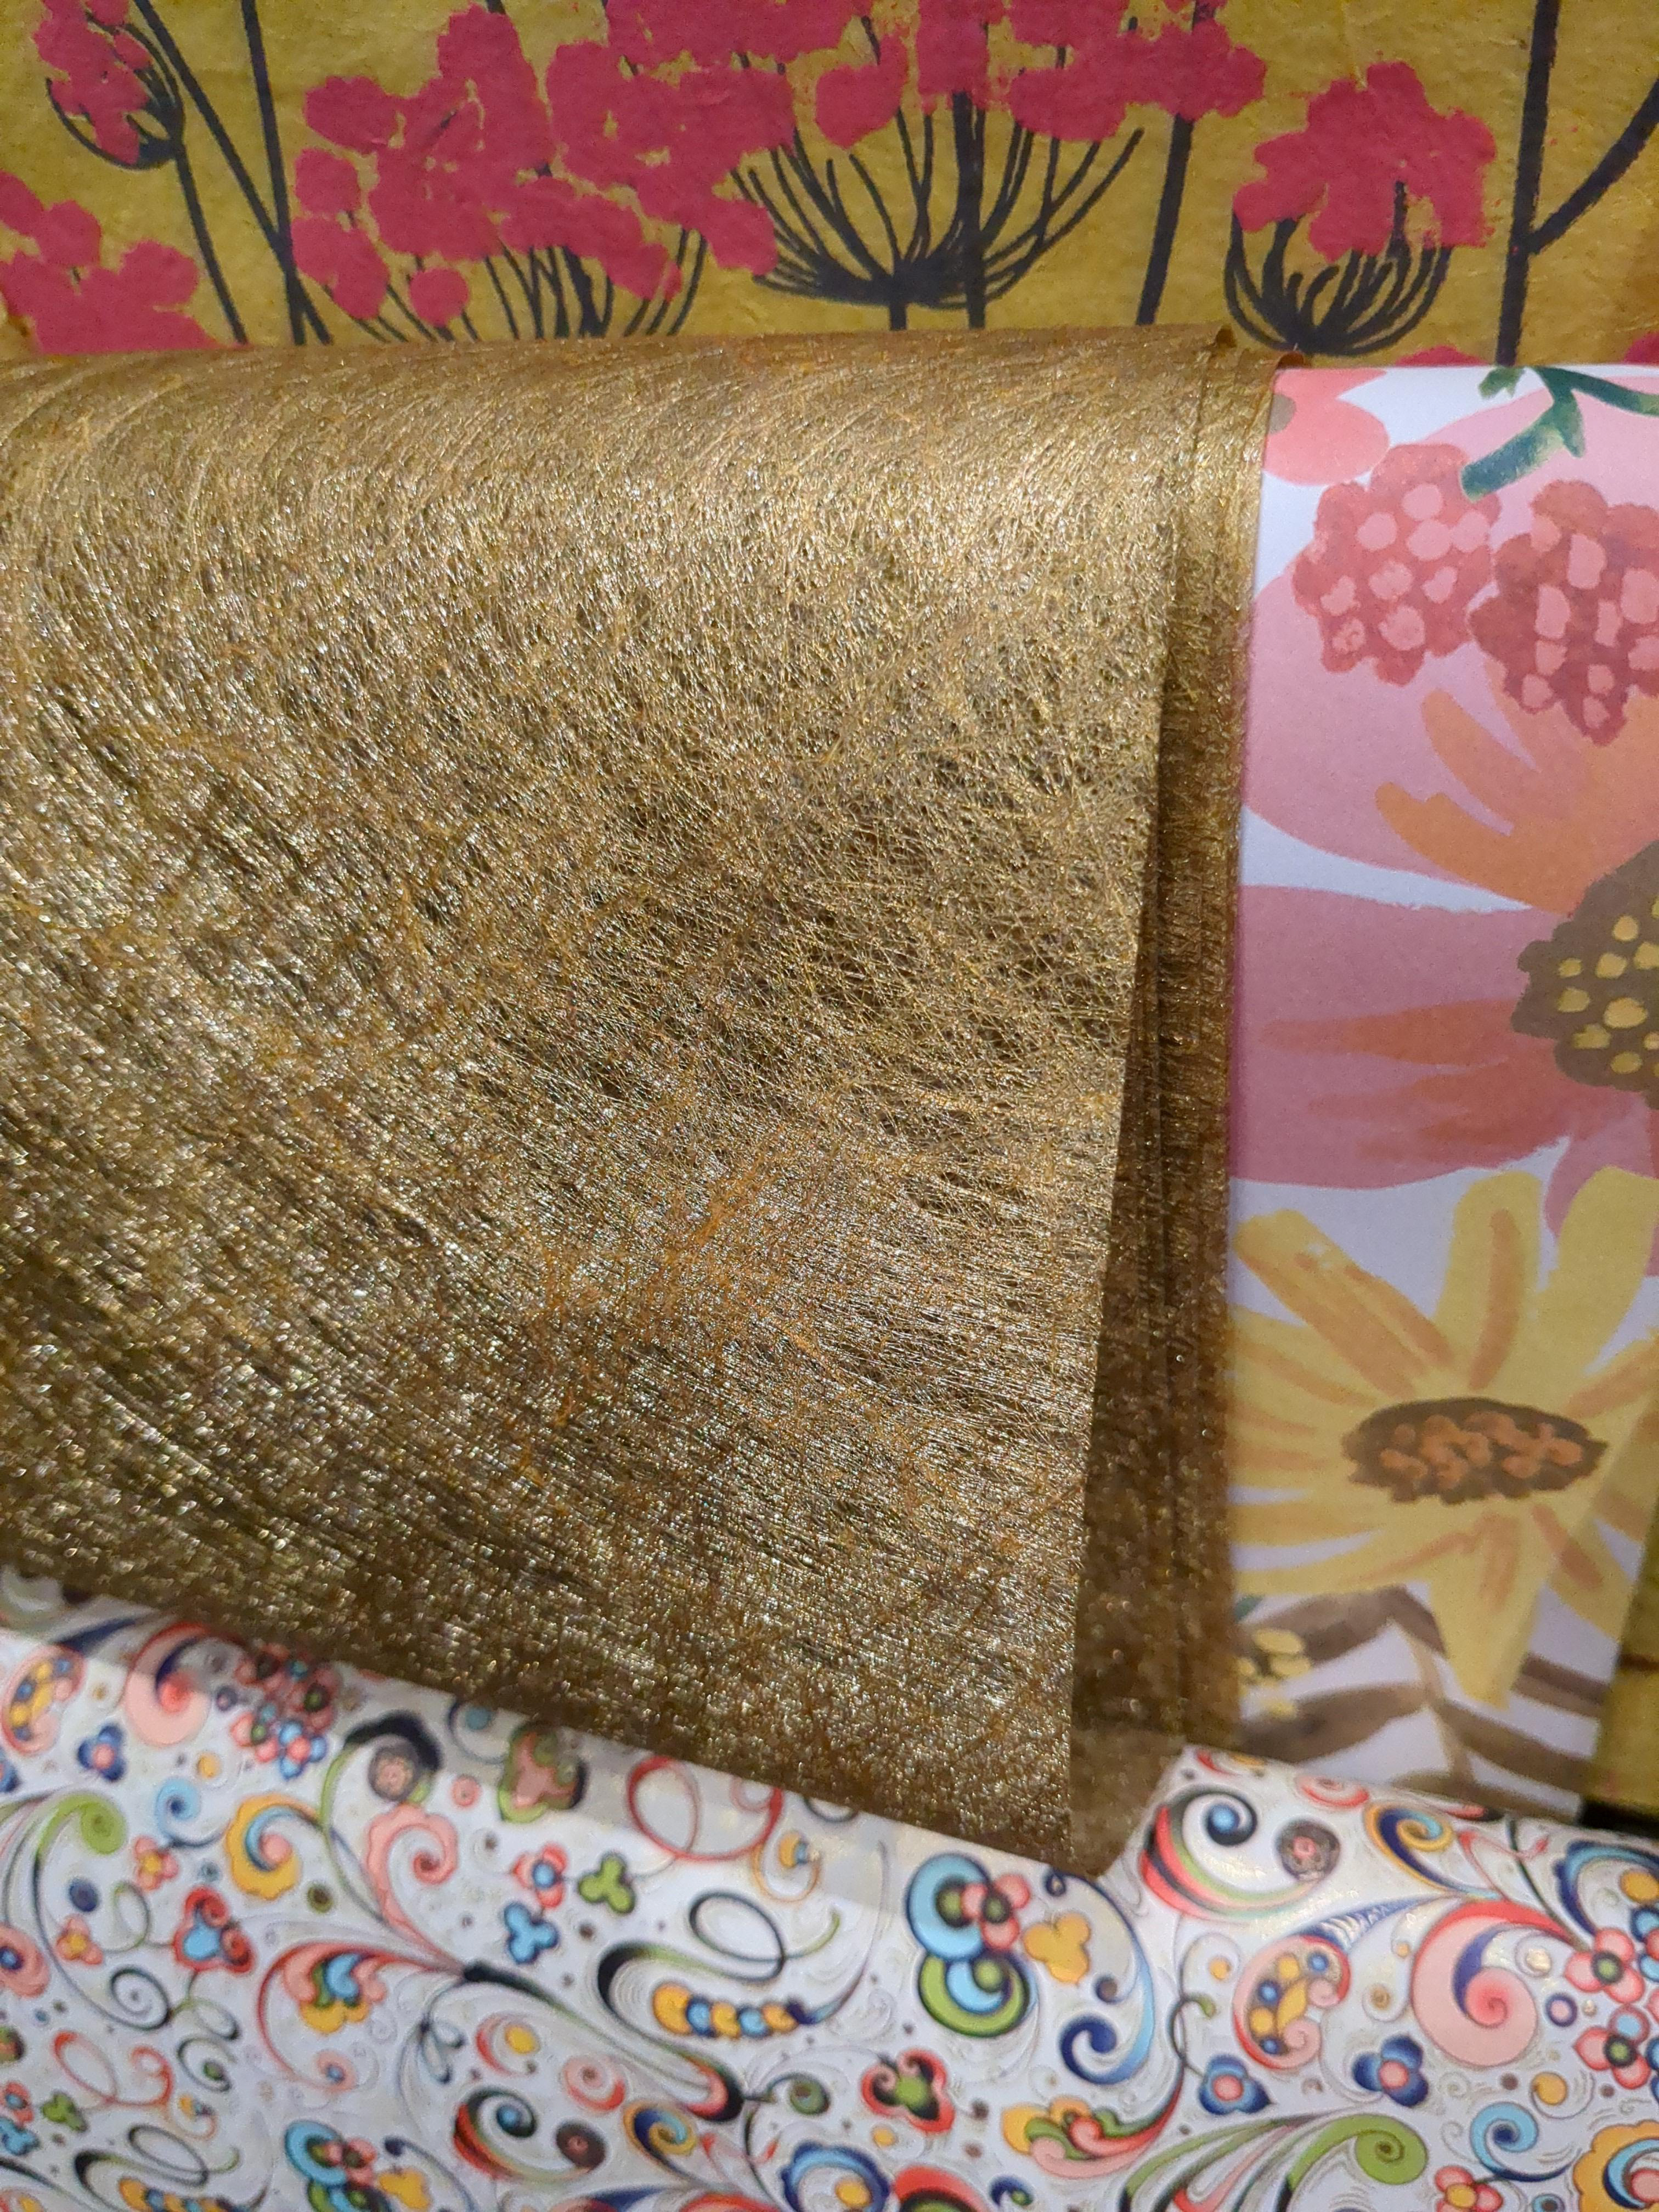
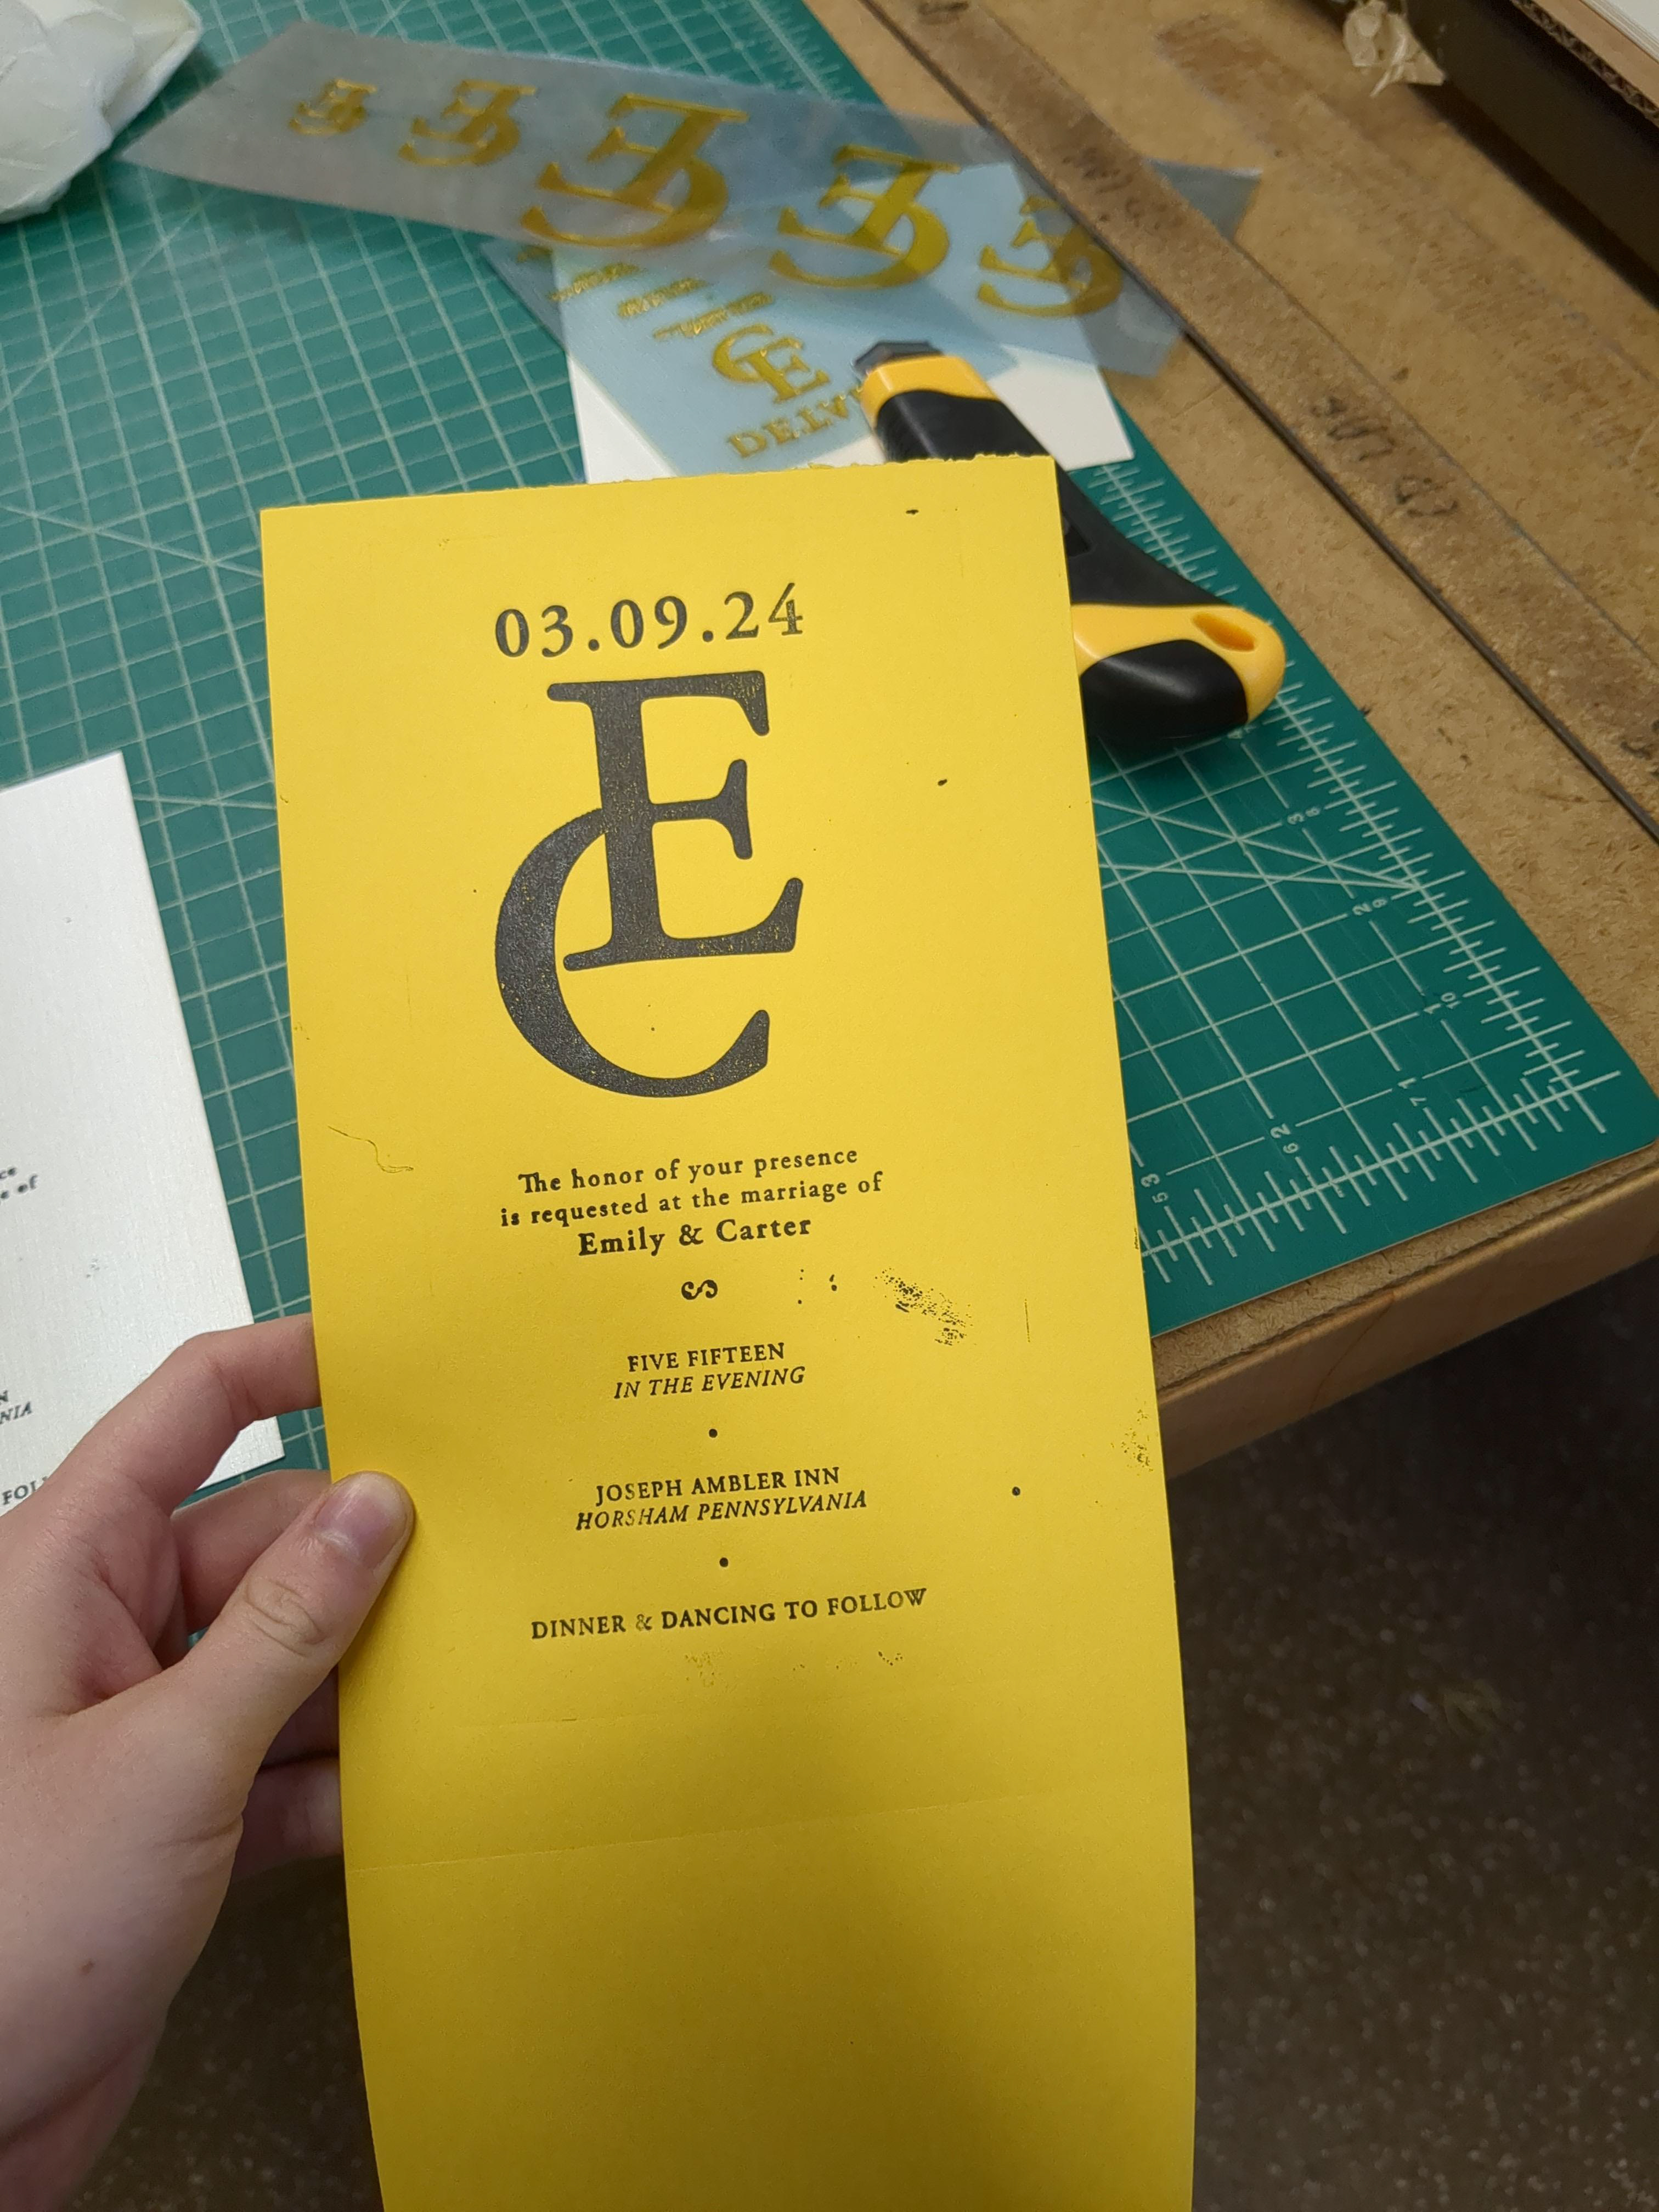
After all the invitations and details cards were complete, I wanted to create a wrap around the invitation to create an experience. These were the general tests and paper texture experiments.
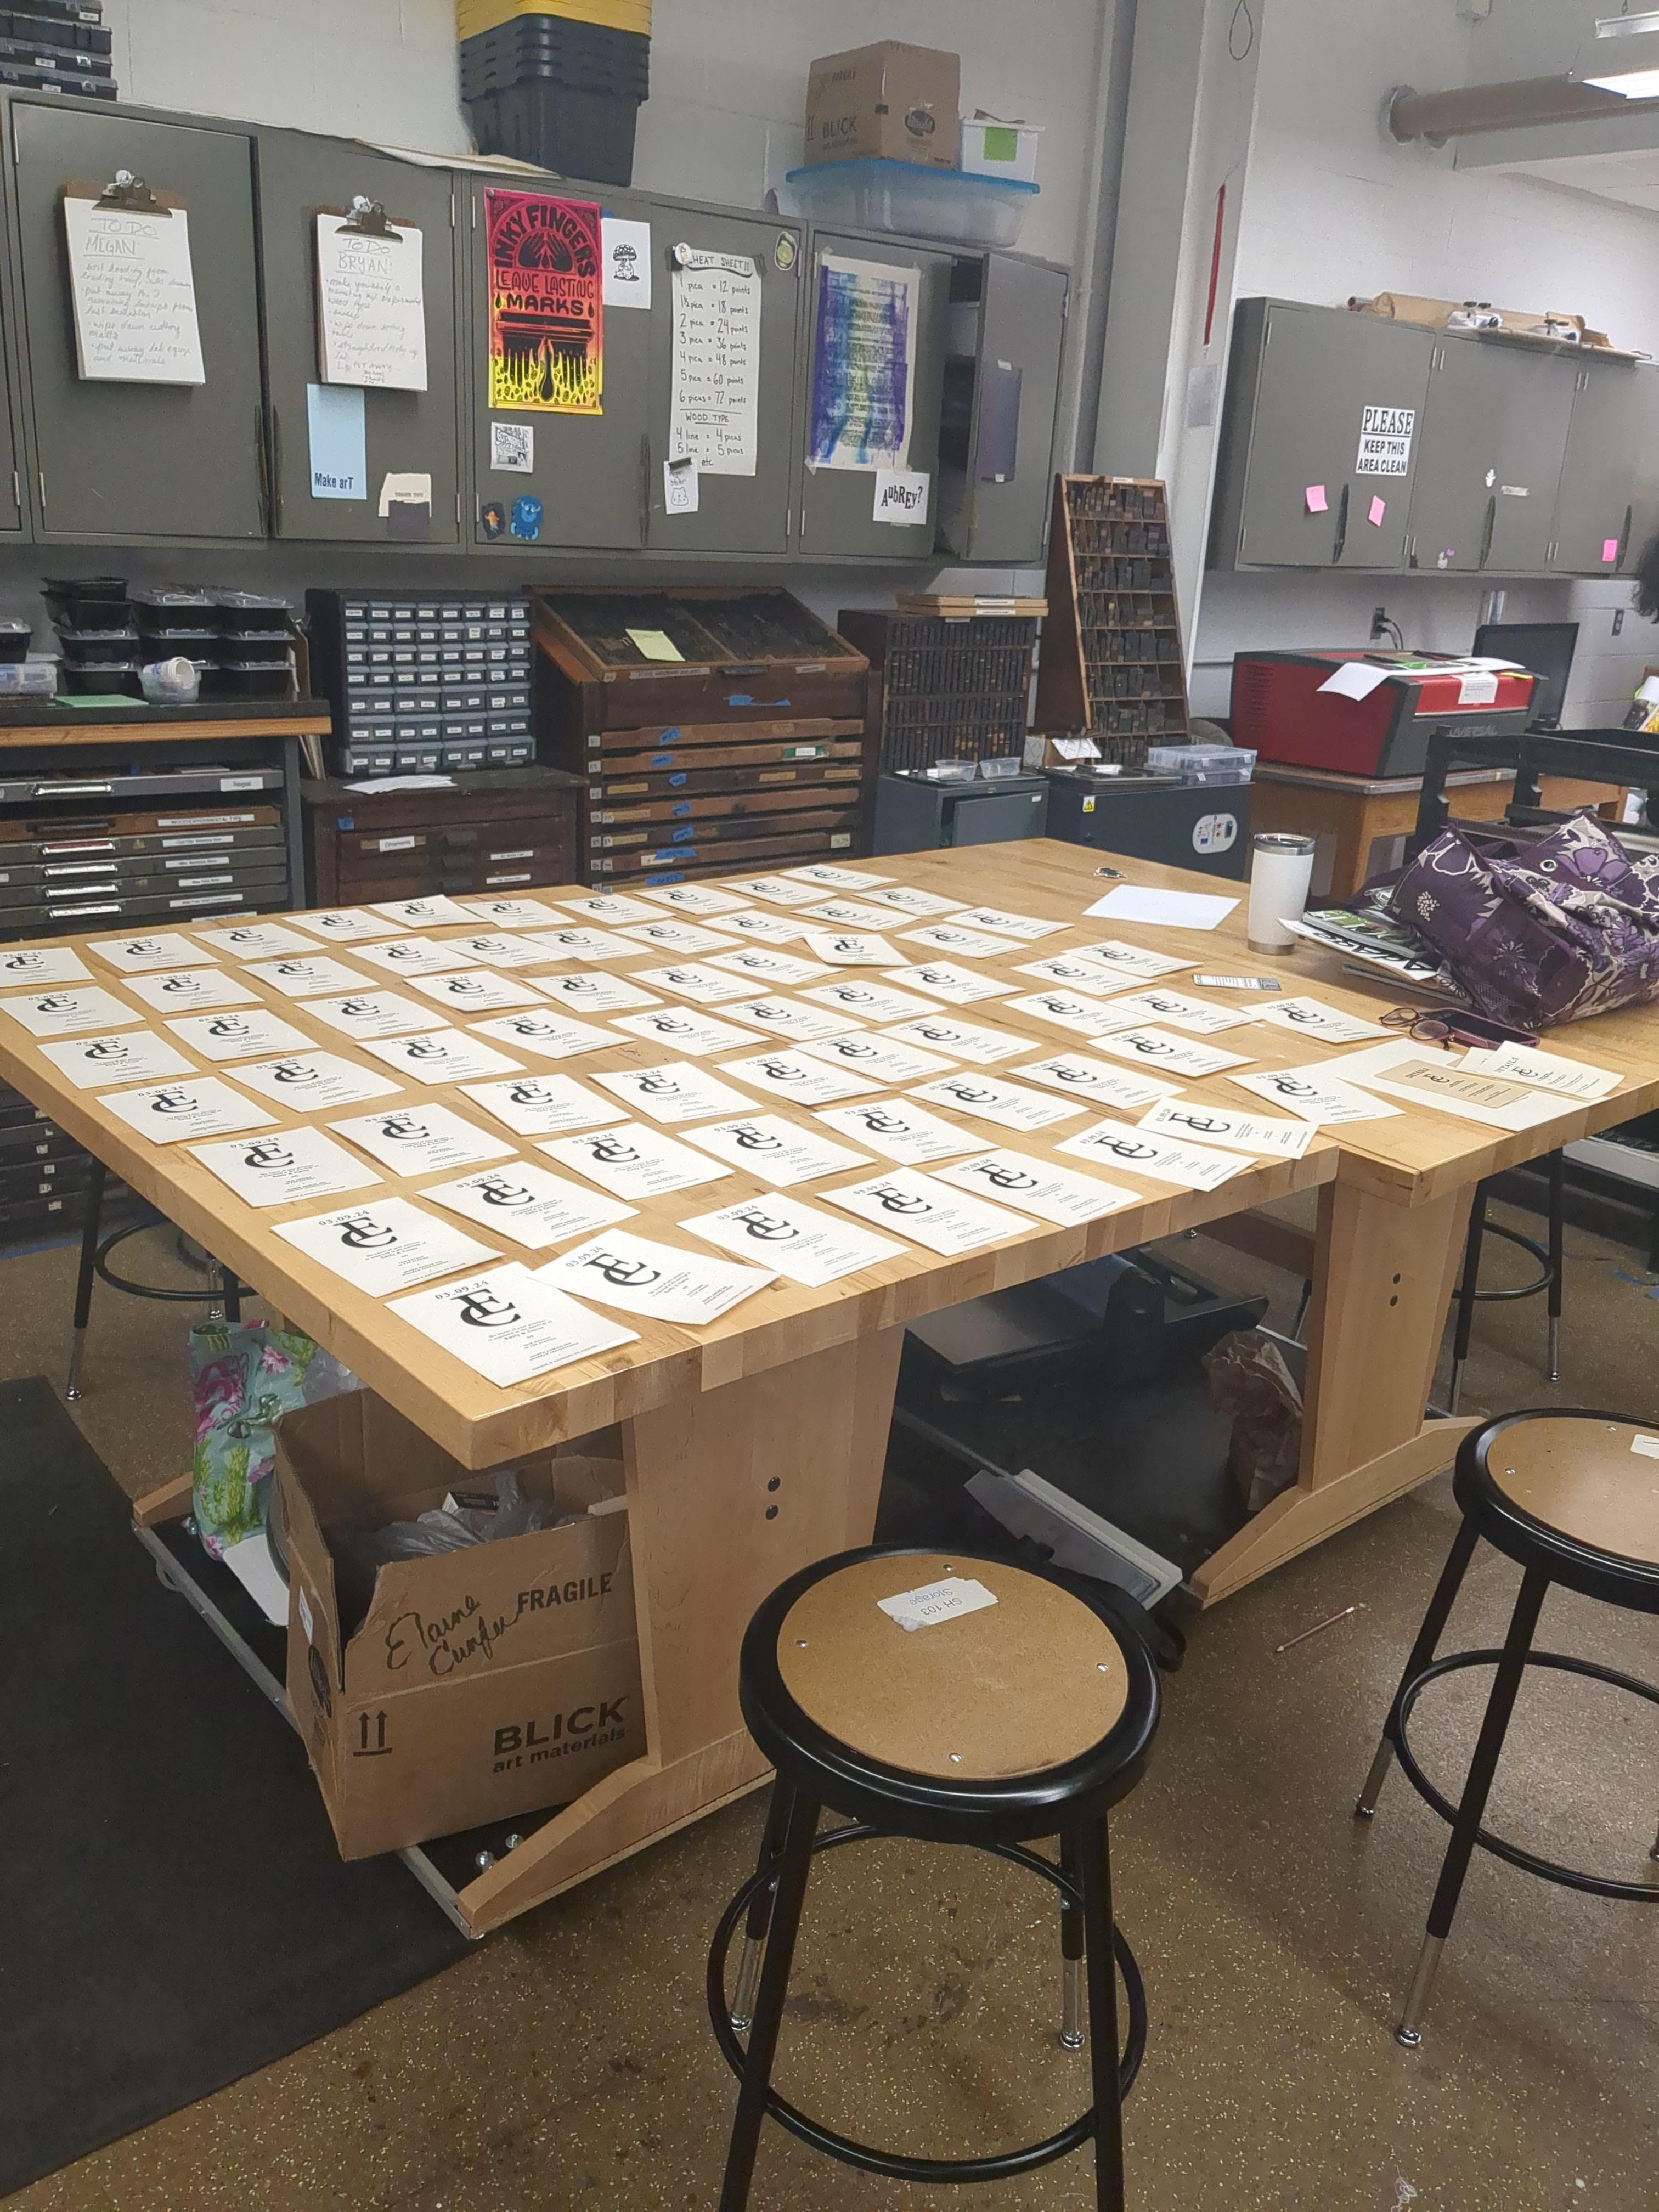
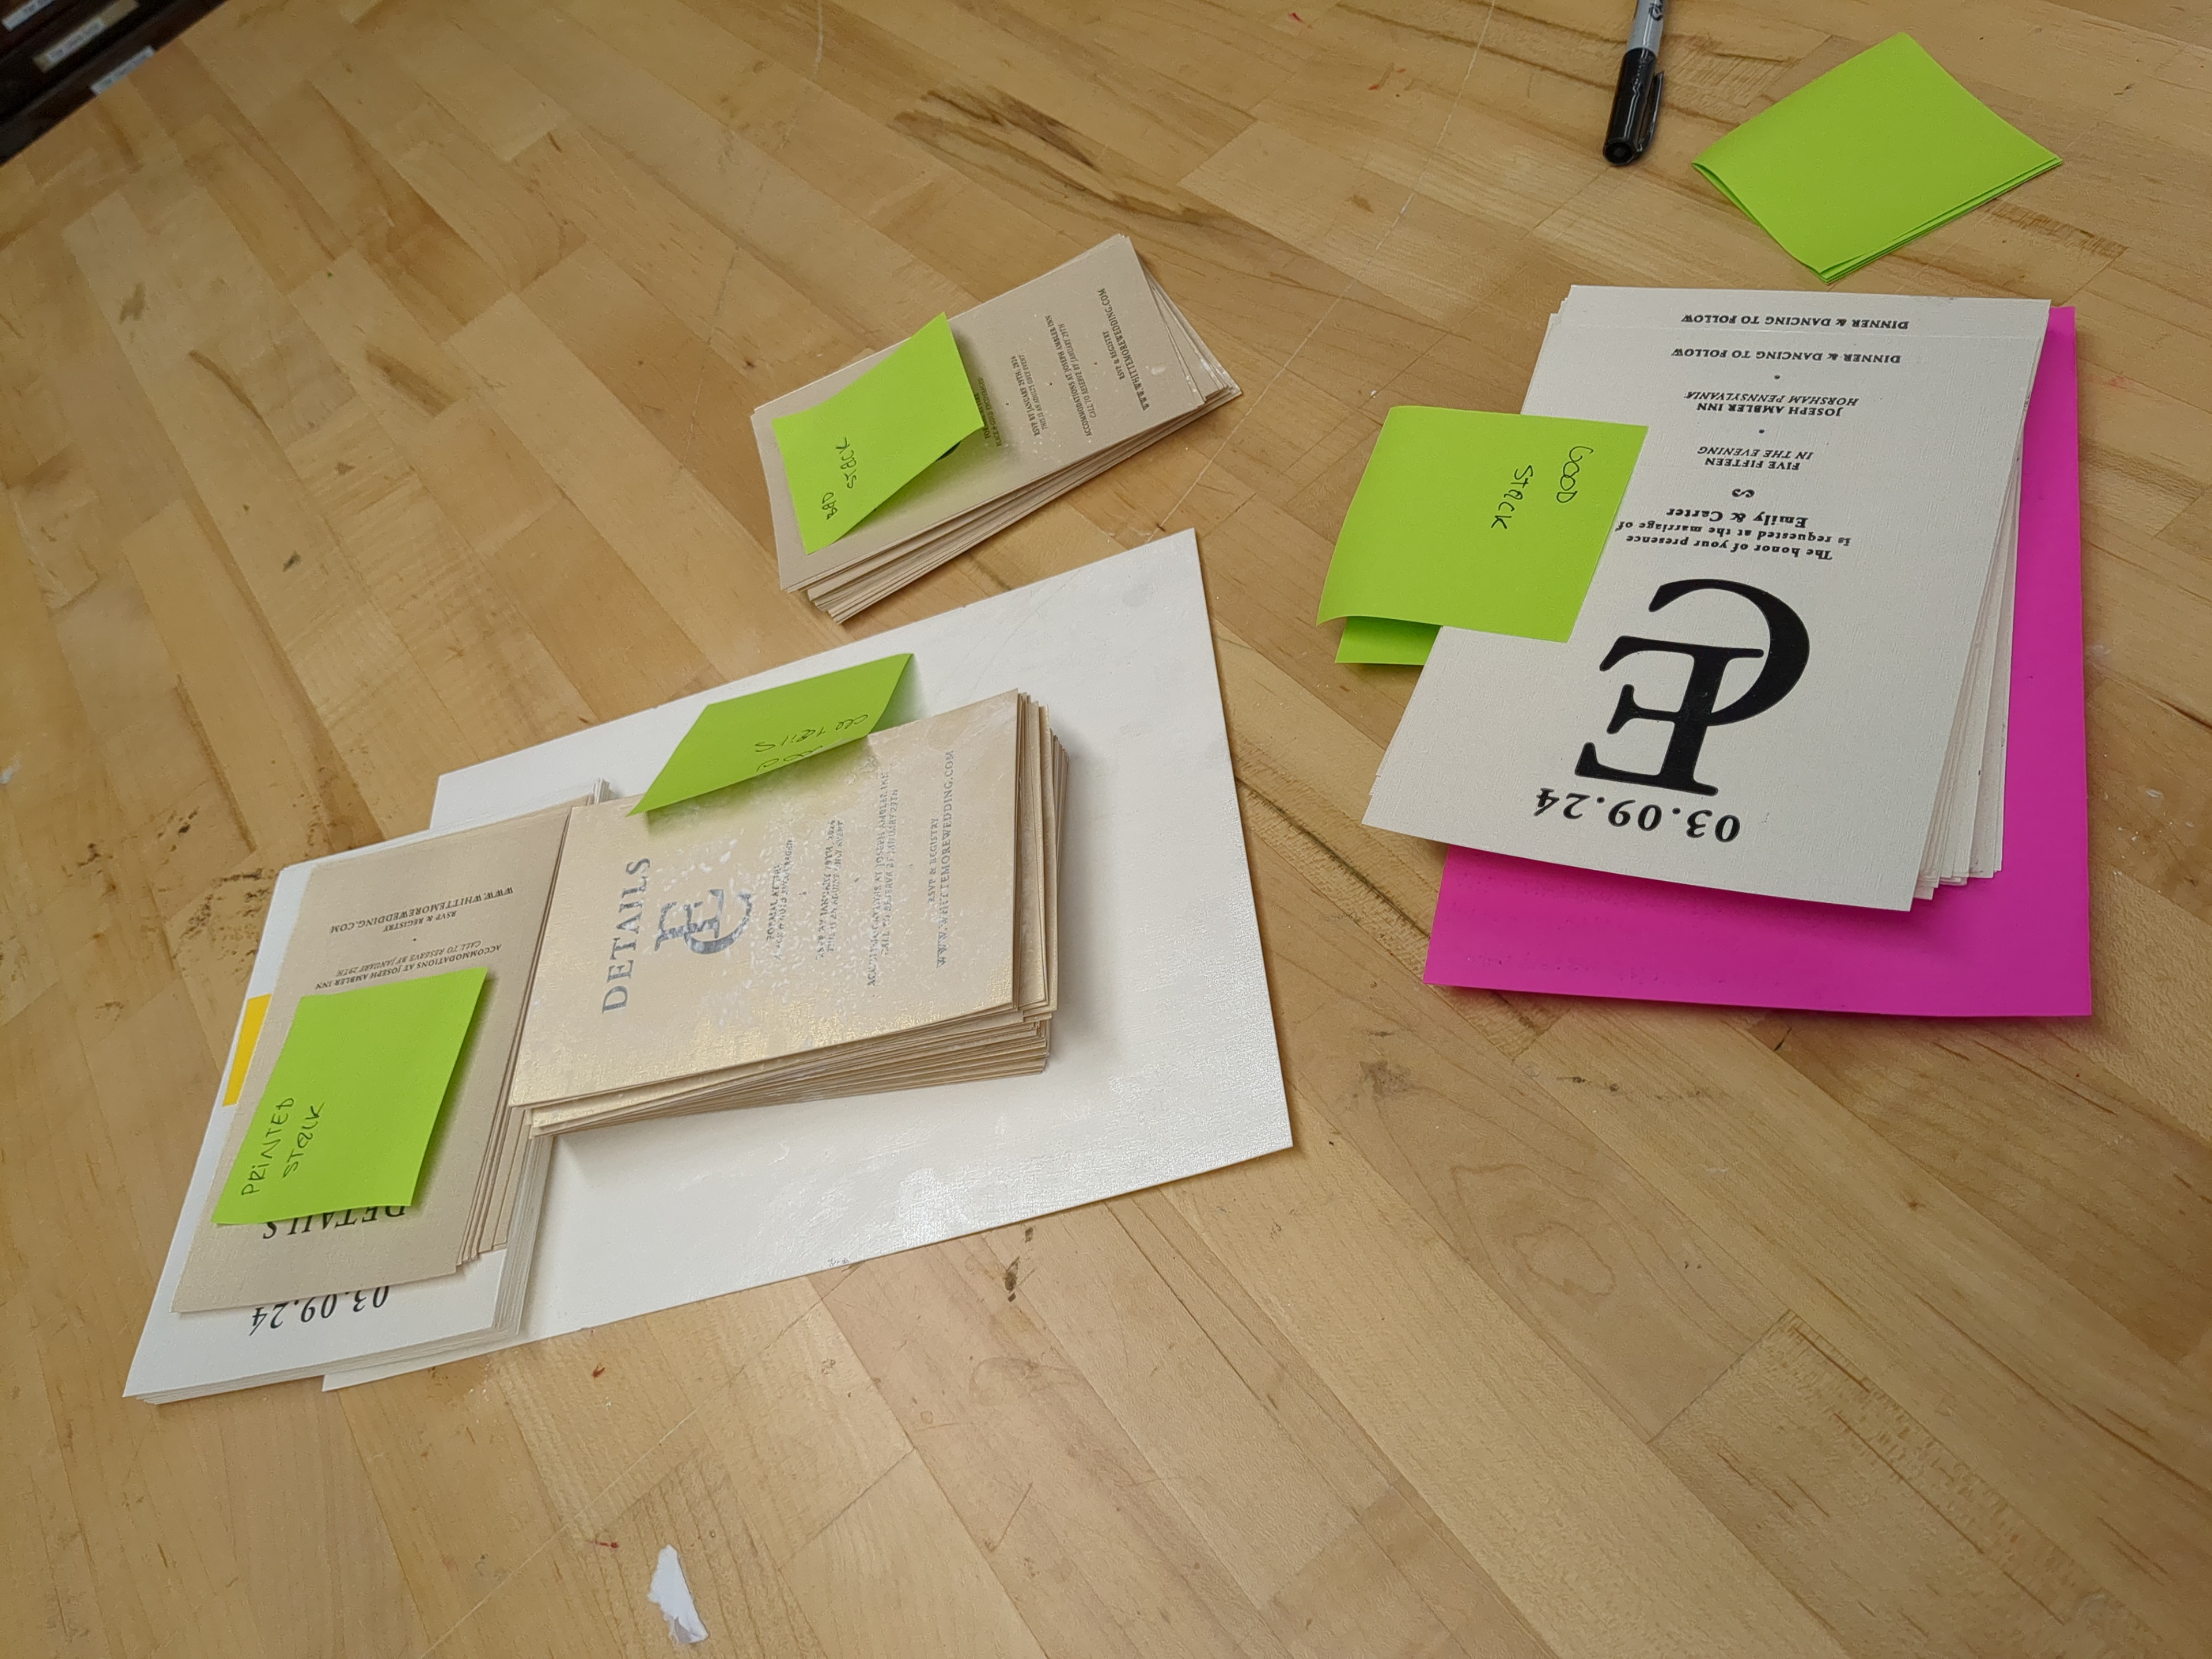
I would leave these to dry on a rack. If they needed to dry fast, I would apply a layer of cornstarch with a paintbrush. I also created files of the best and worst stacks. I would constantly hand check every invitation to see if they passed inspection.
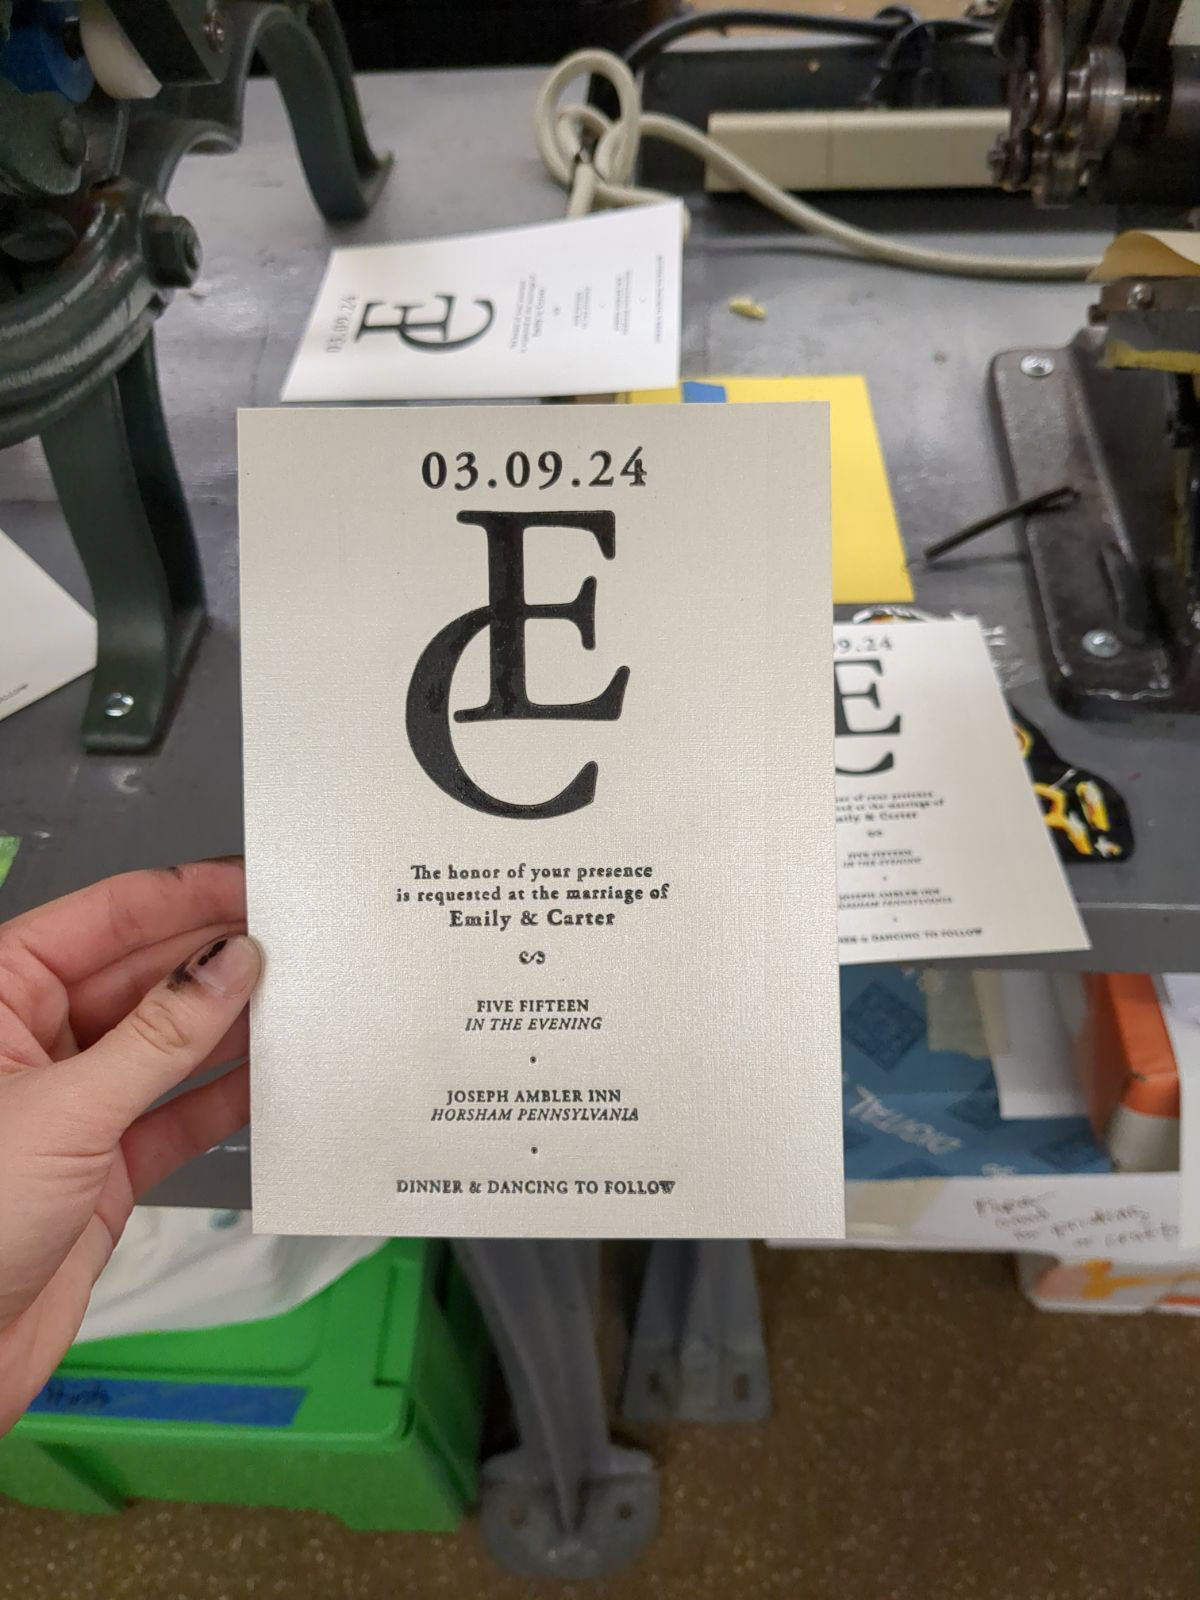
After long hours of experimentation, I got a hang of the process and the prints were consistently improving and becoming more beautiful.

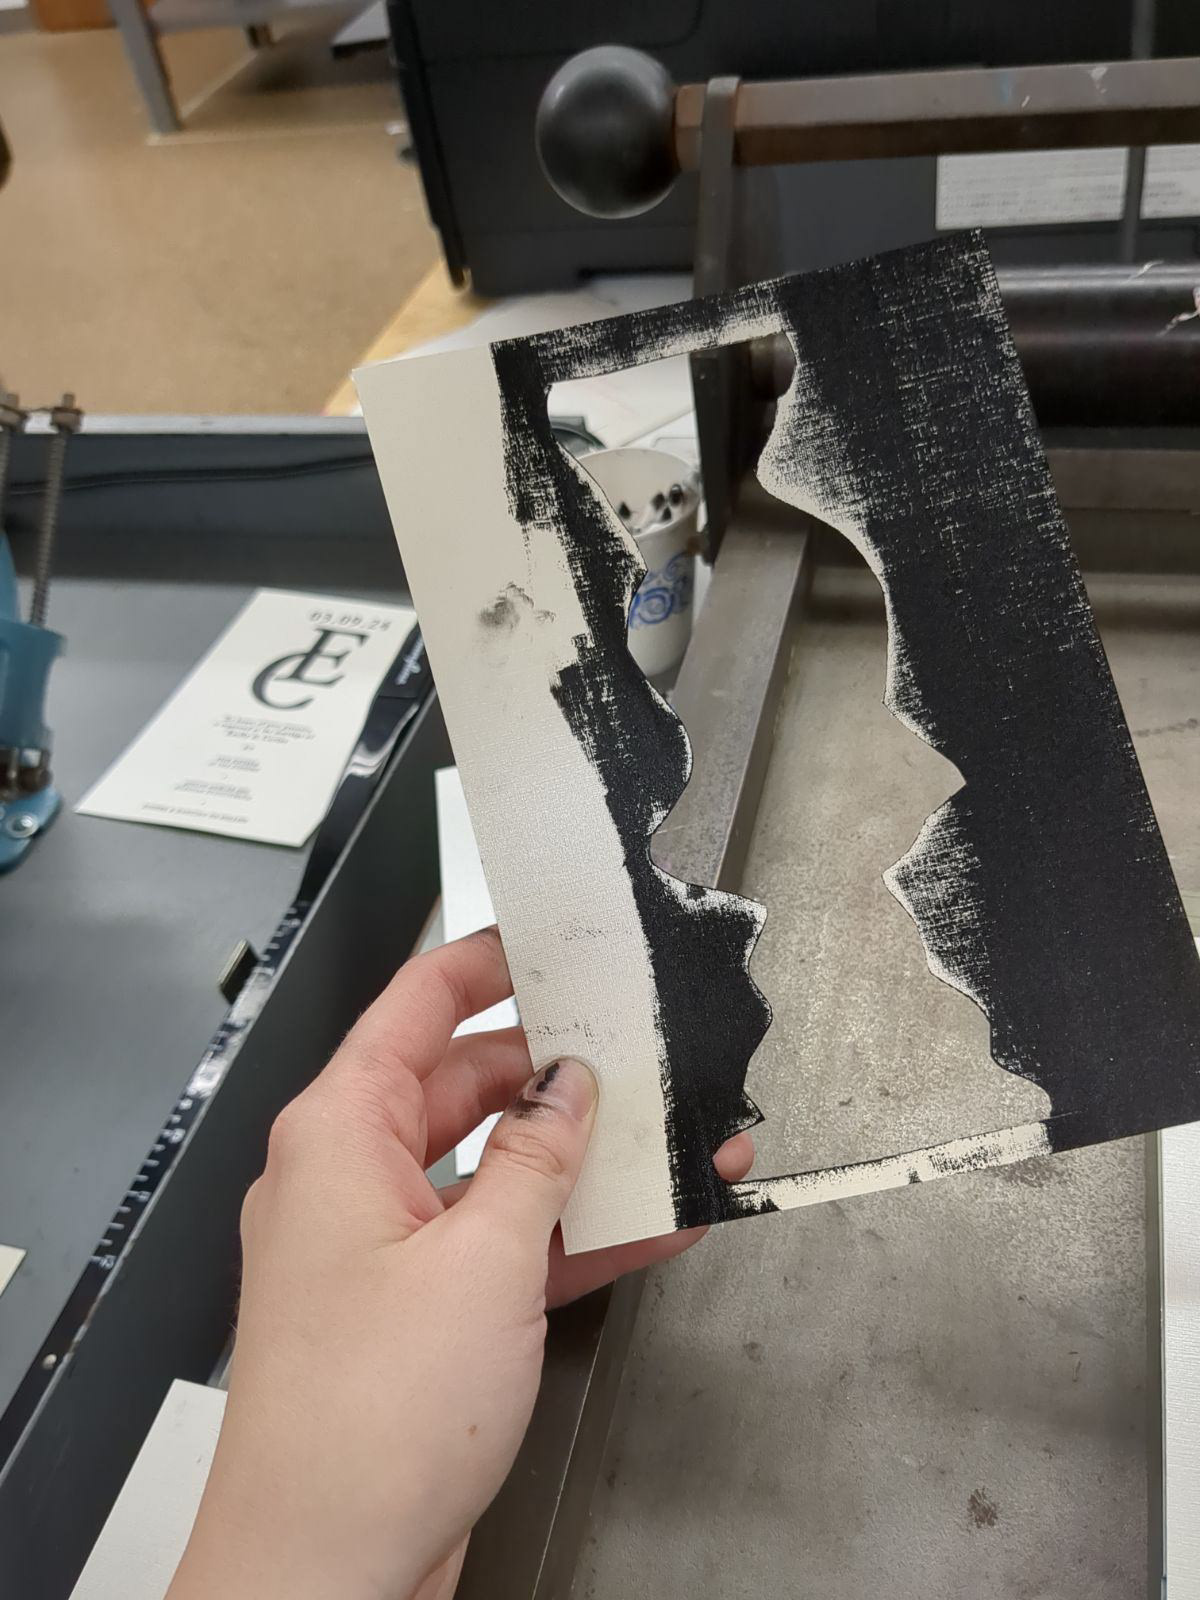
The left side shows a example of a smudge we removed. Another form of correction we did was filling in the E and C from the logo with a paint brush and ink and cleaner mixture. This is shown on the right. I didn't do this too often because I enjoyed the natural print of the press.
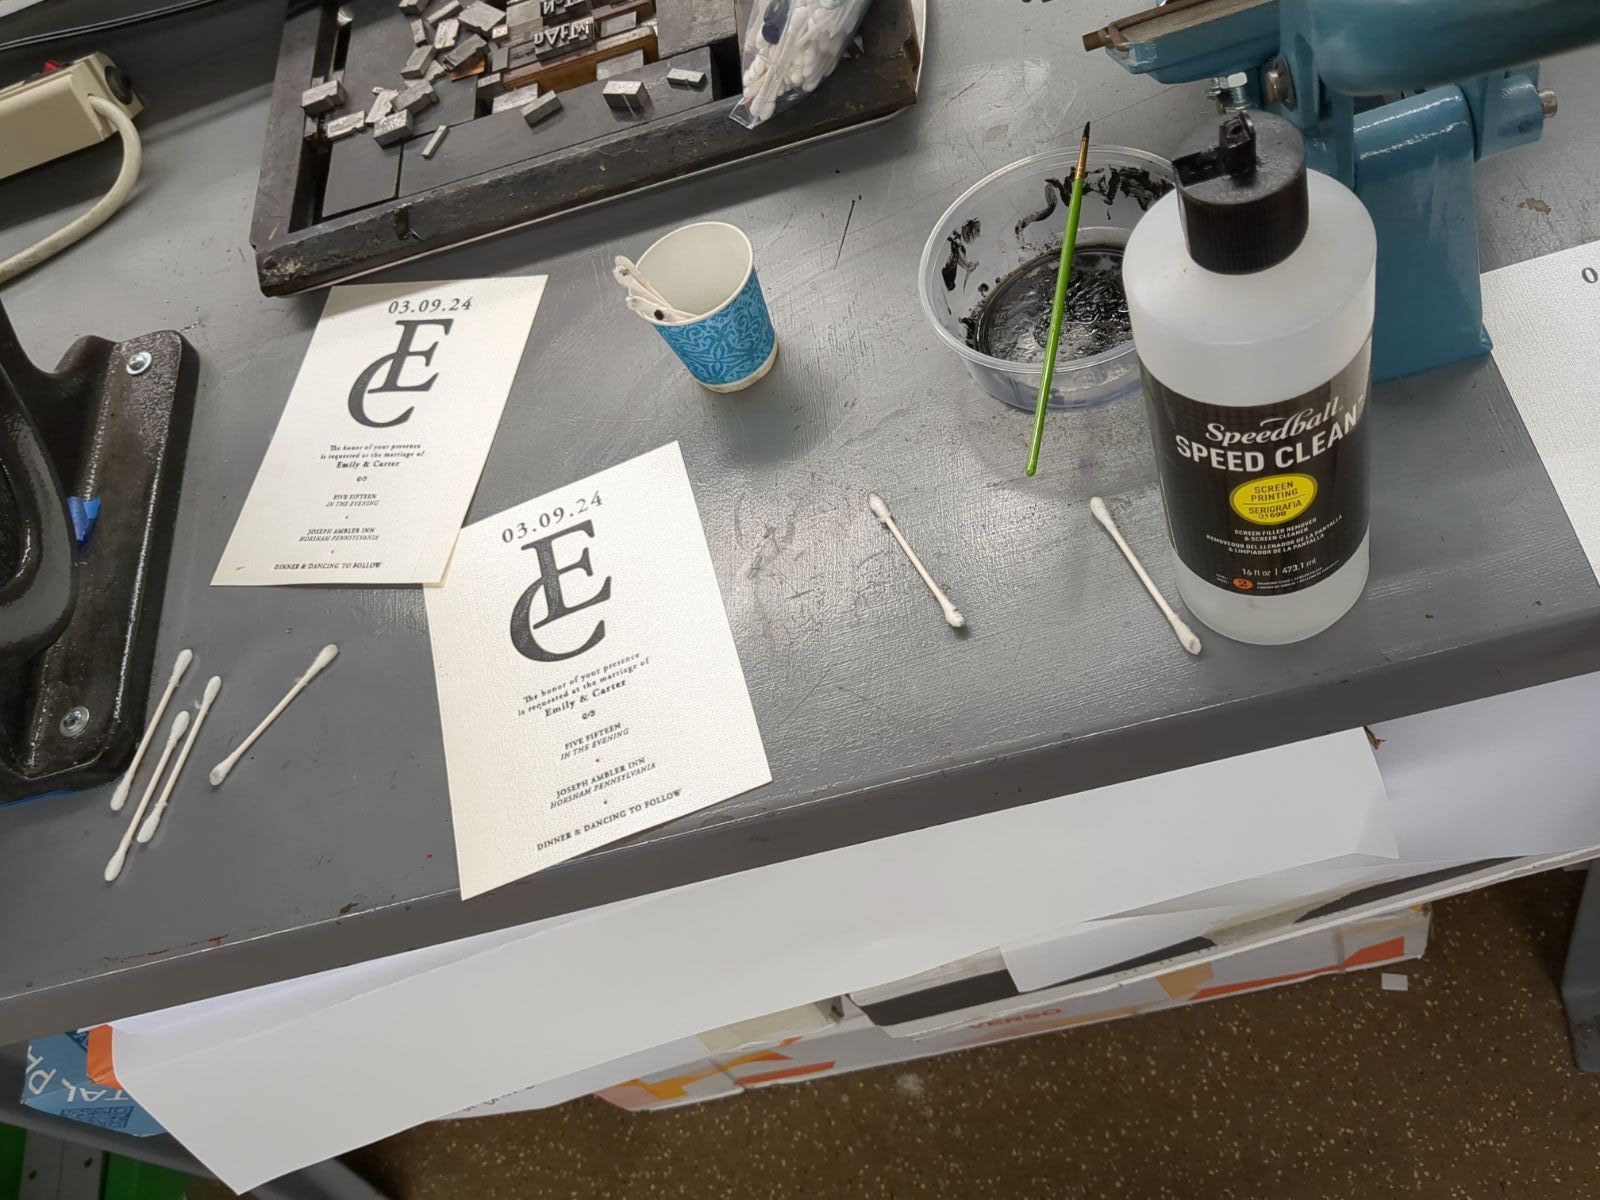
Most of the time, there were little errors from the messy process. Since the paper was coated, it was easy to take some cleaner and q tips and gently remove smudges without damaging the paper. This process involved one person printing, and another correcting.

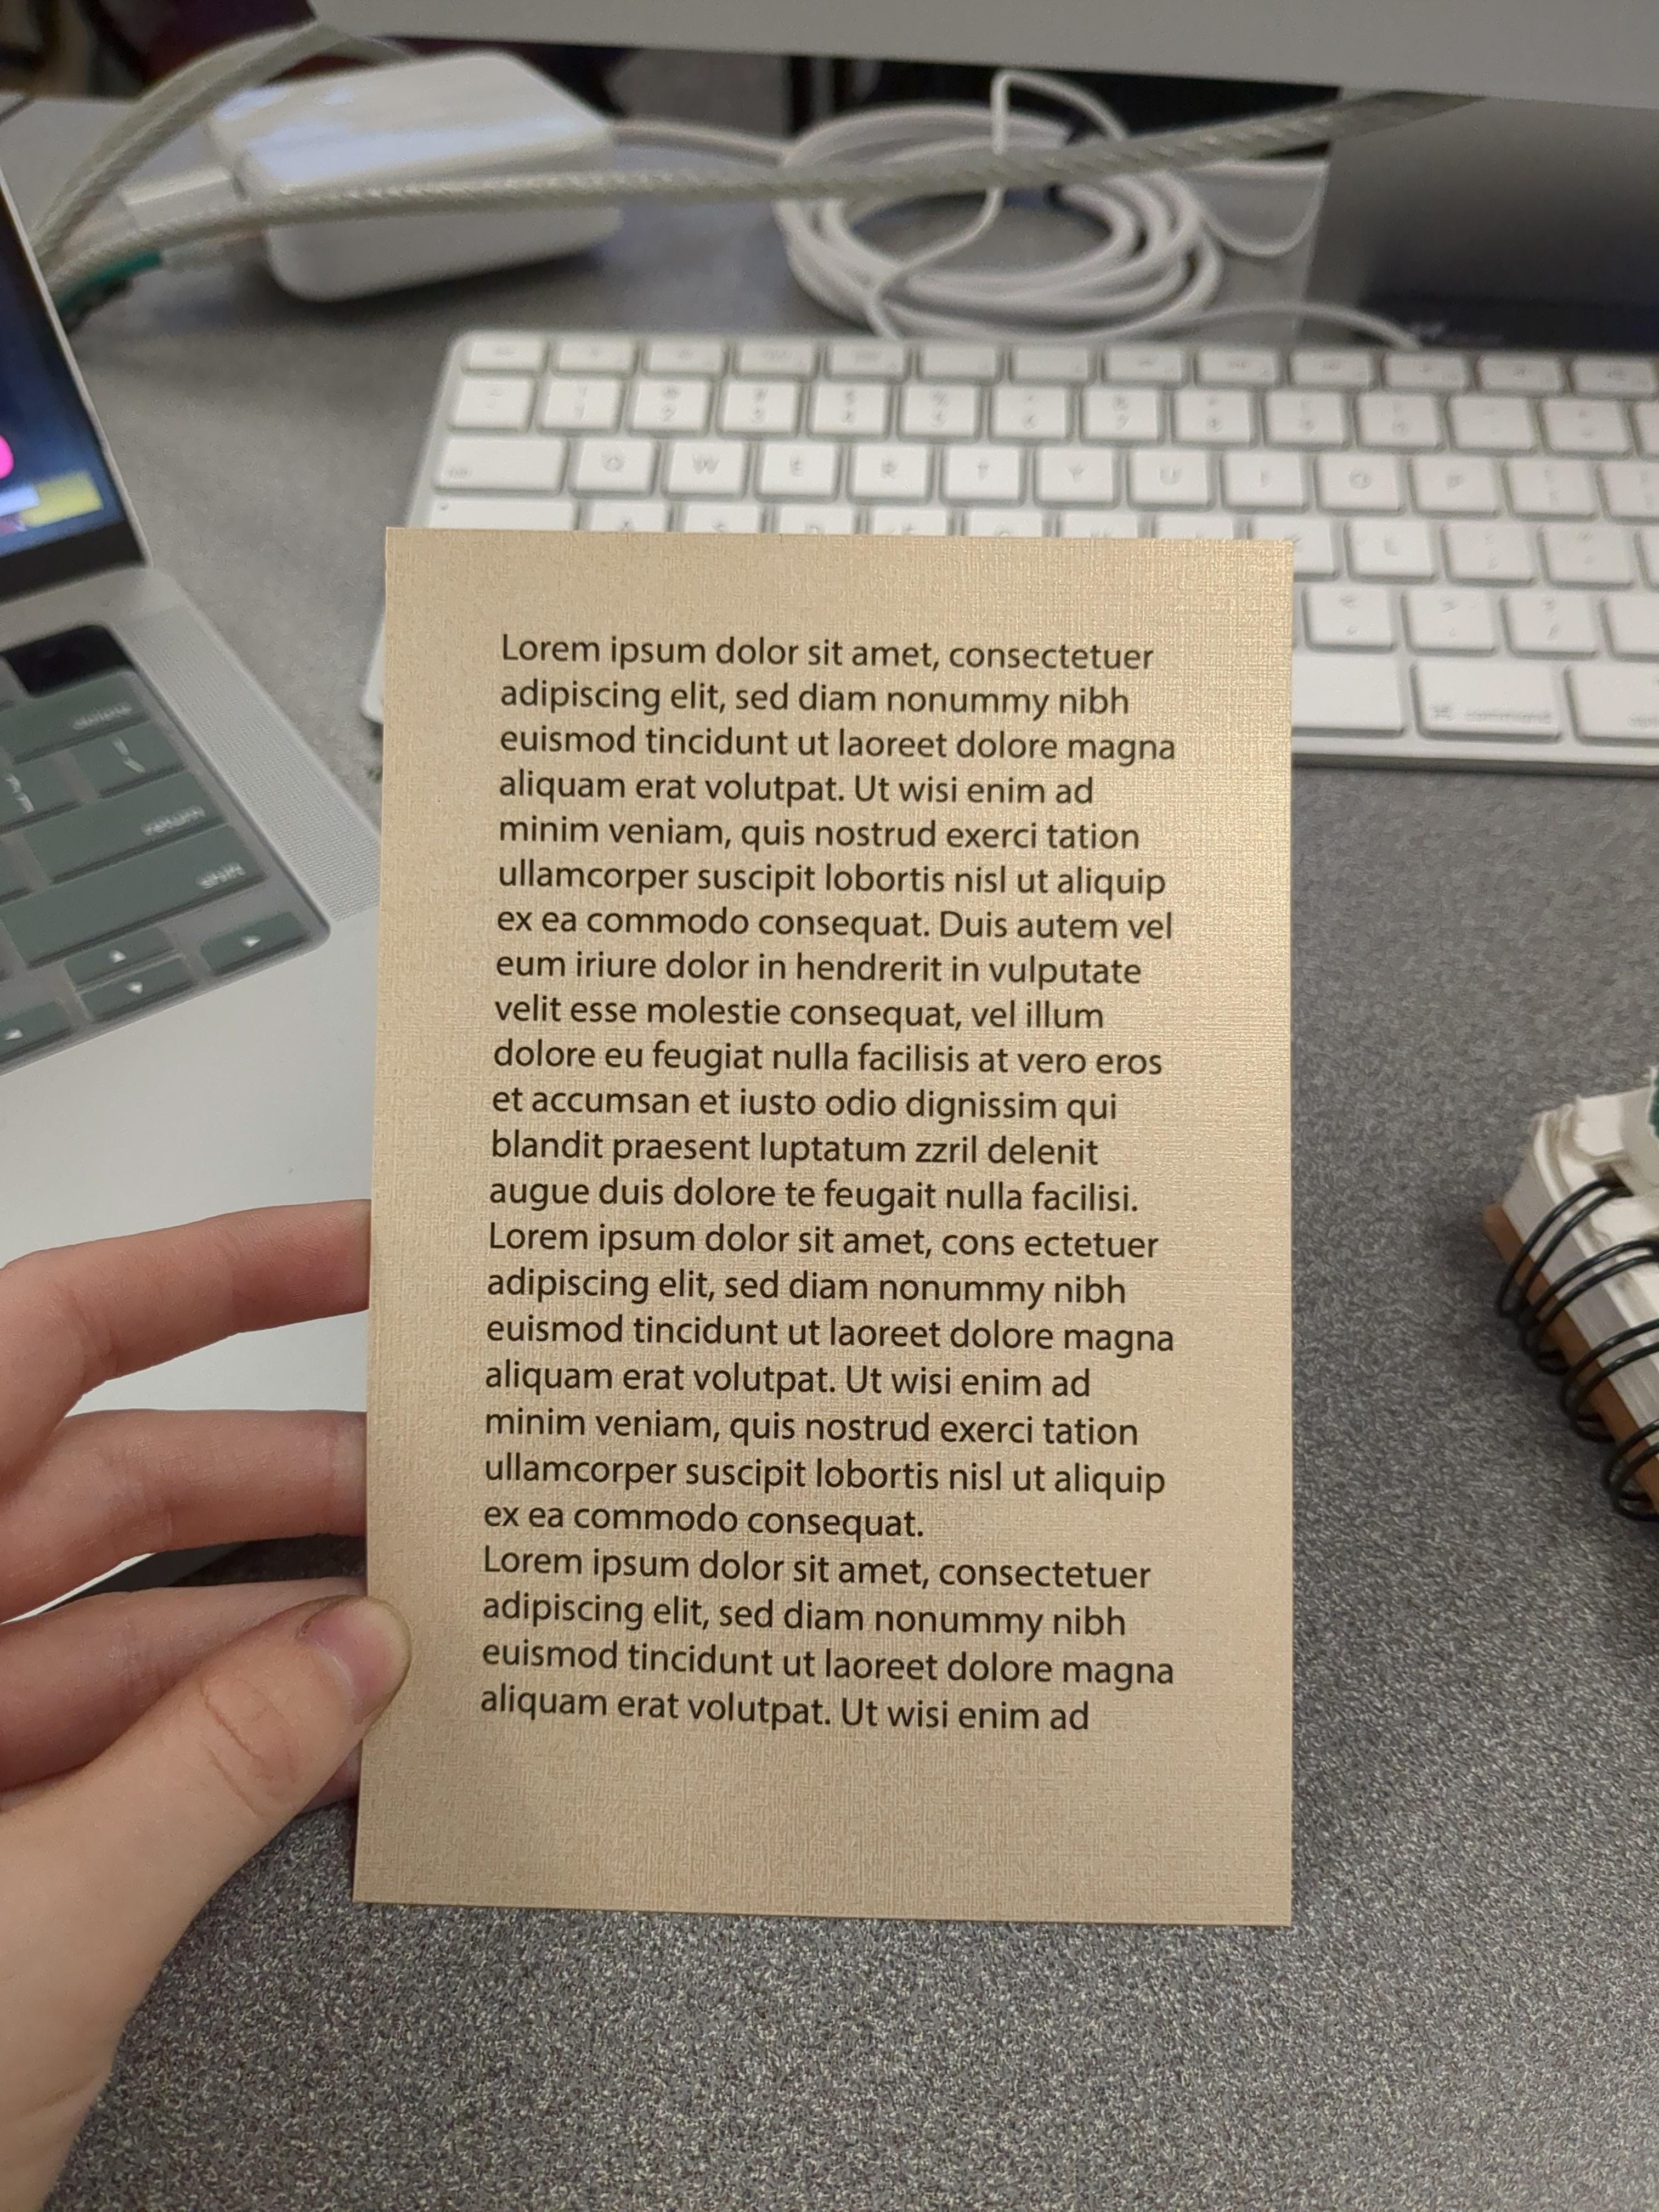


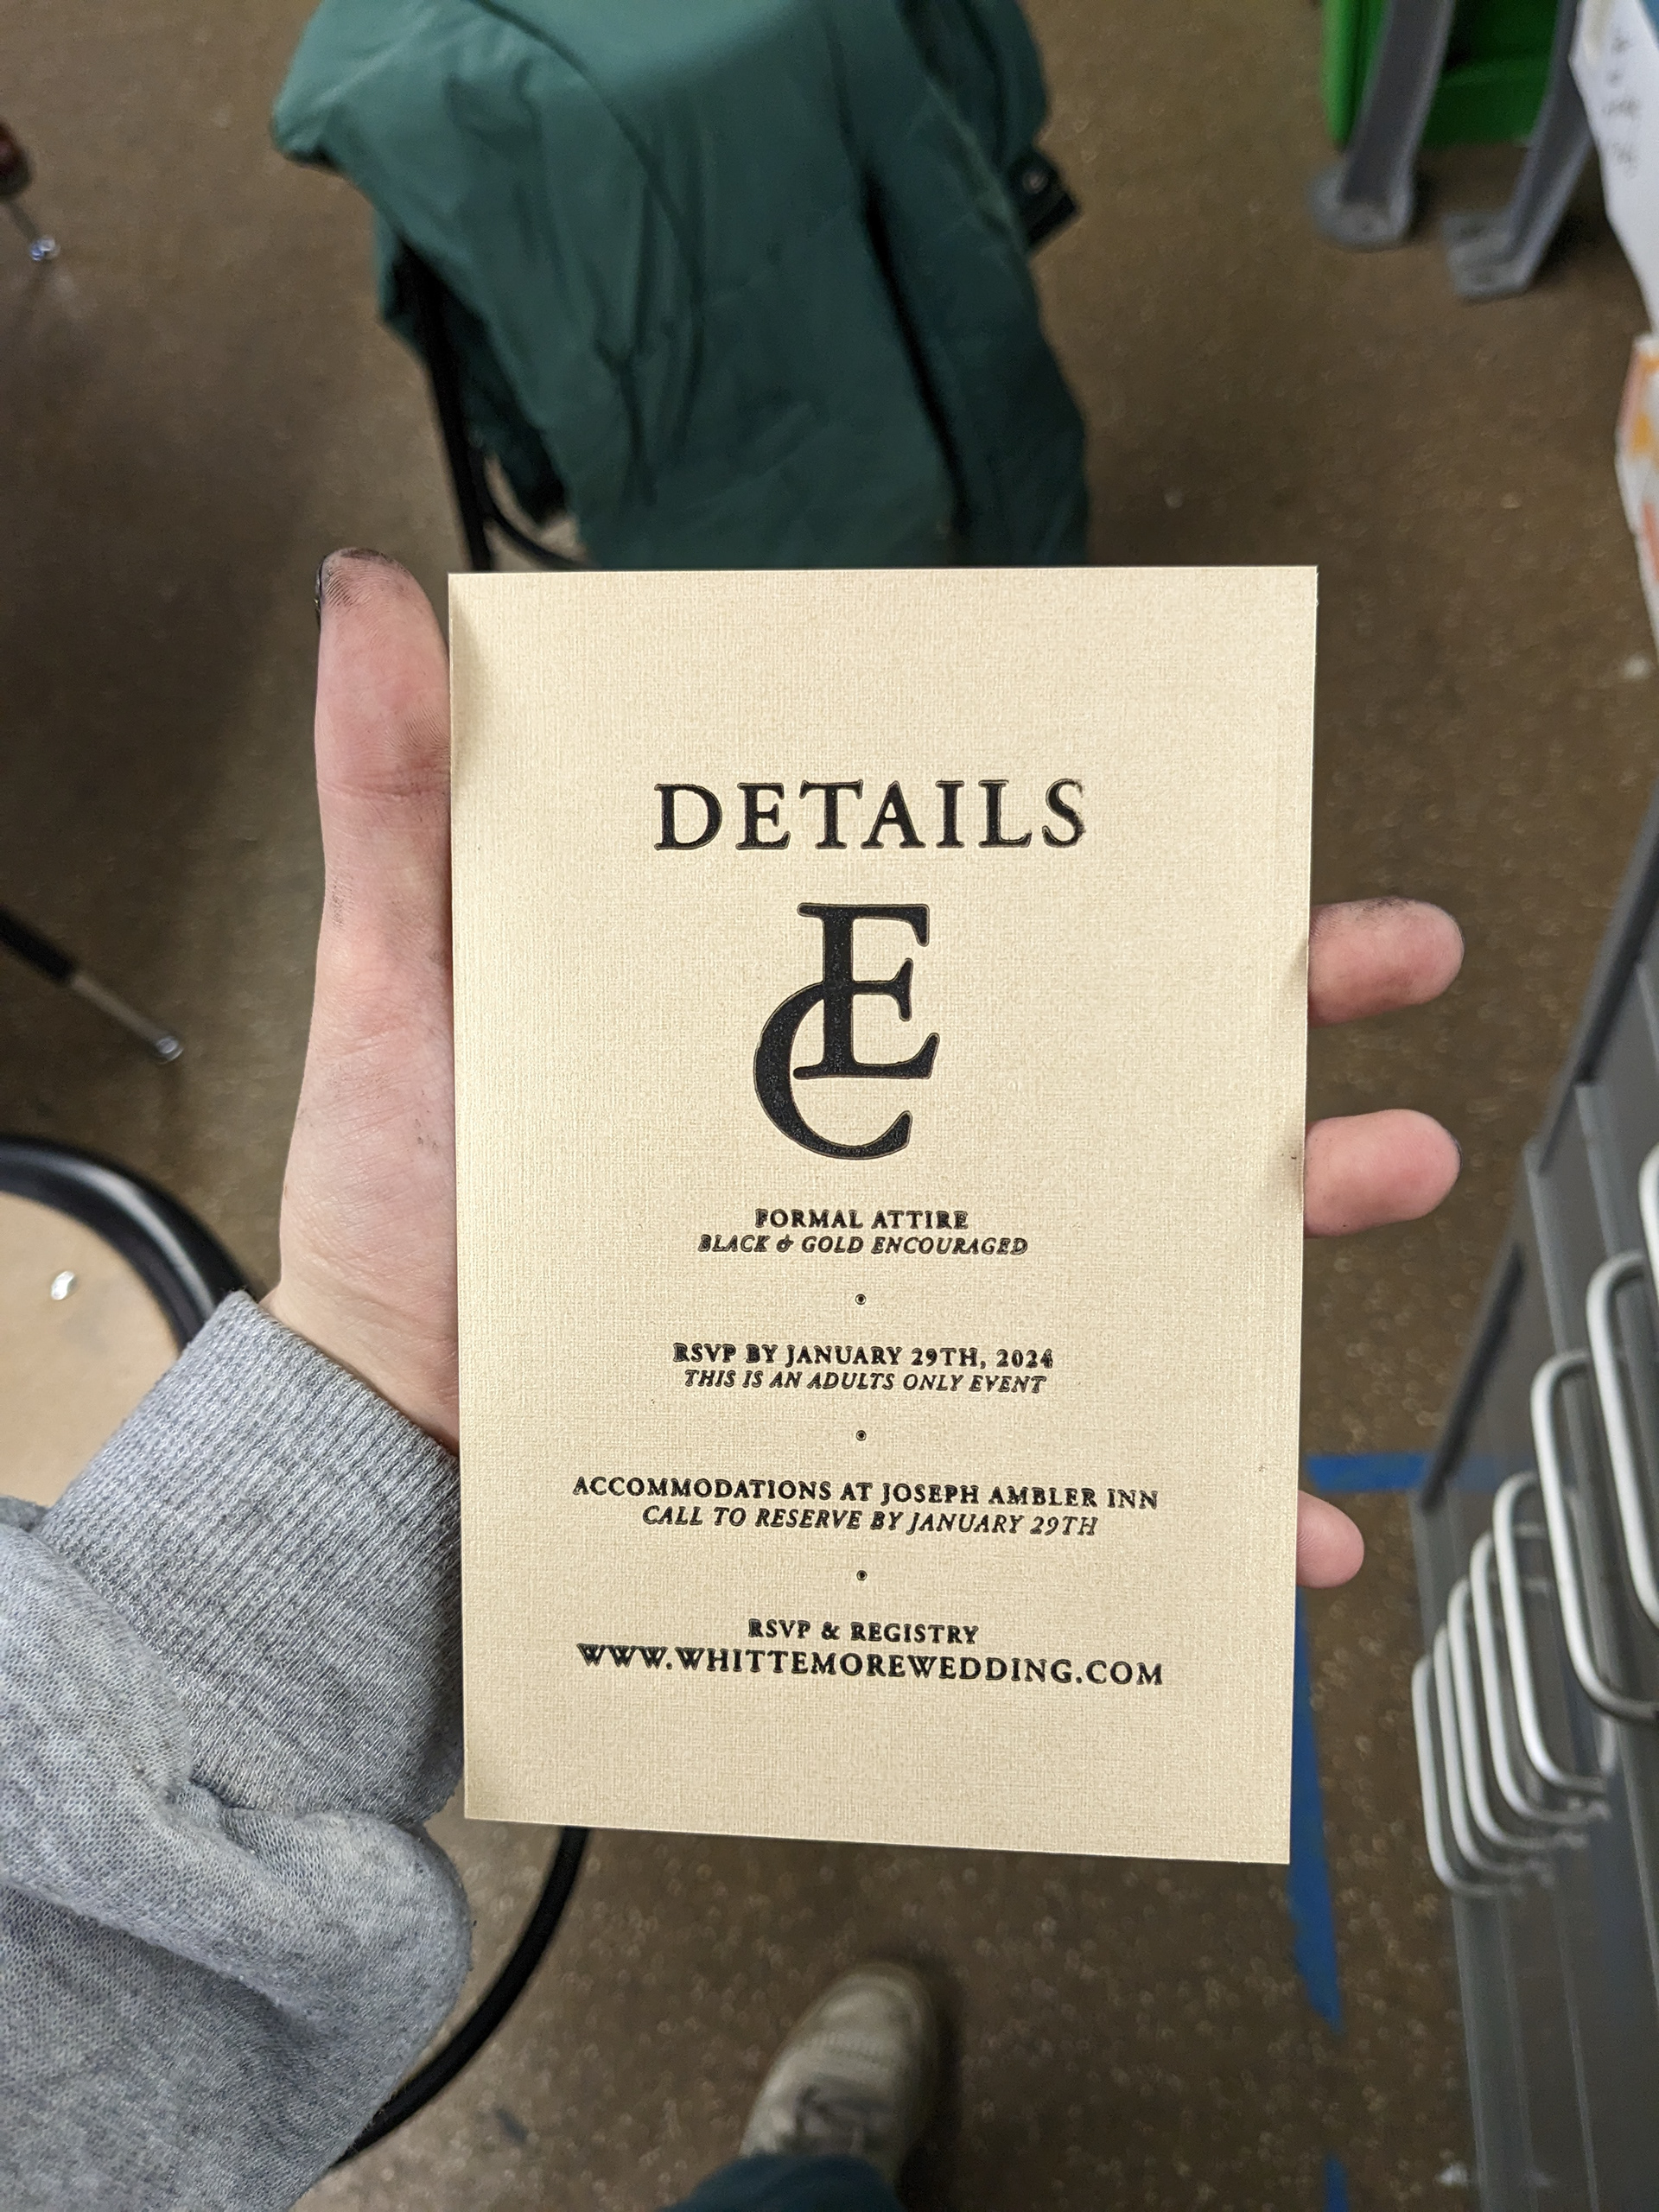
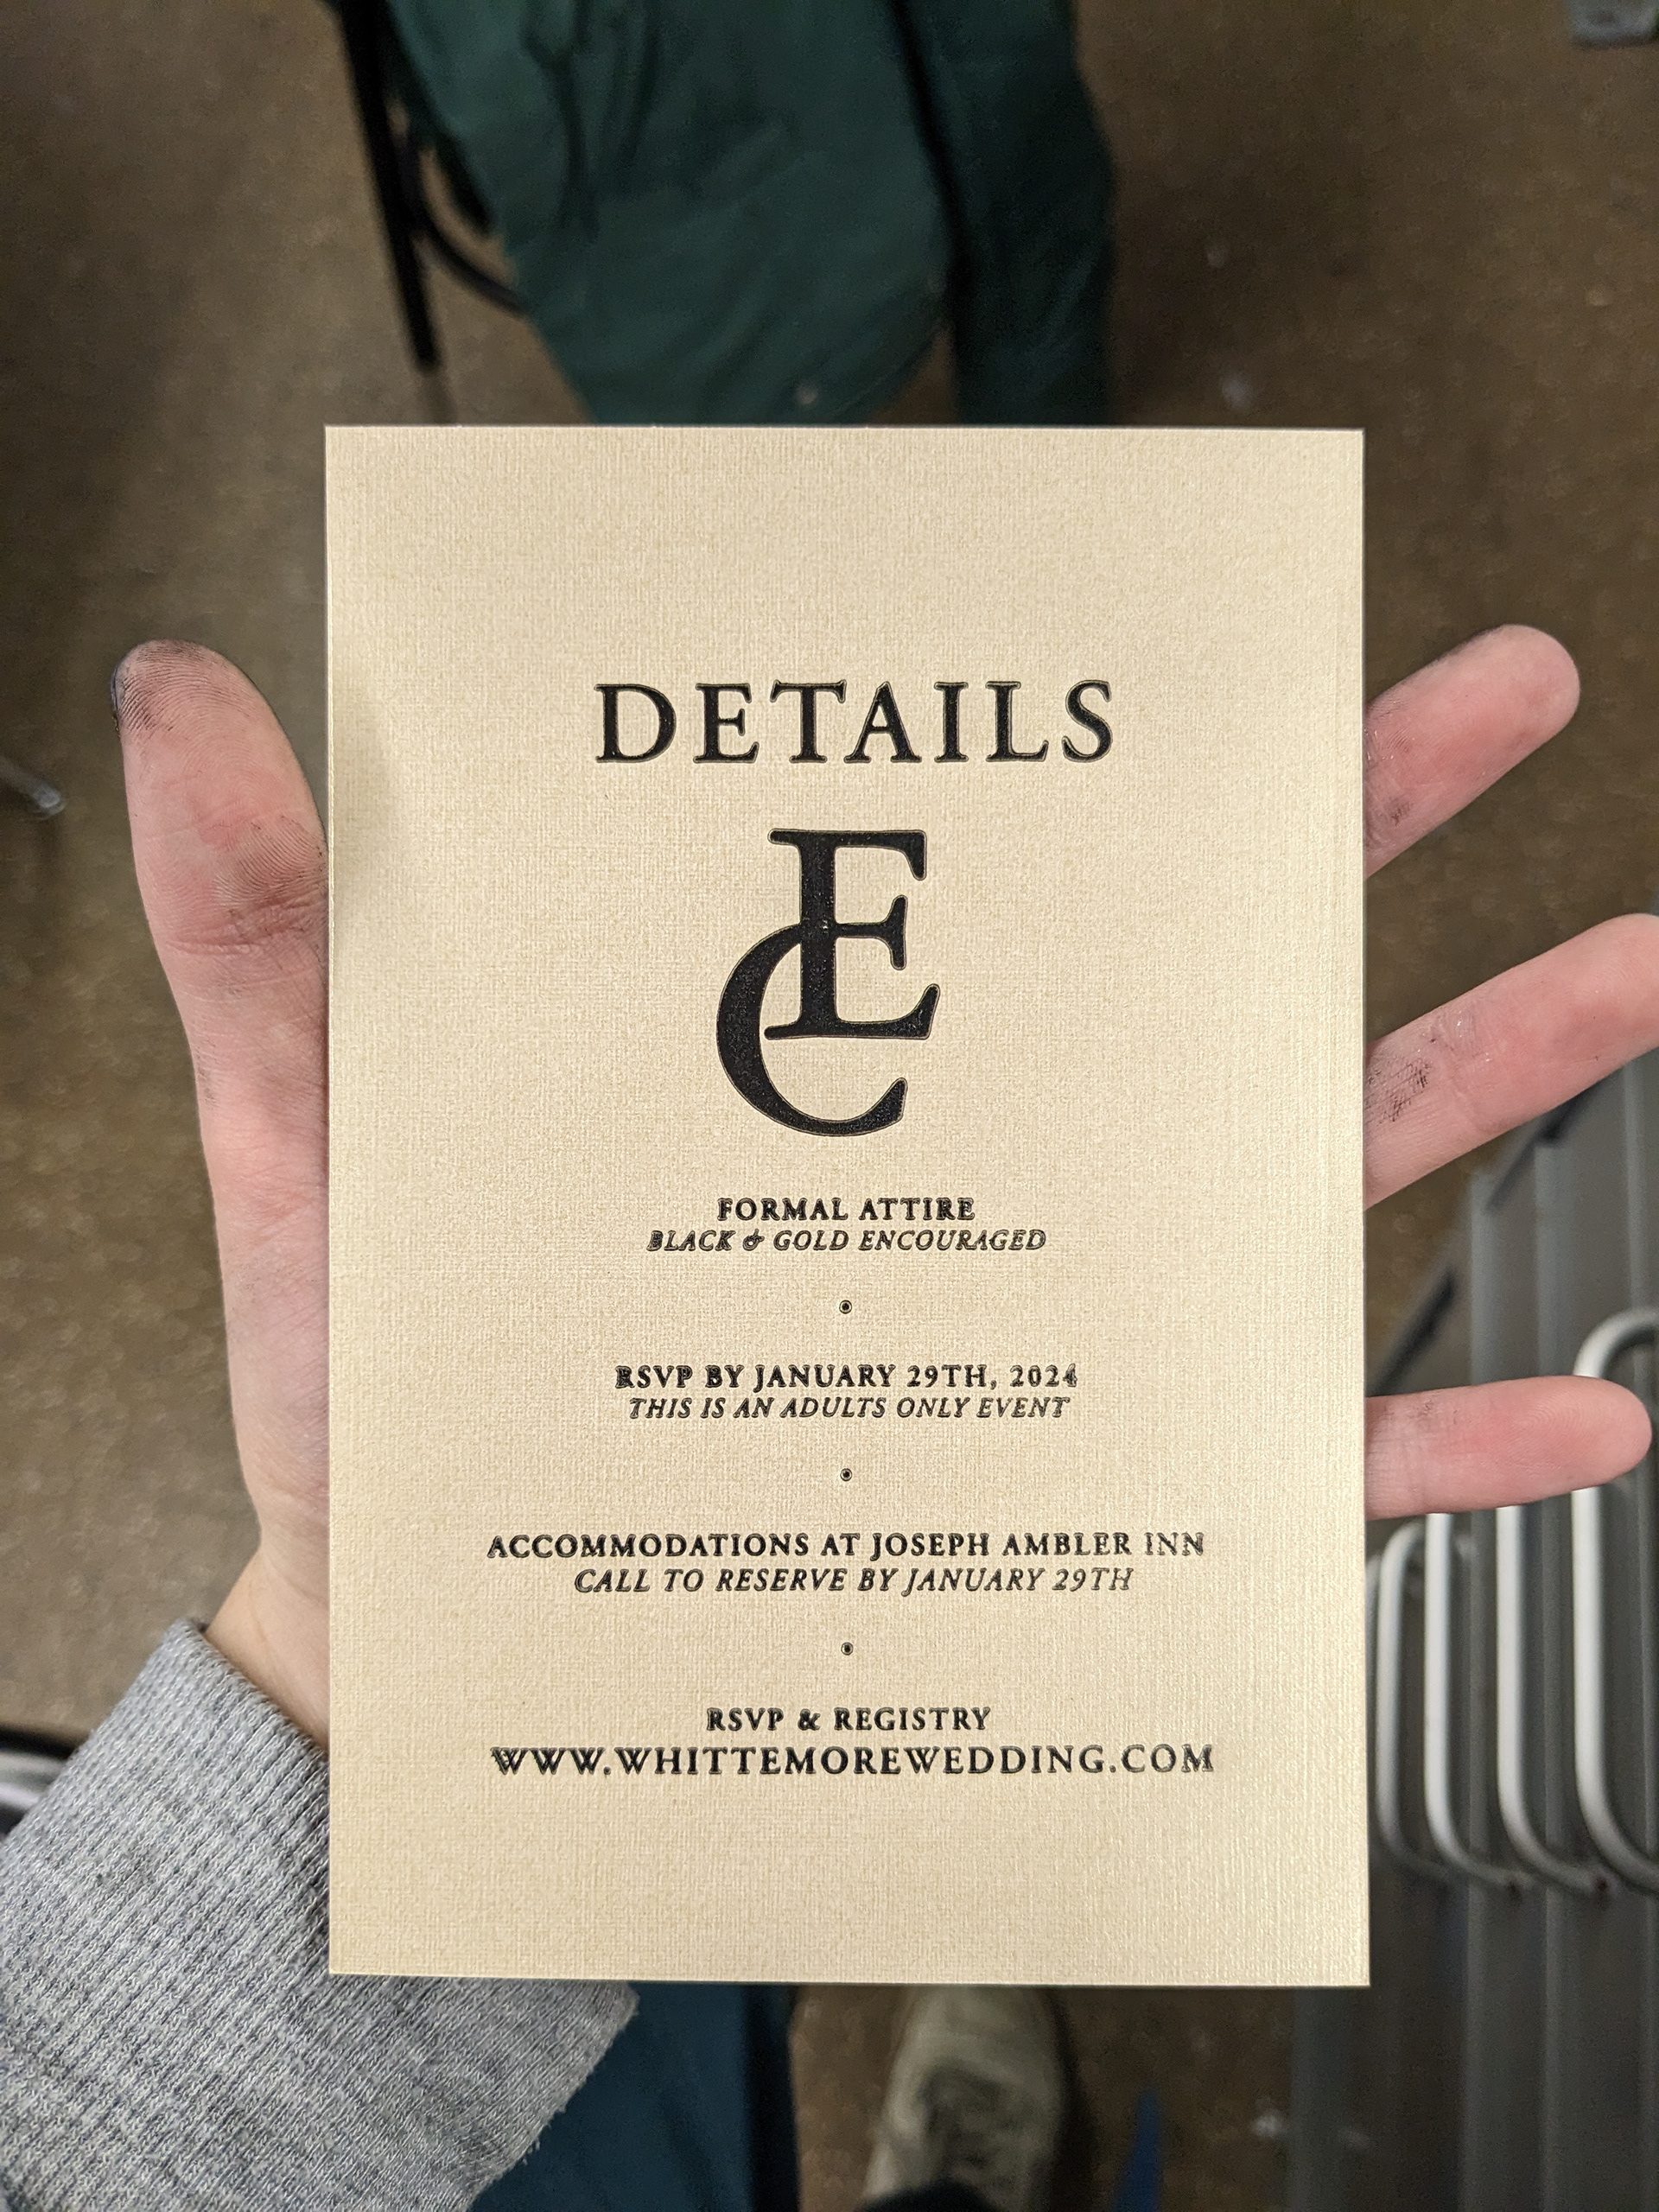
The details cards had very small print. They would take longer to print. They needed a specific texture of ink and pressure application. I experimented with laser printing, but ultimately decided to keep pushing forward. The experimentation and the creation of the masks saved the production and integrity of the card.

The masks created beautiful prints.
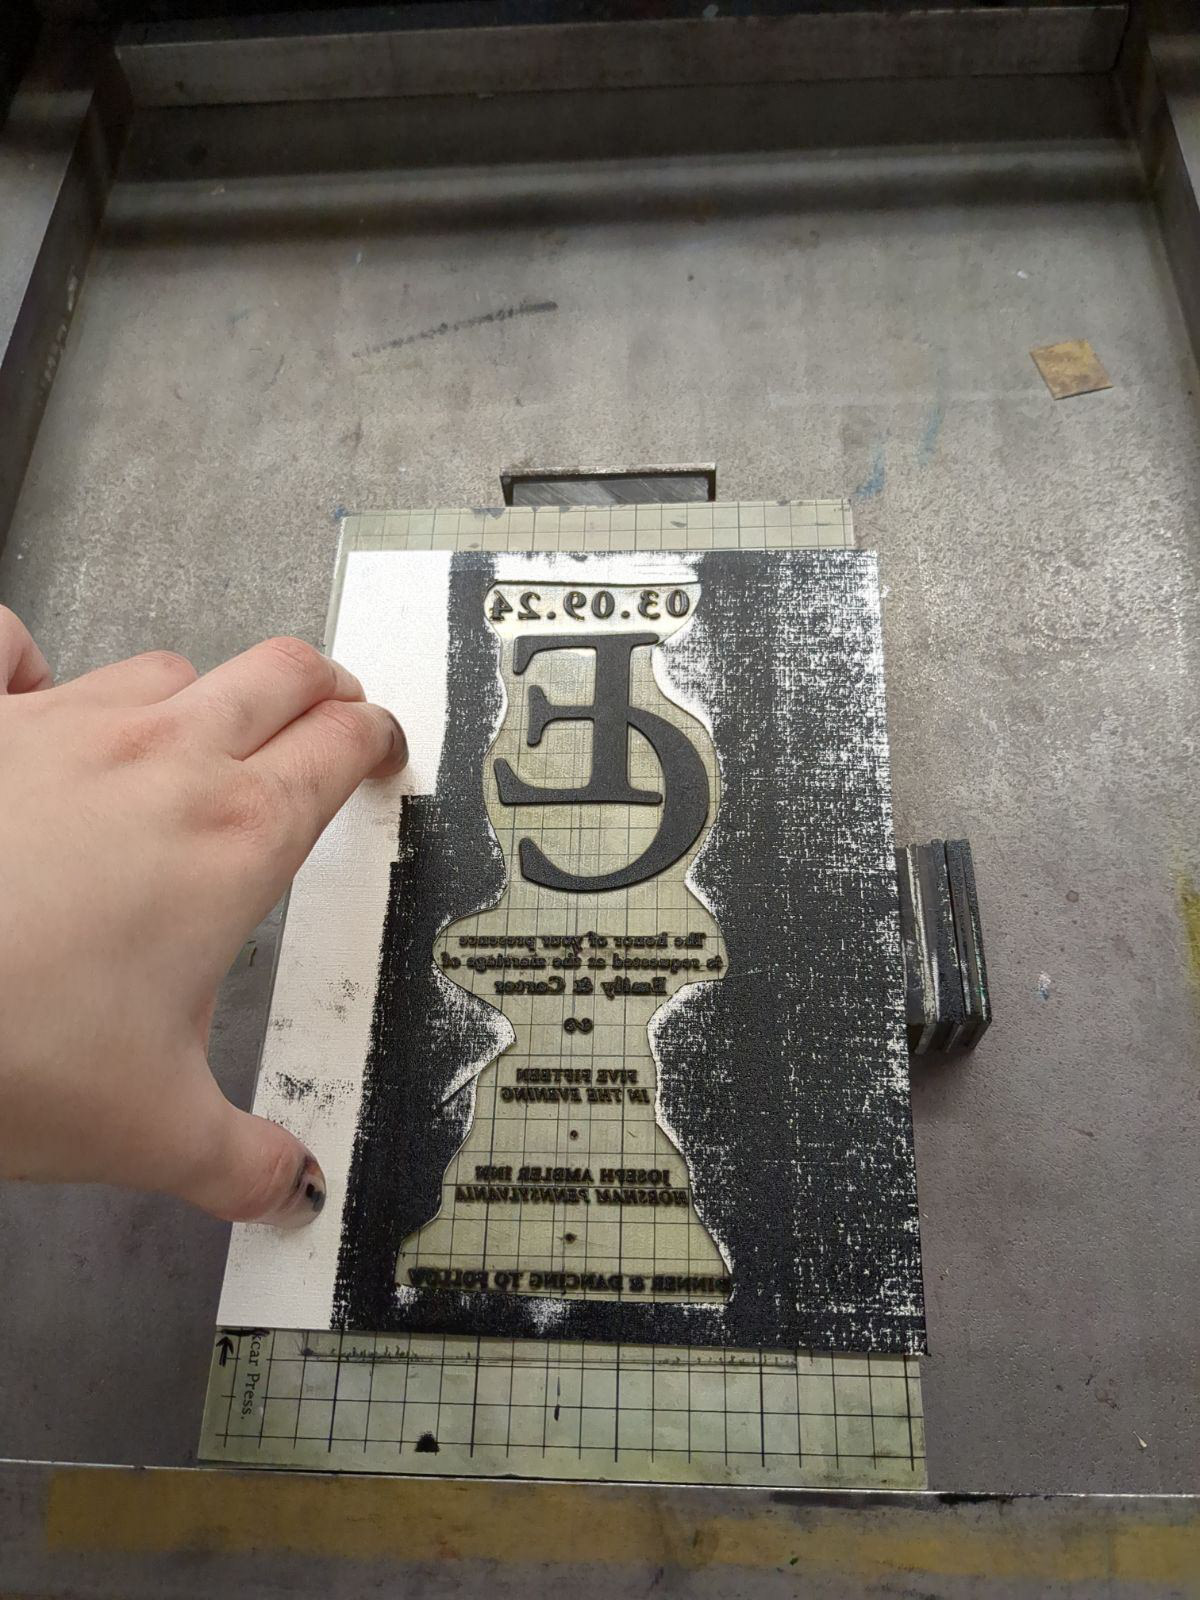
To avoid this issue, I created a mask. The ,mask would be made out of scraps and bad prints. This protected the plate from the inking process. It was easier to add pressure and ink without getting ink in unwanted places. Each mask was good for a couple uses.
One of the main issues was the ink build up on the plate. It would take a long time to clean and it would be hard to avoid cleaning the whole plate itself. Excessively cleaning the plate would mean constantly rebuilding the ink base, and test printing in between each base build up.

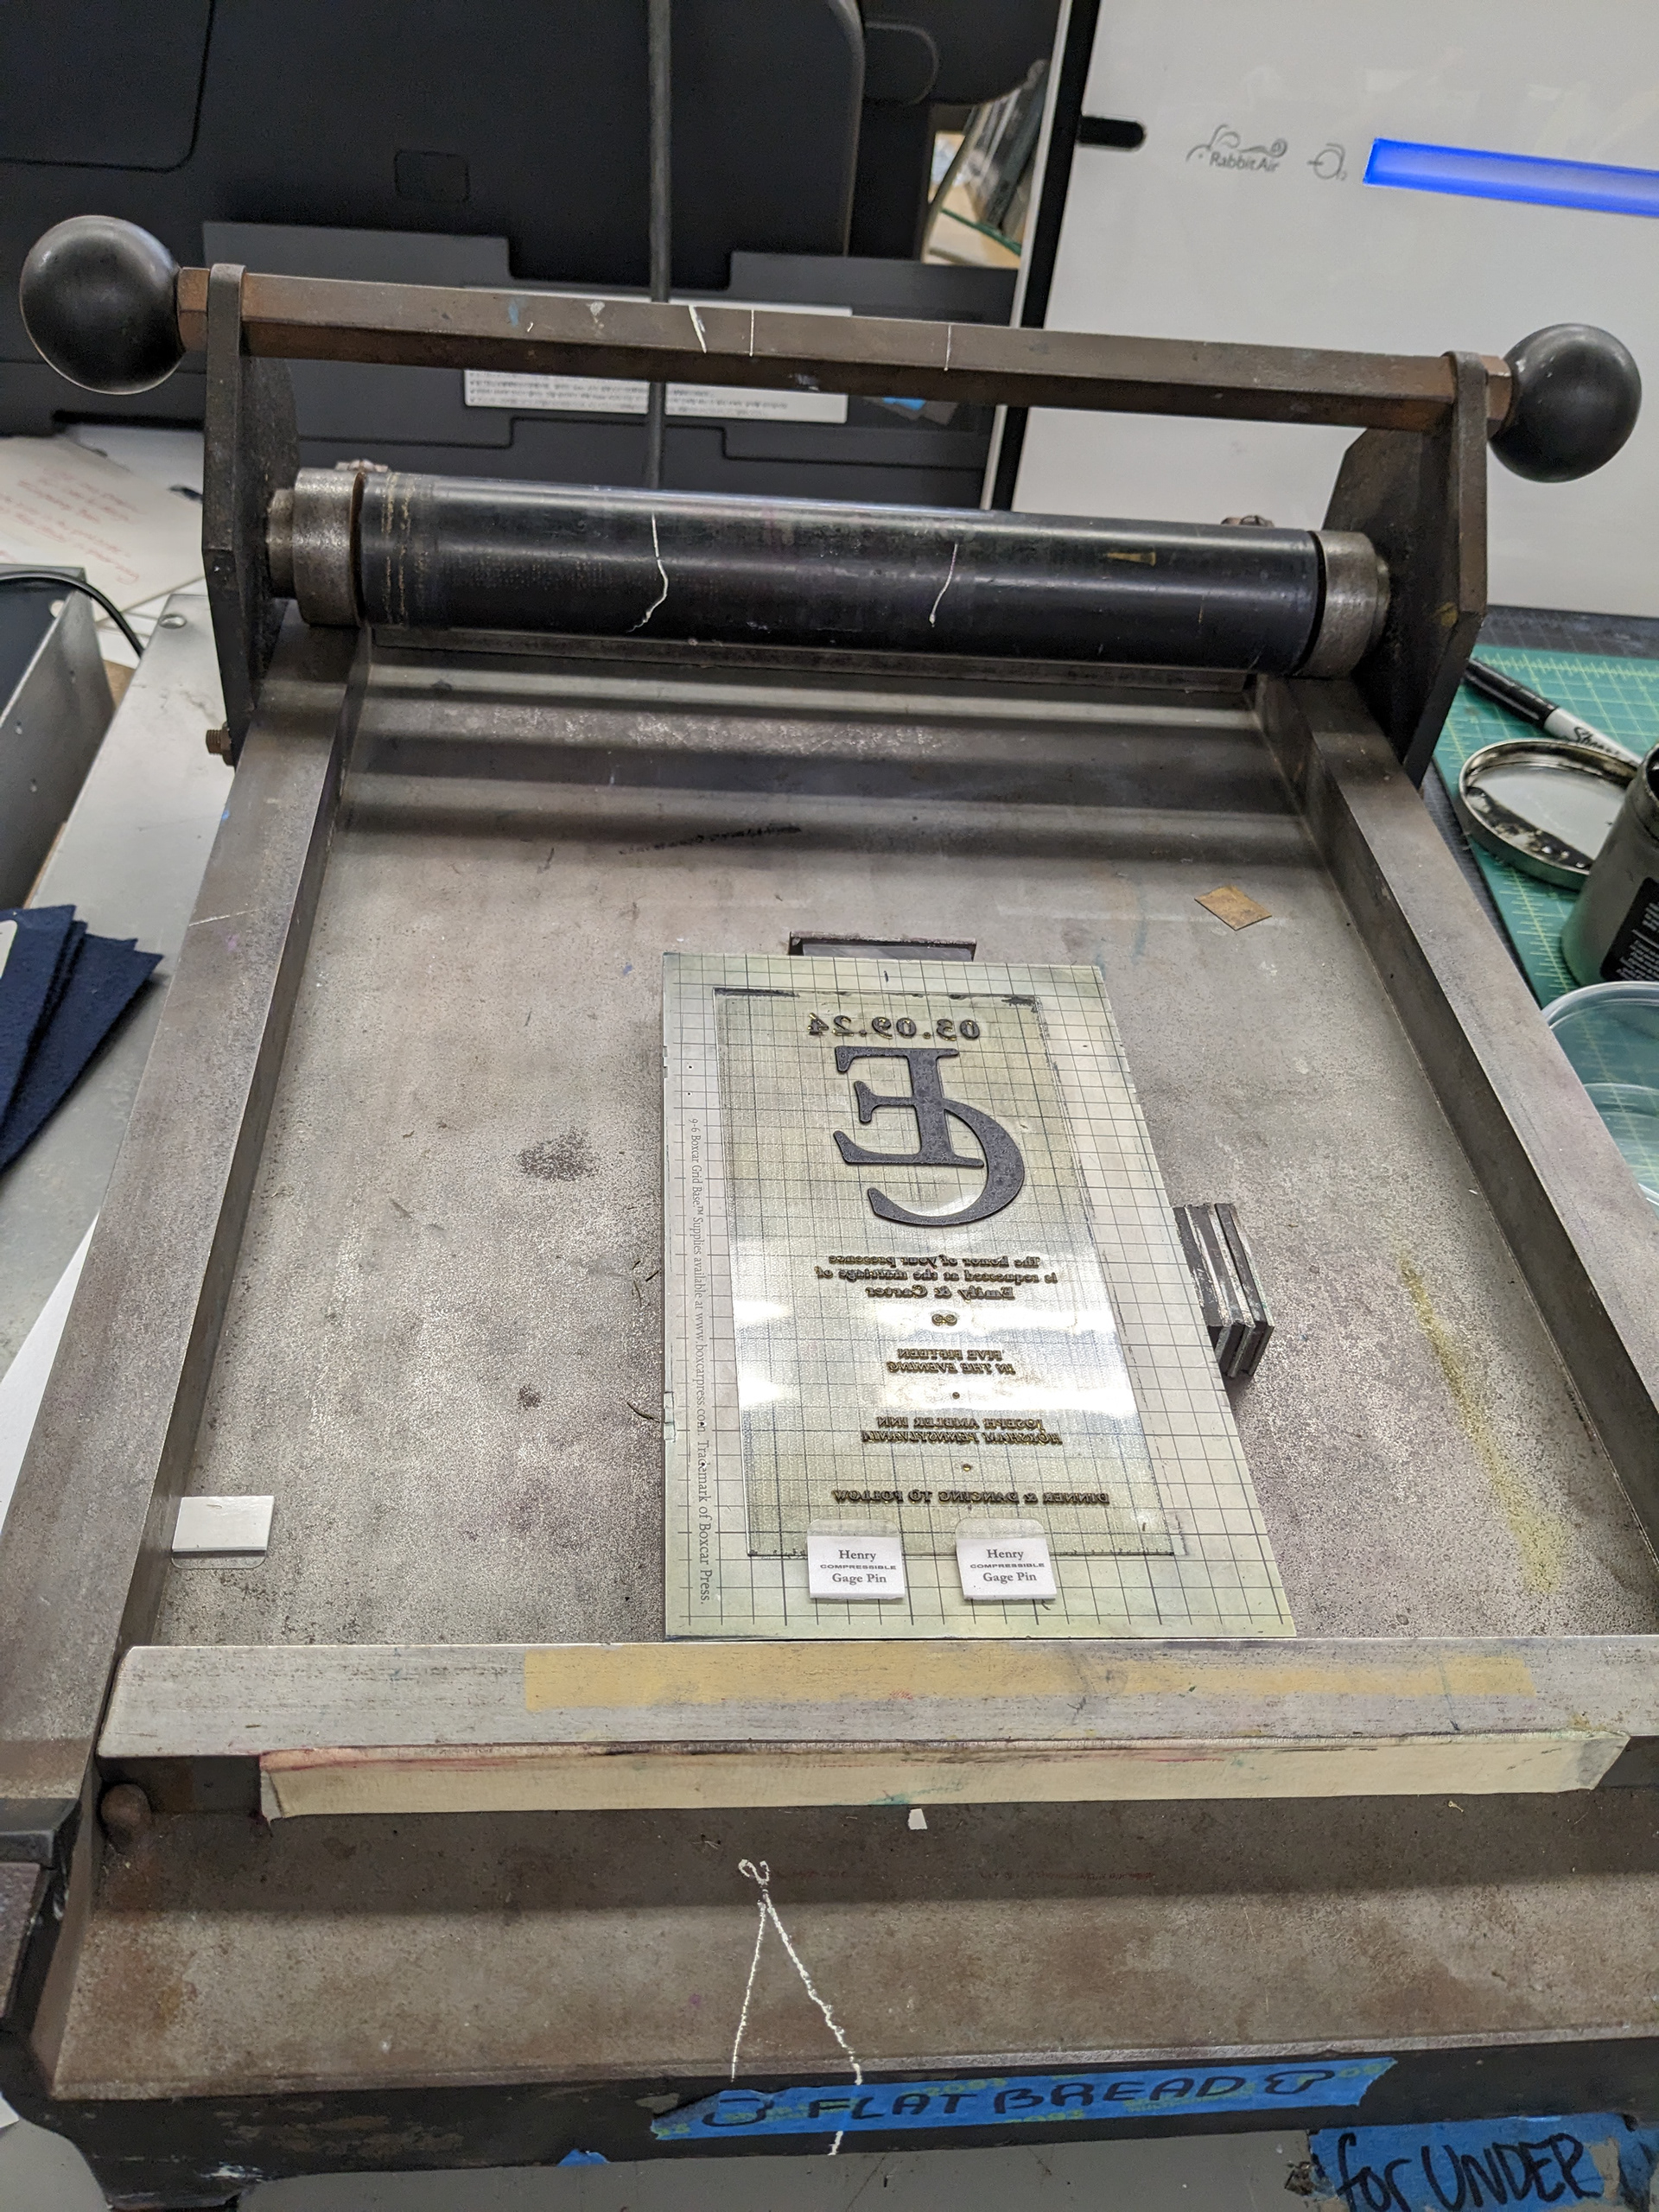
I then began to test the plate on the paper the client purchased. It was a coated pearl paper from Neenah. All of the paper used was hand cut to size. The consistency of the ink had to be perfect or else there would be spots or missing text.
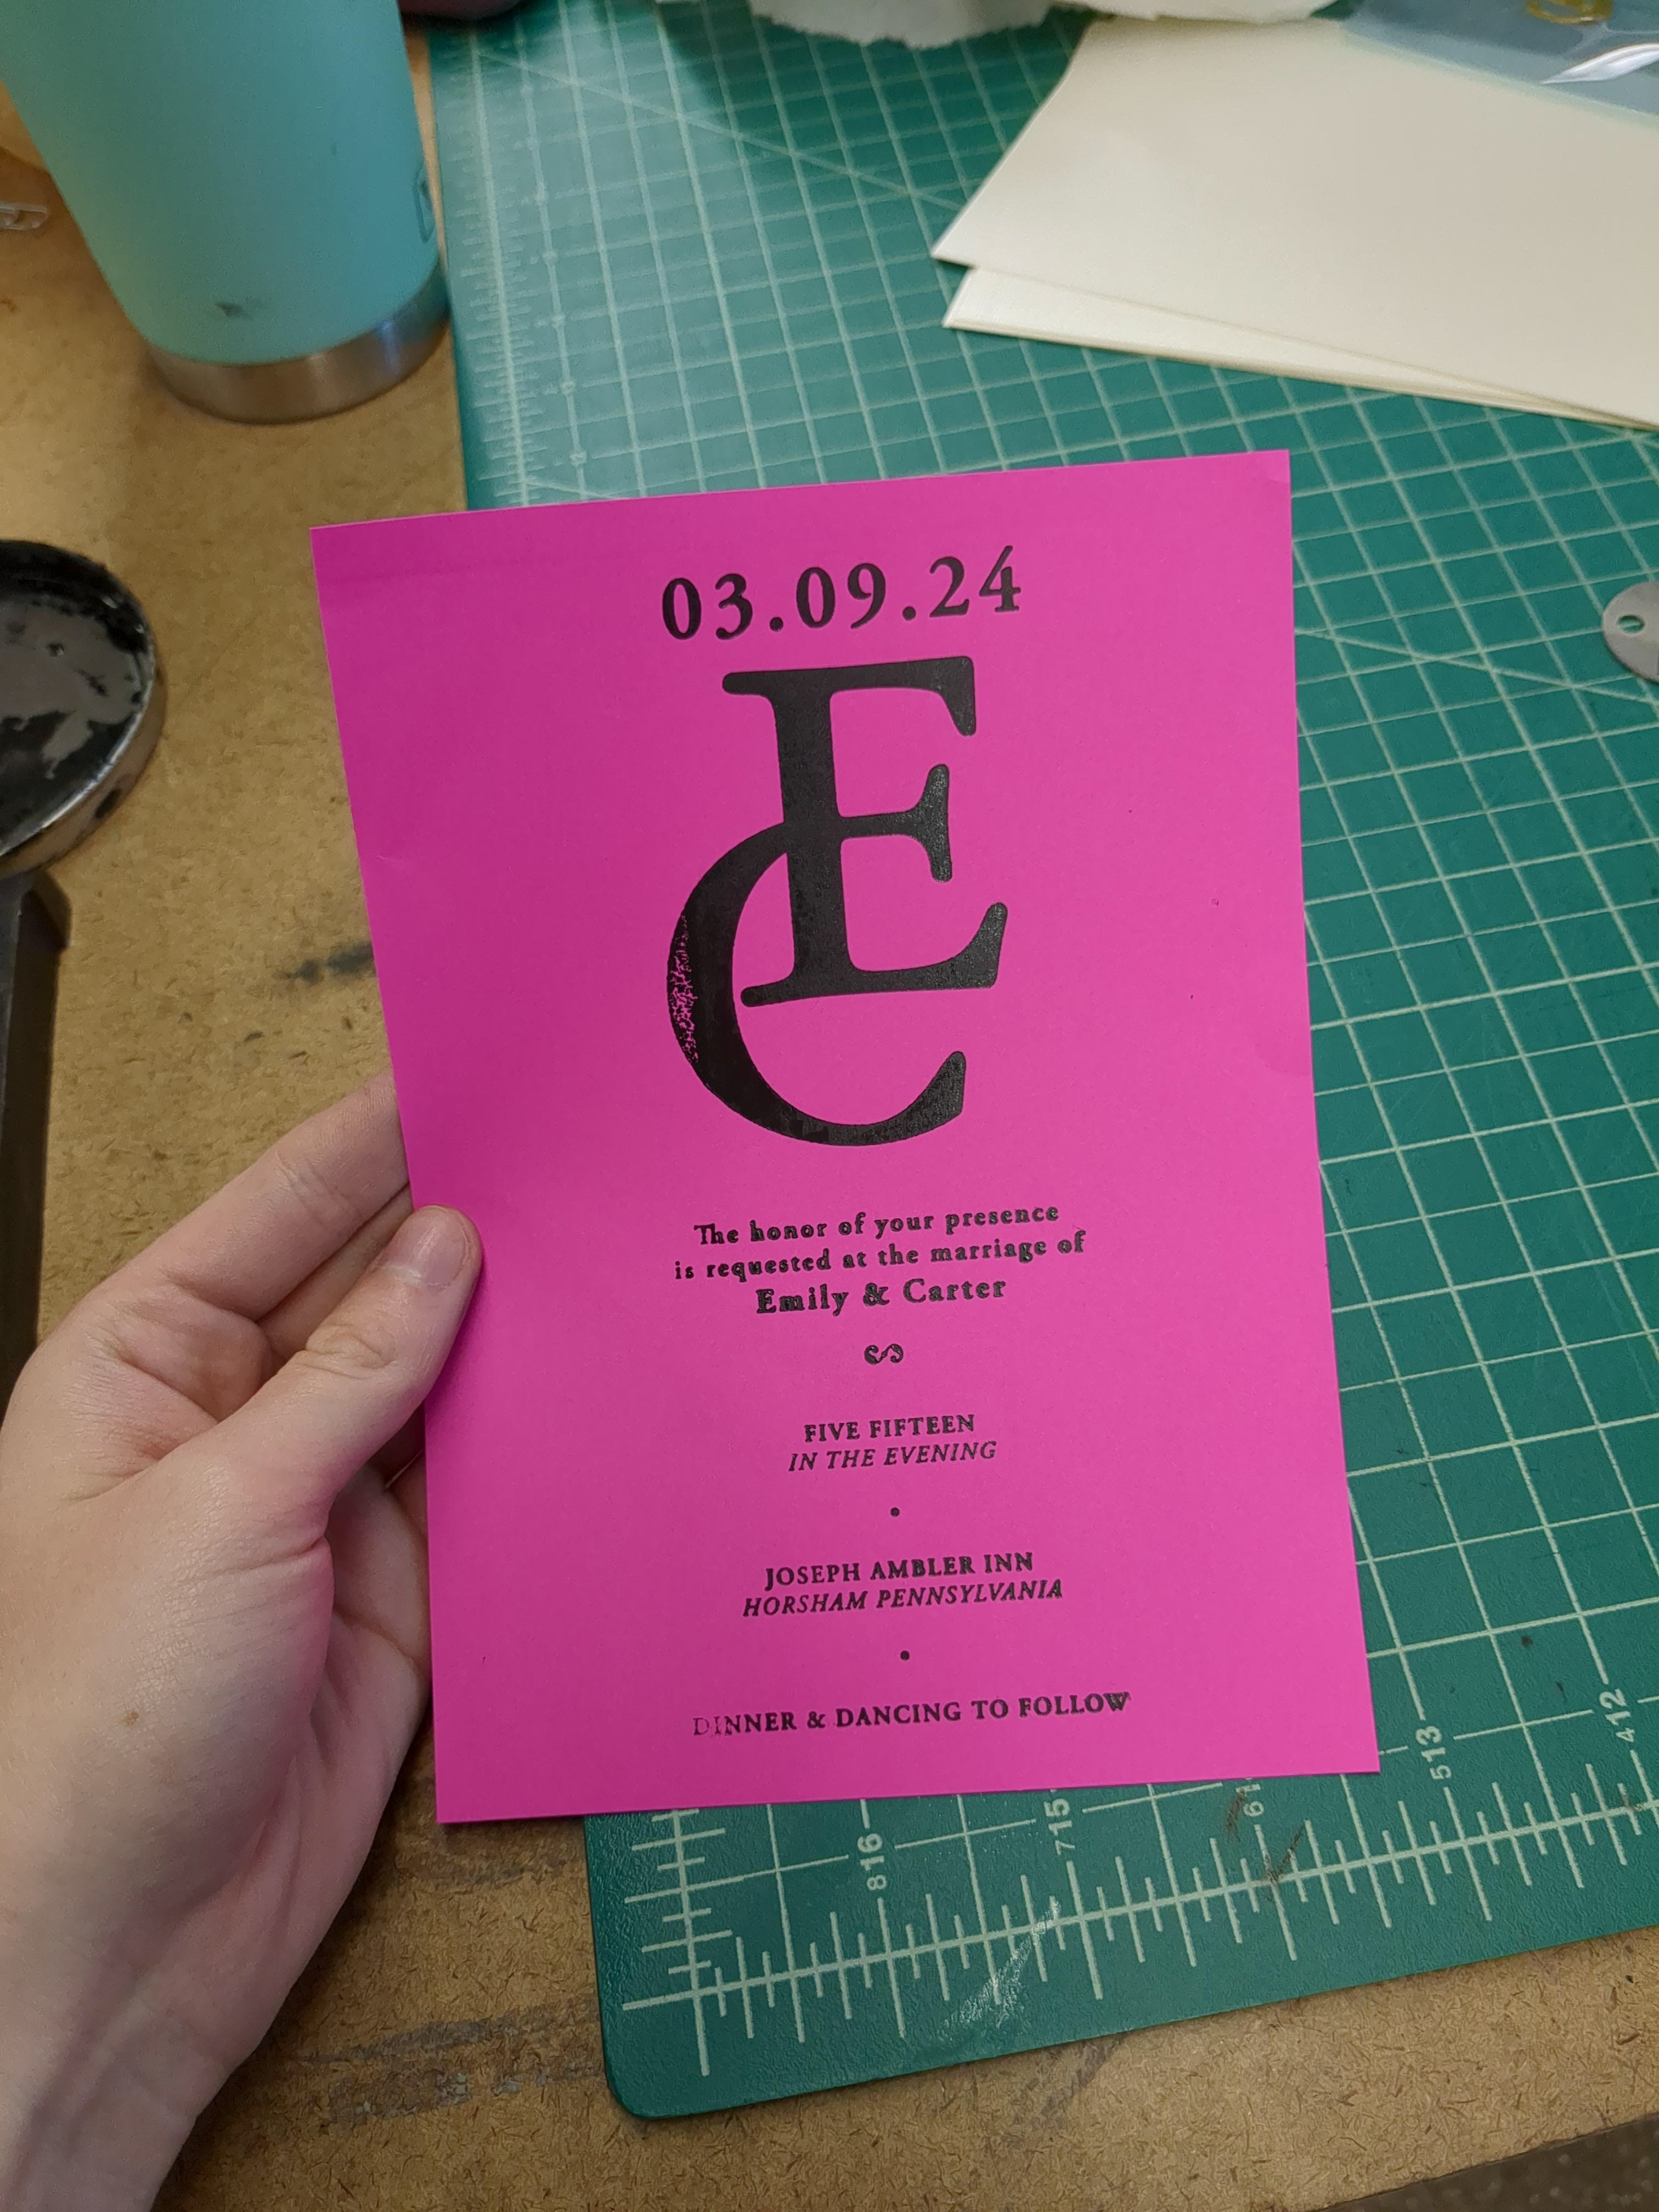
These are the initial tests from the rolling press on scrap paper.
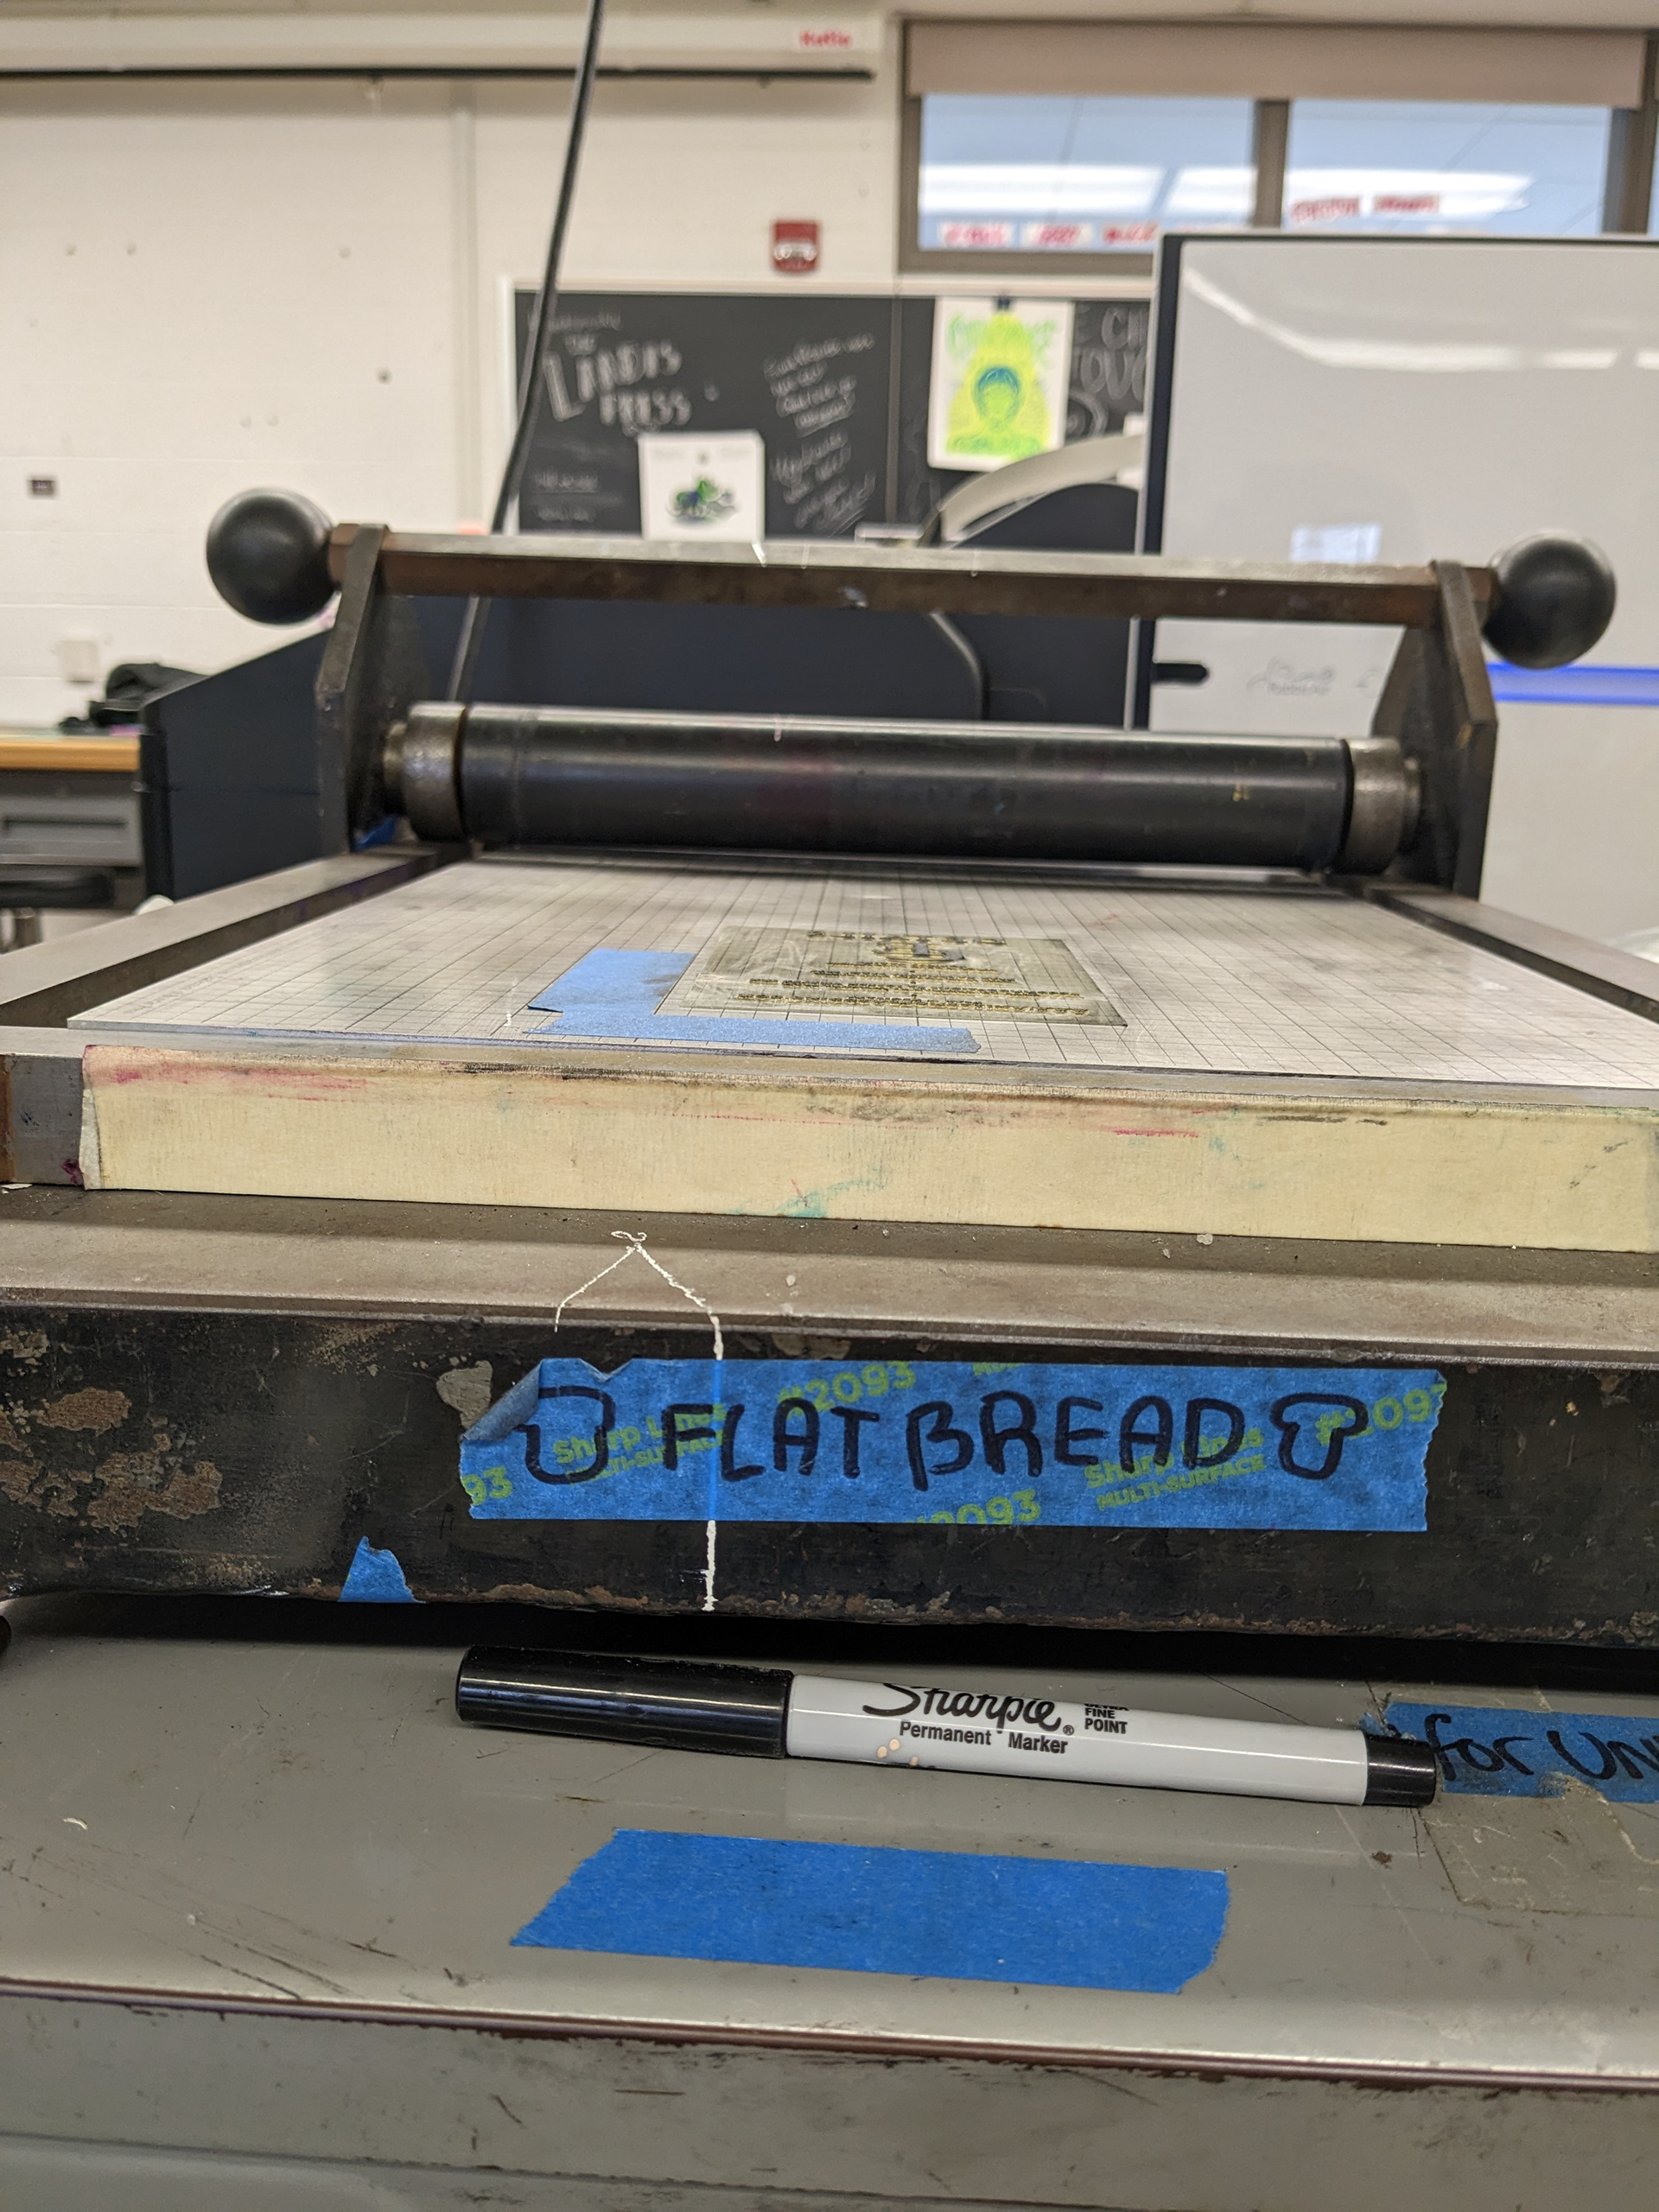
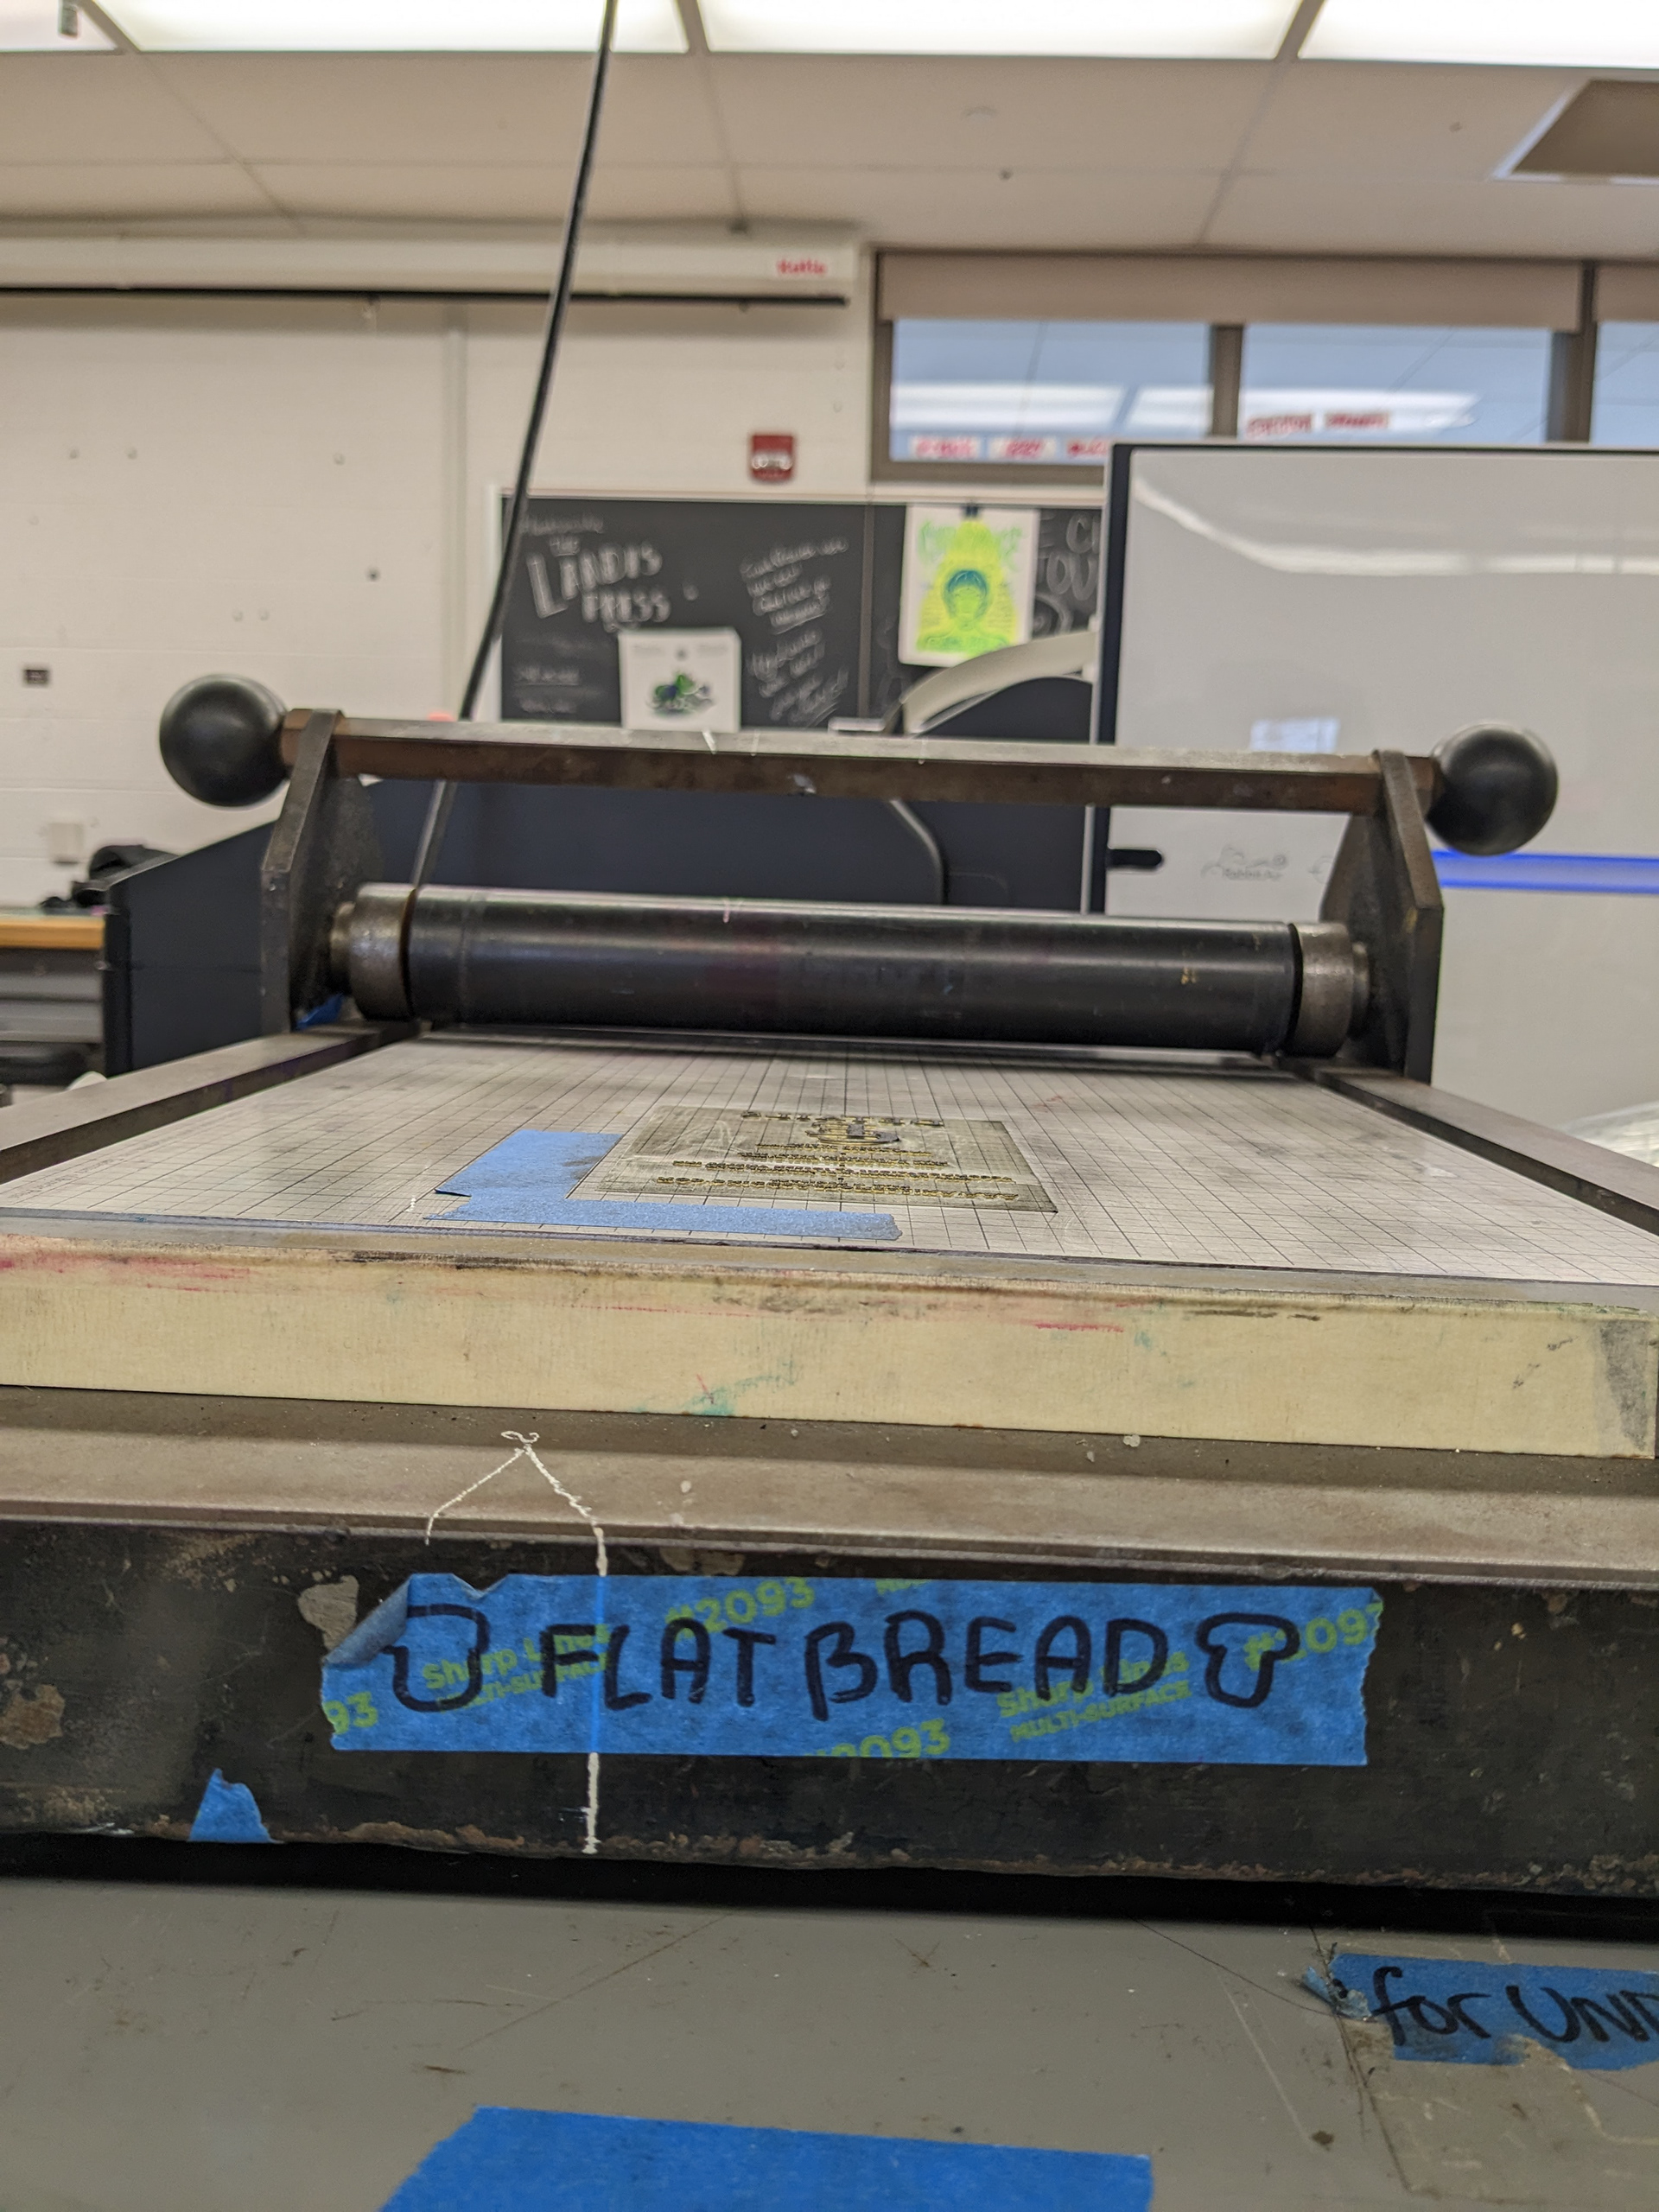
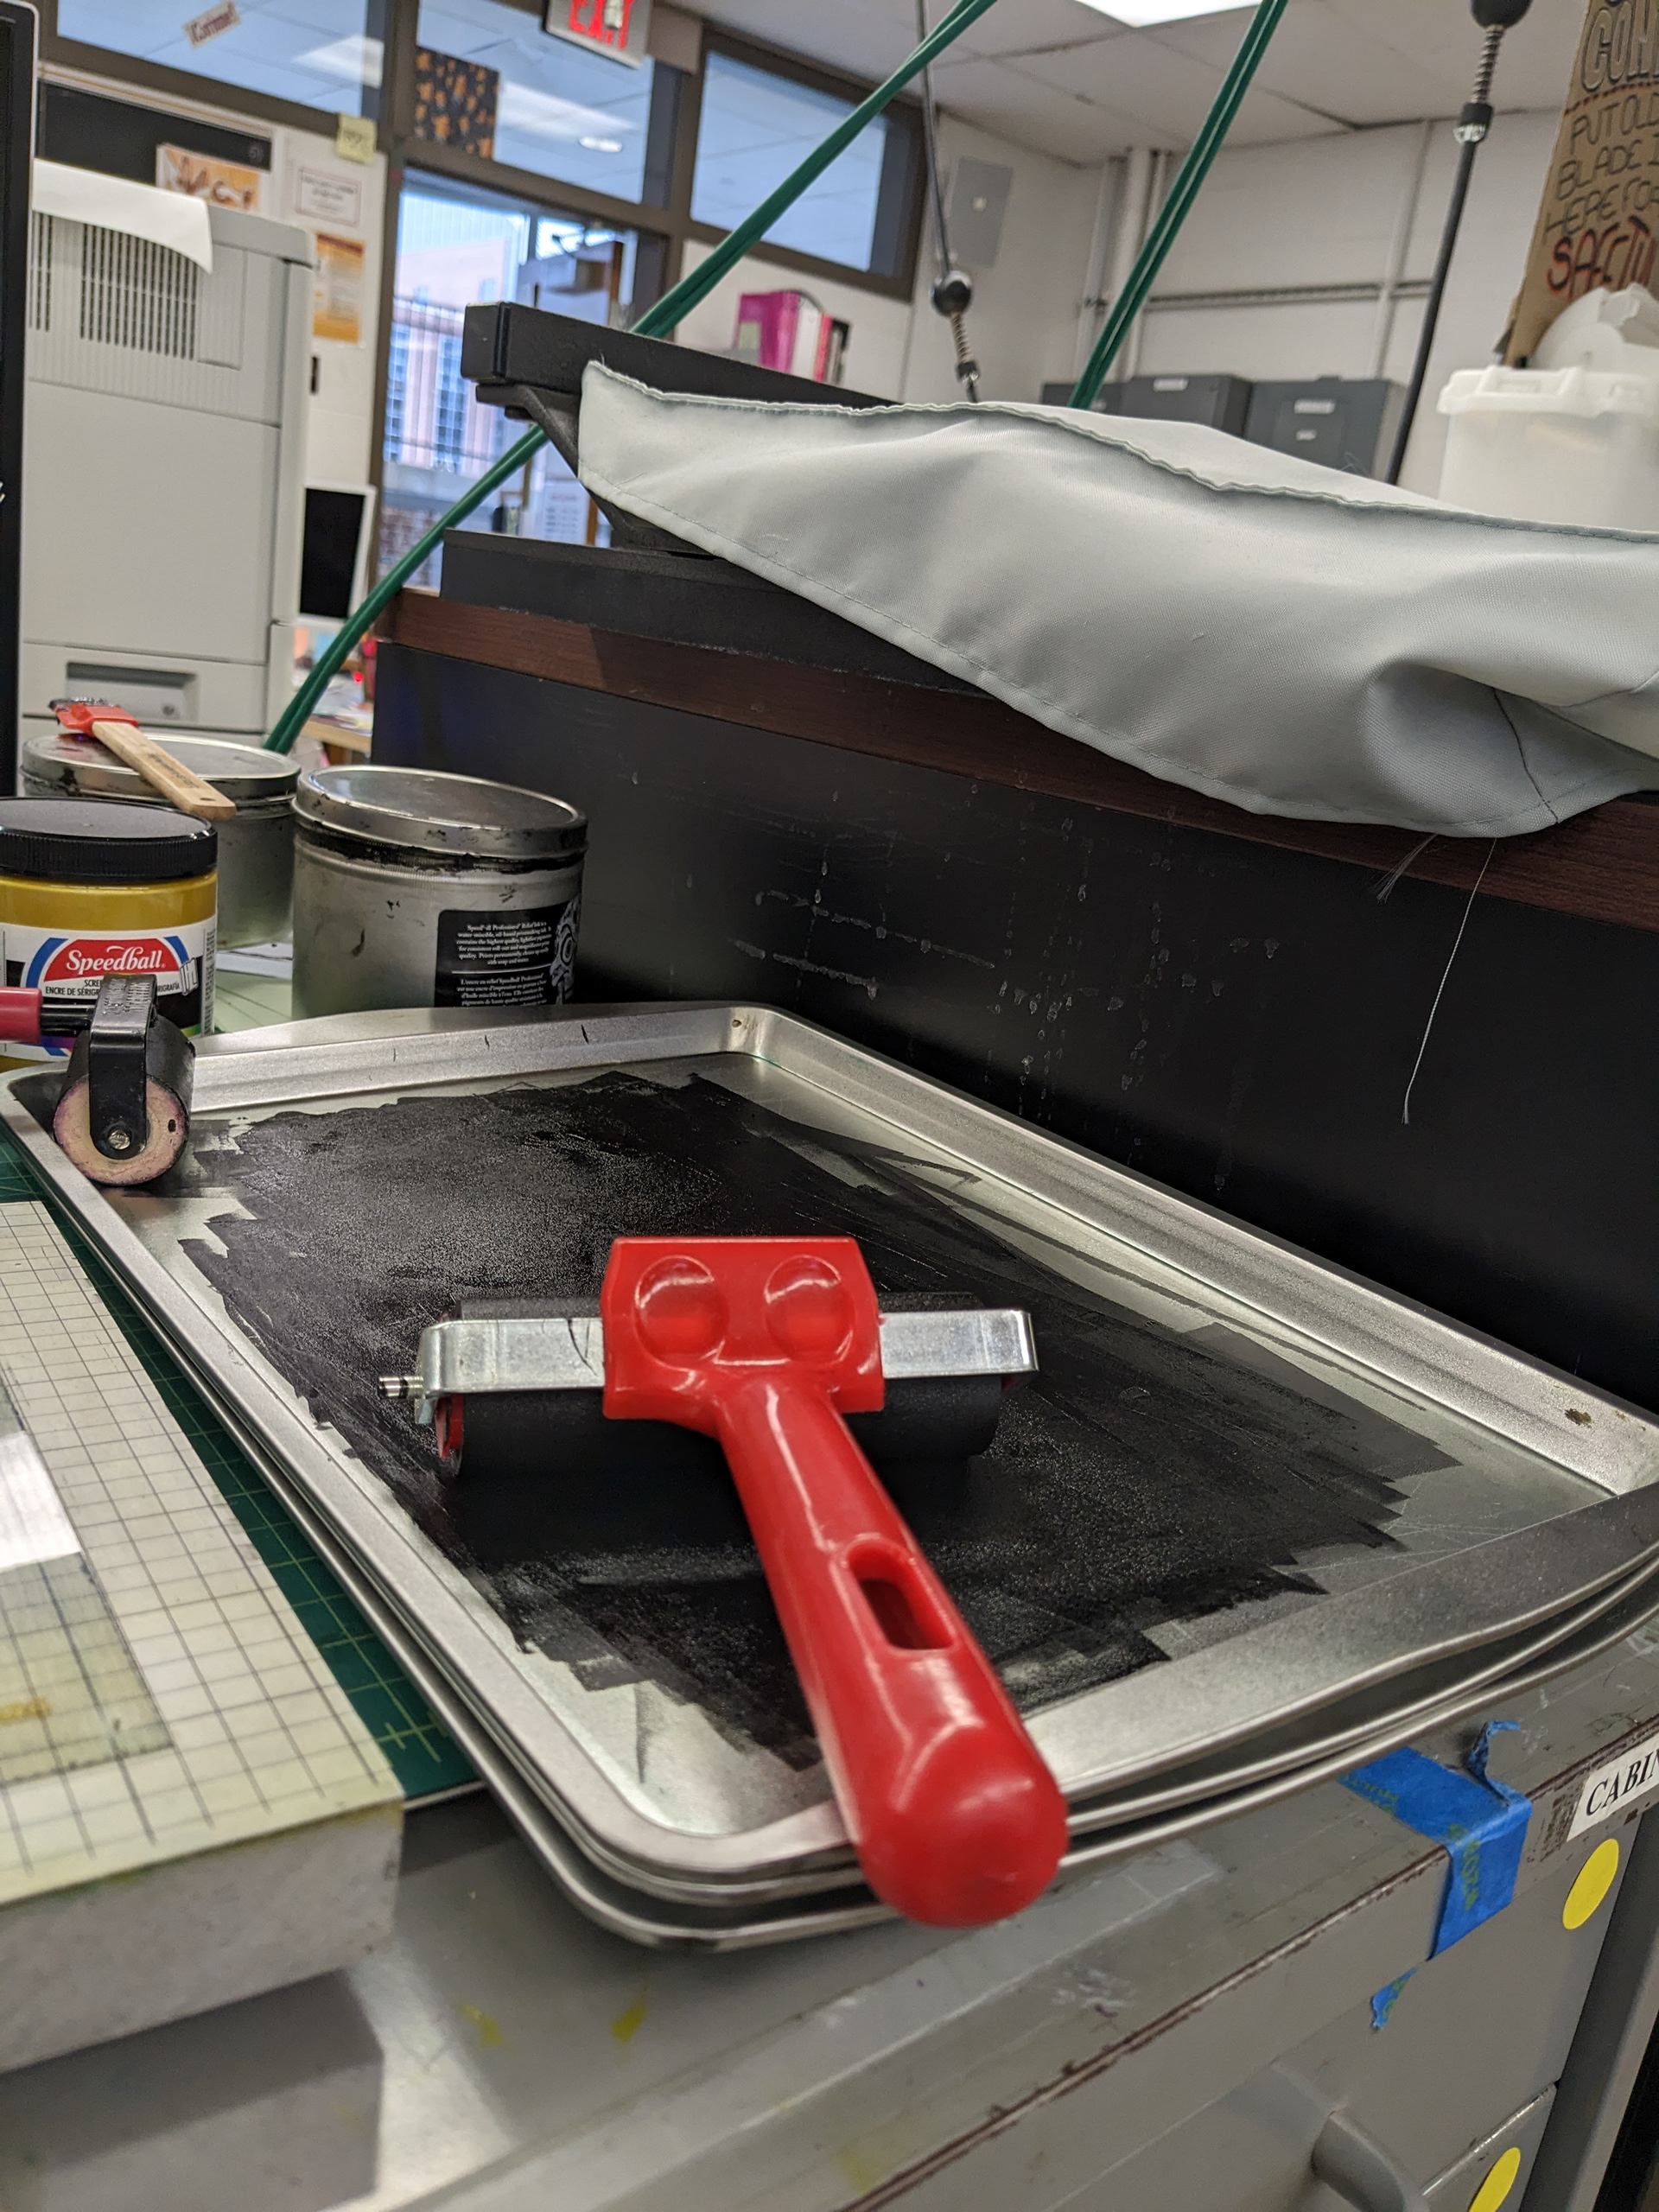
This press required hand inking and hand rolling.
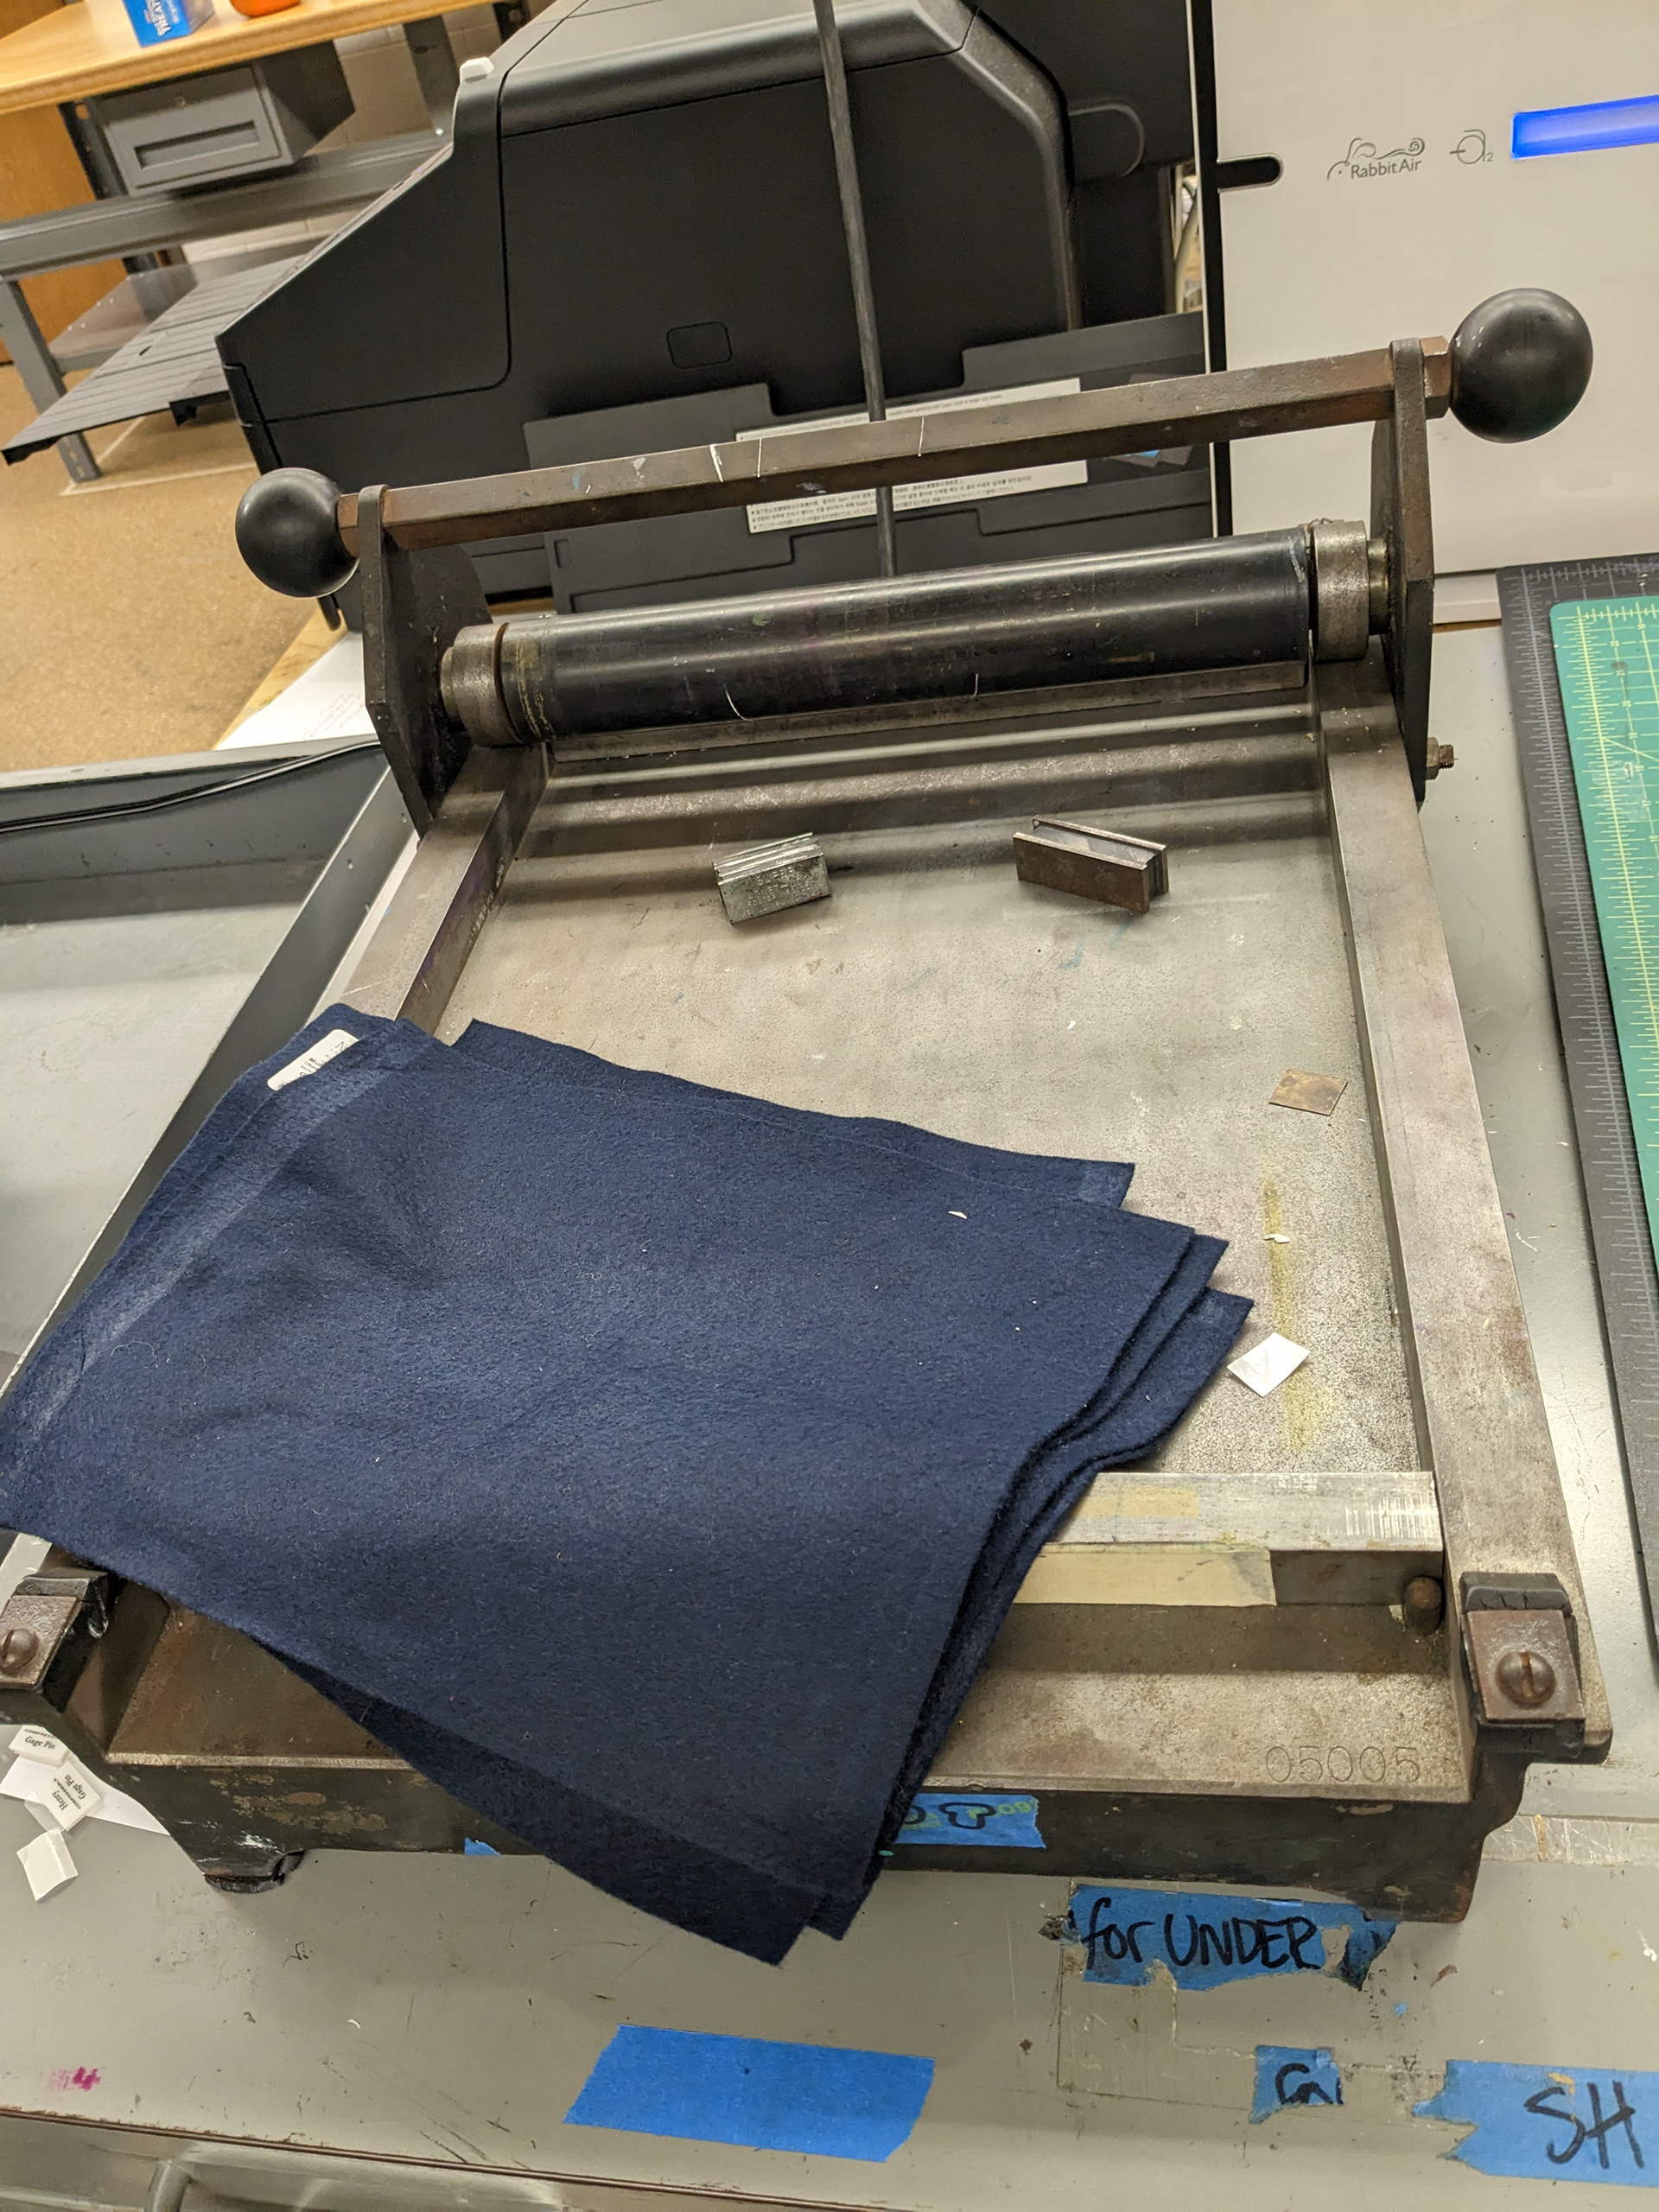
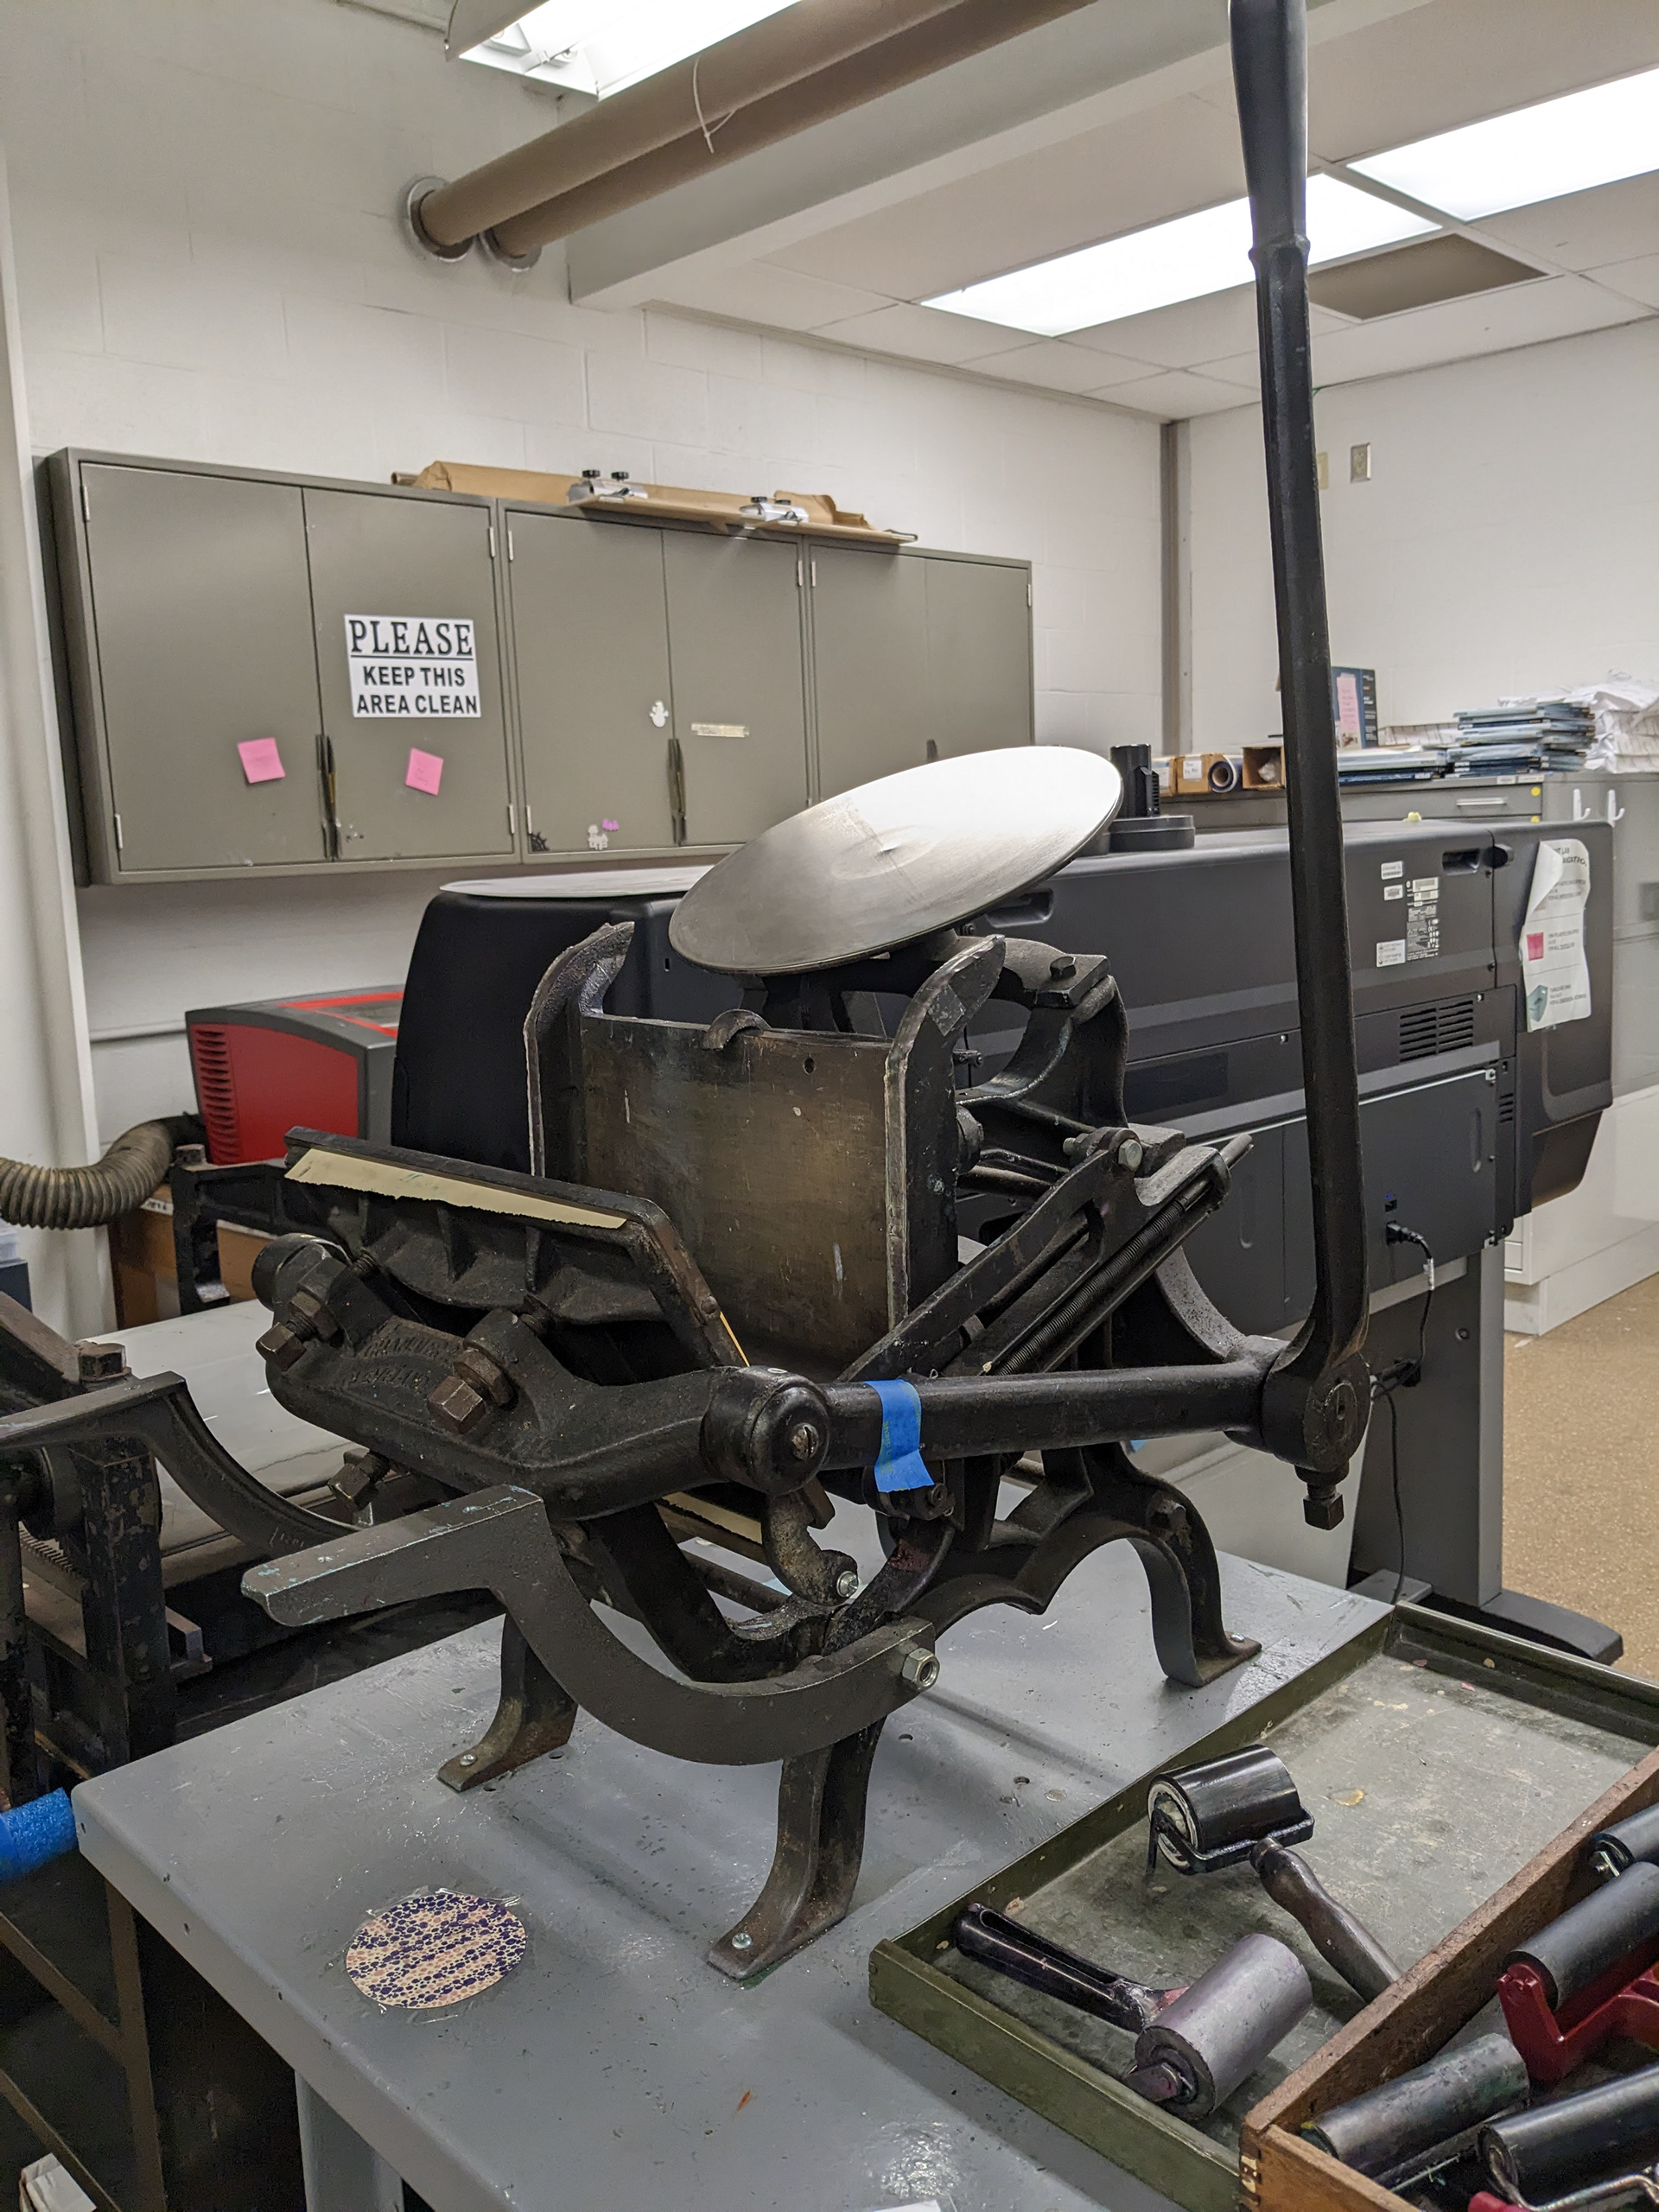
My school had printing presses from the 1800's. My professor and I did some tests to see which one performed the best. We decided on the rolling press.
After the final design was made, I ordered letter press plates.
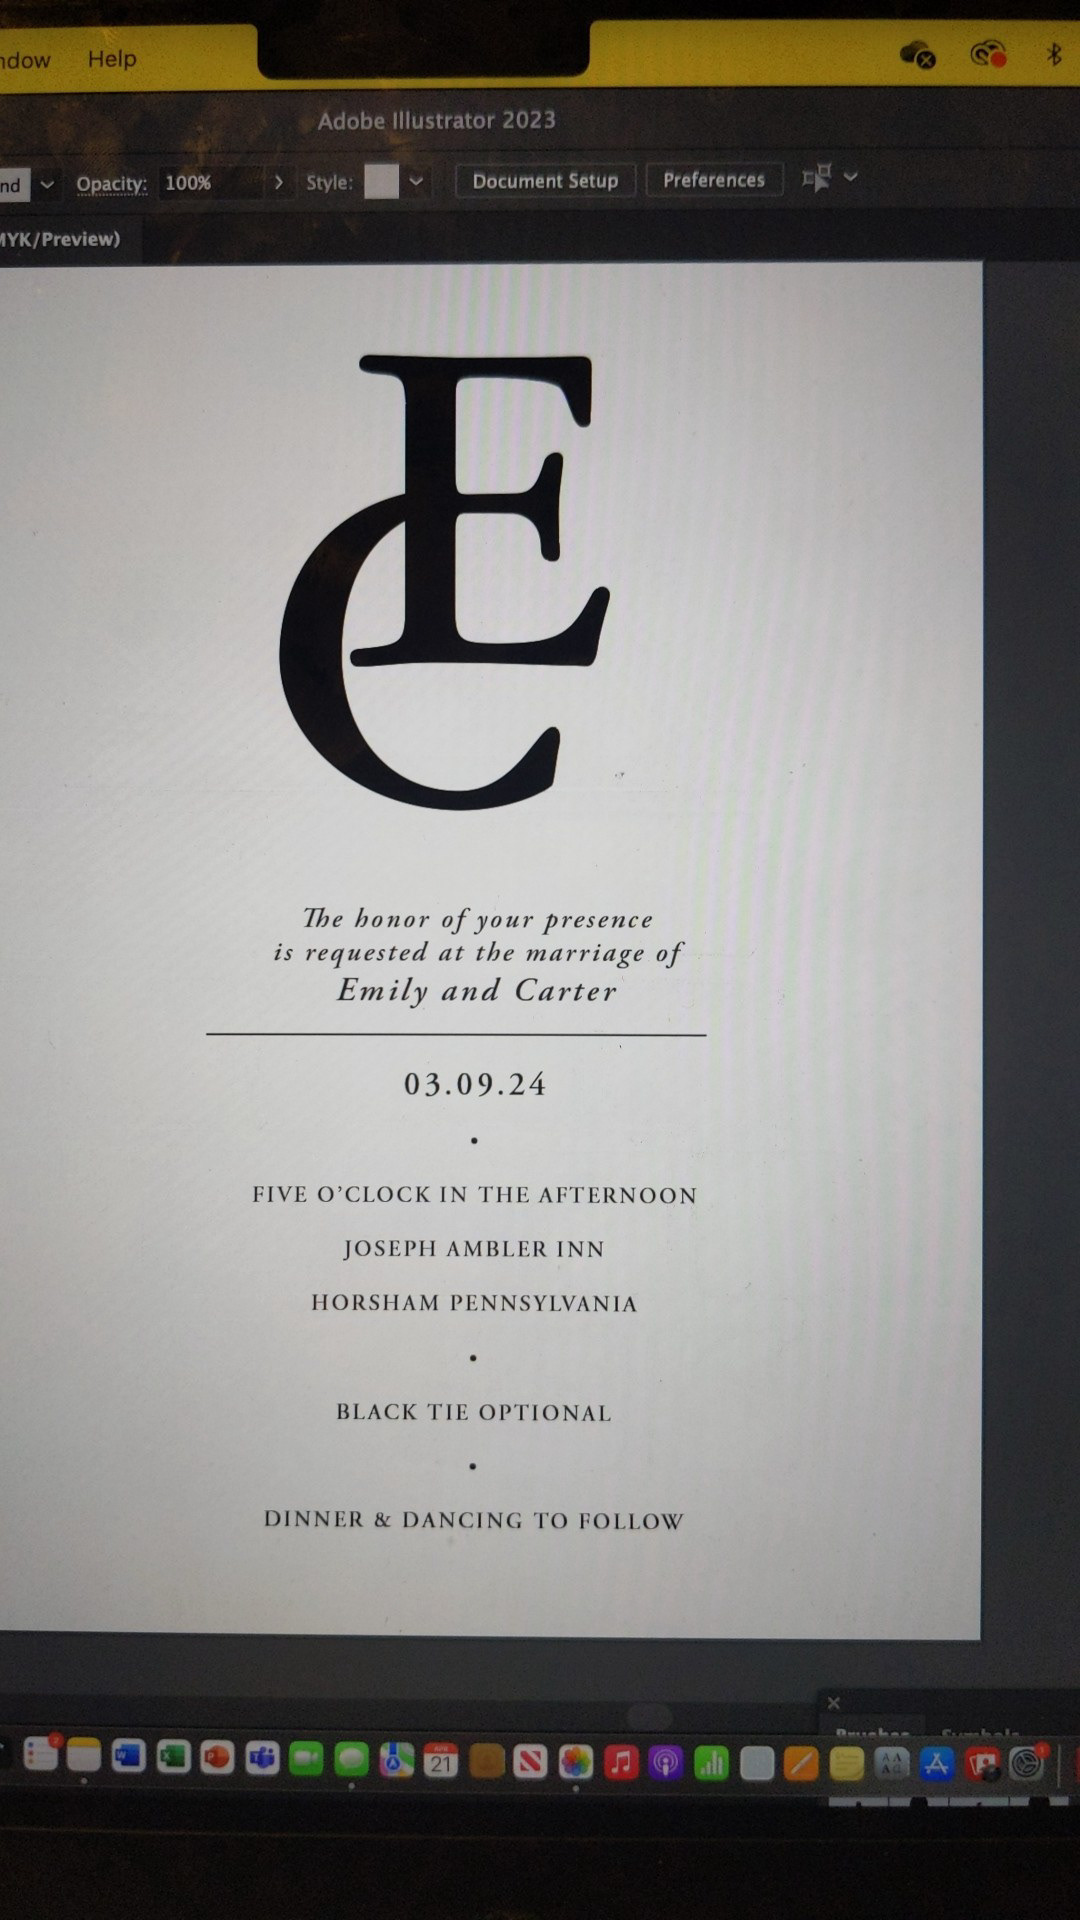
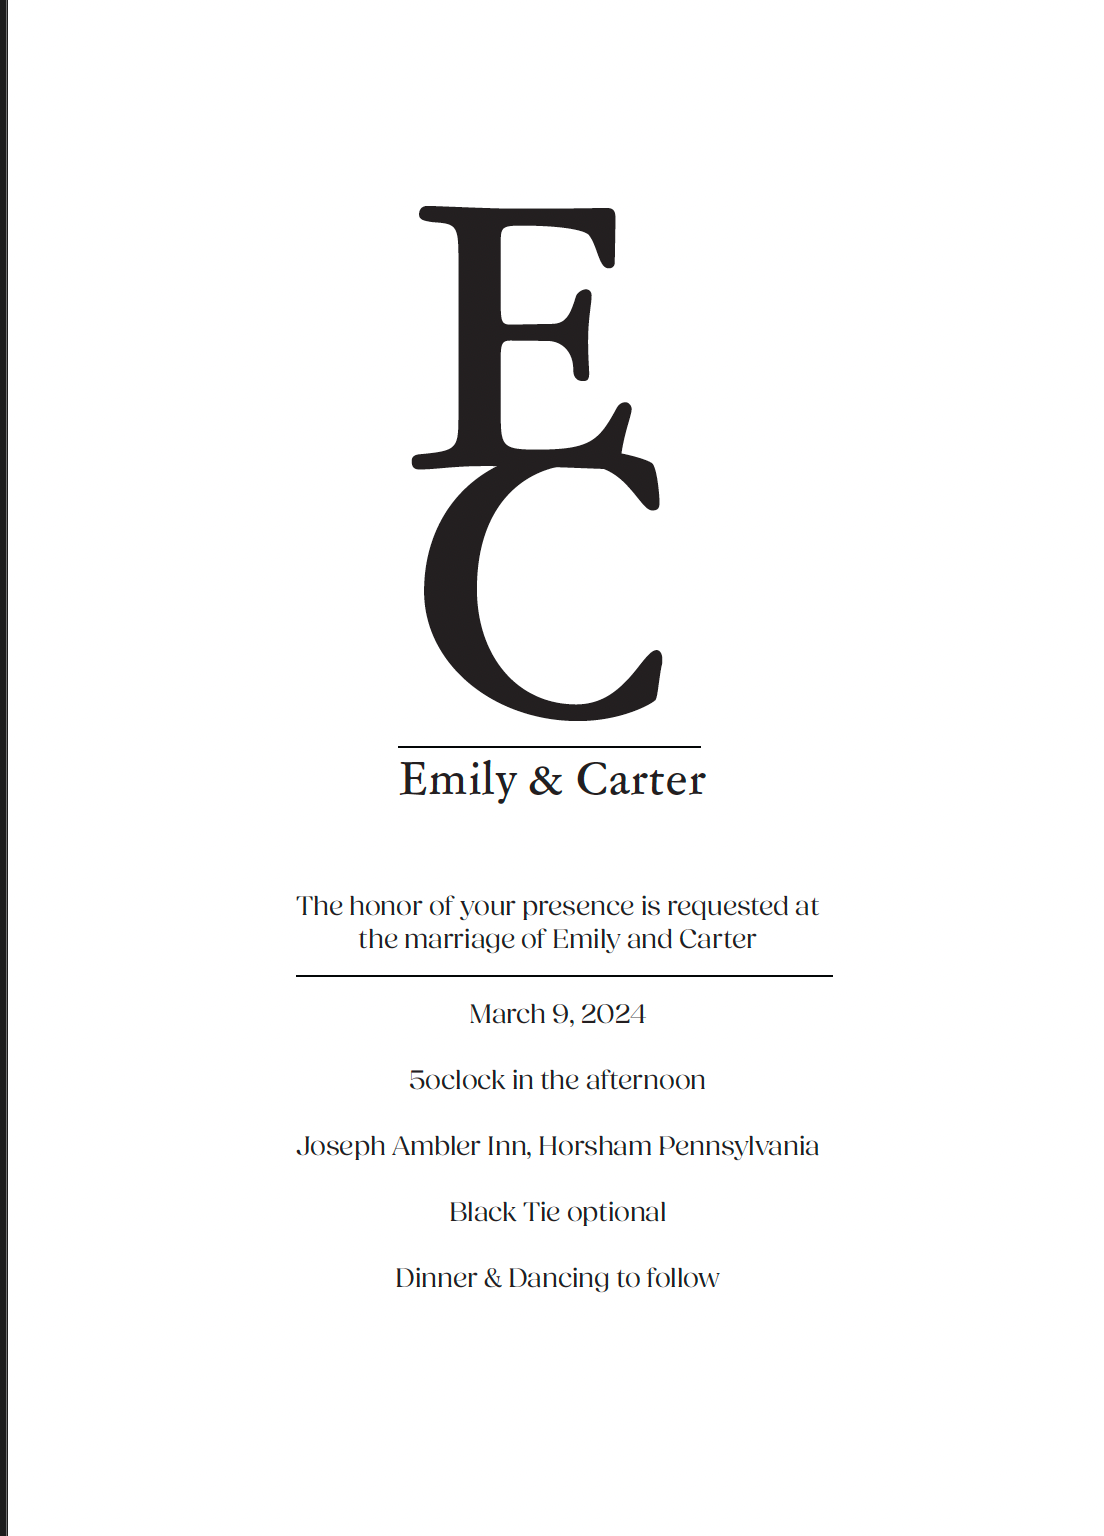
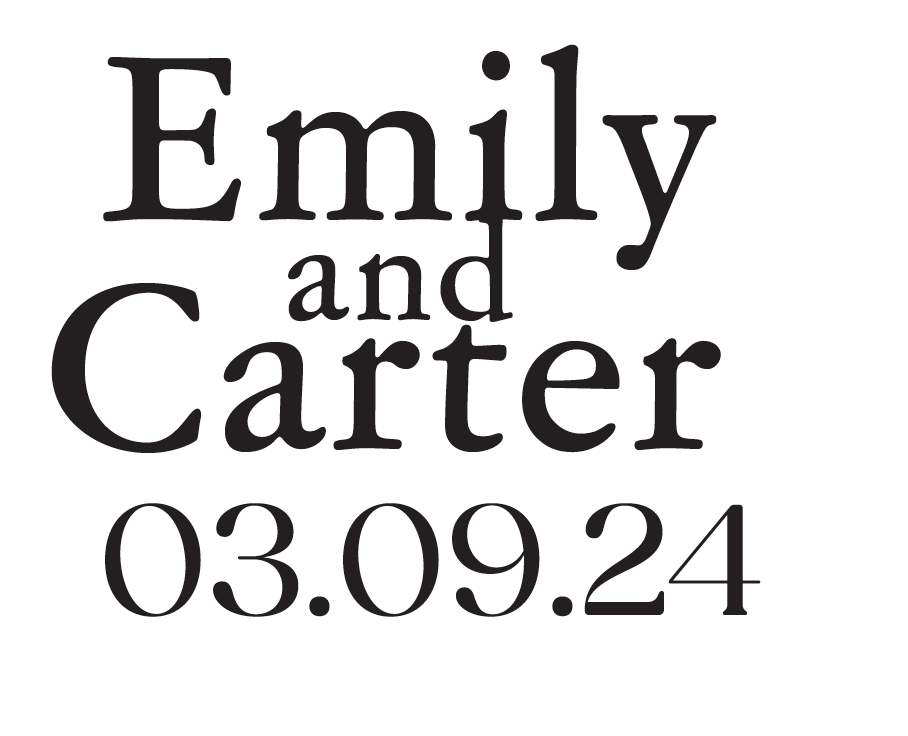
Some tweaks were made before moving forward.
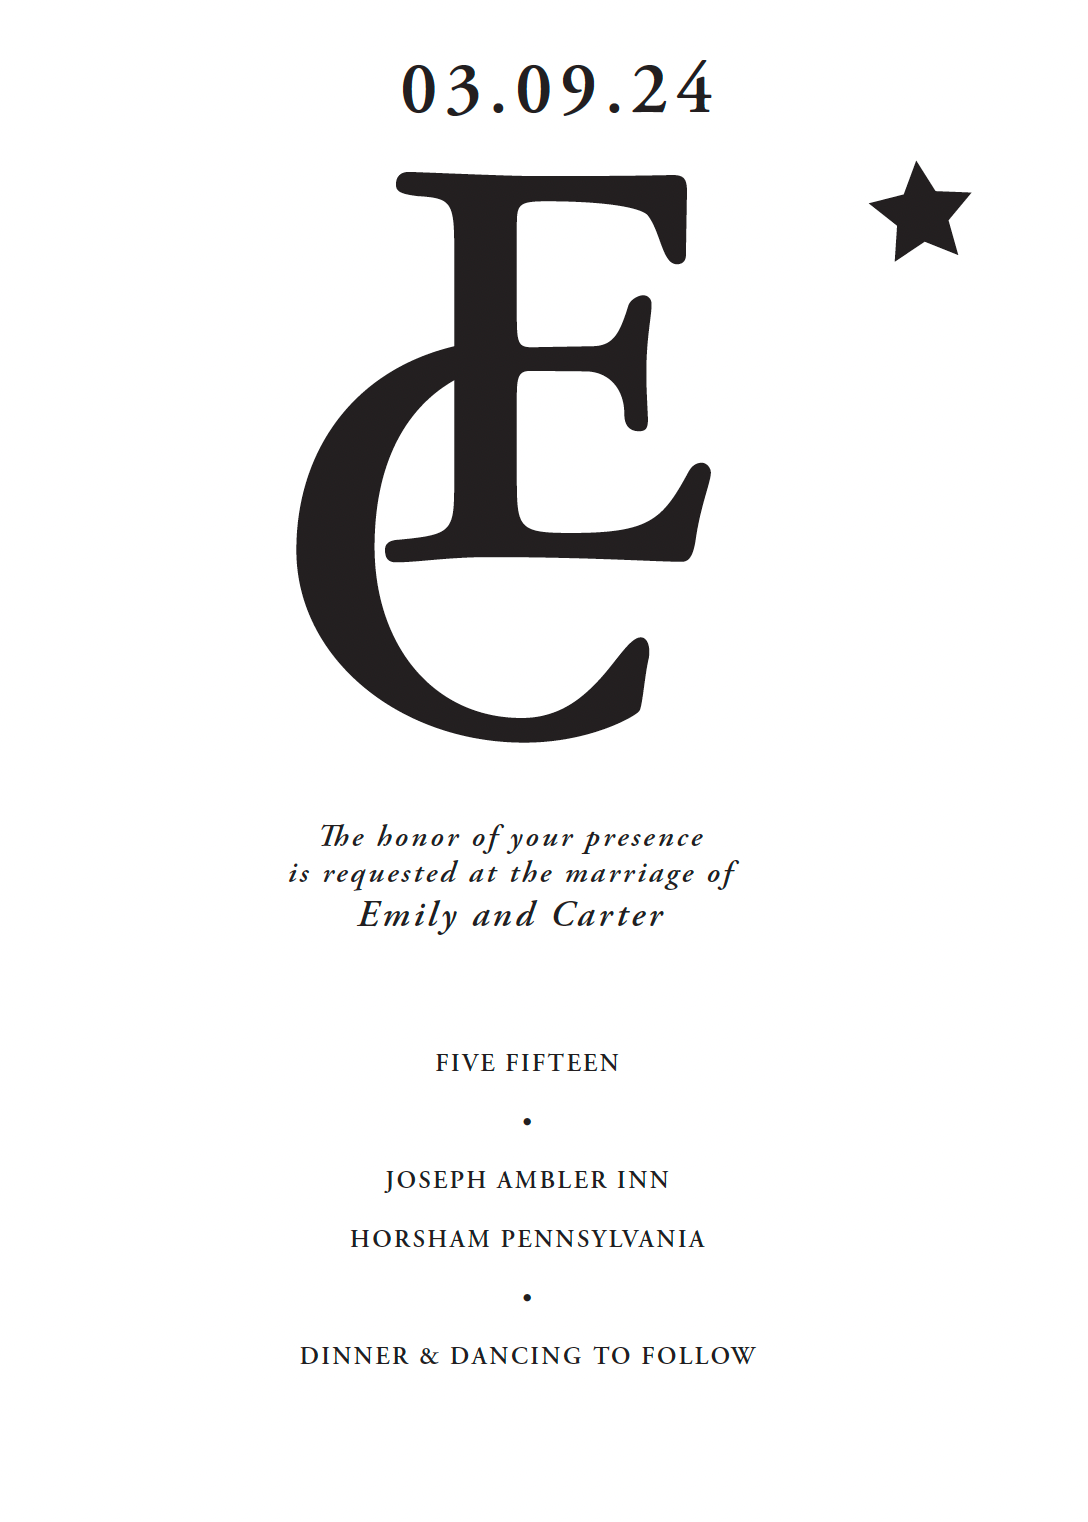
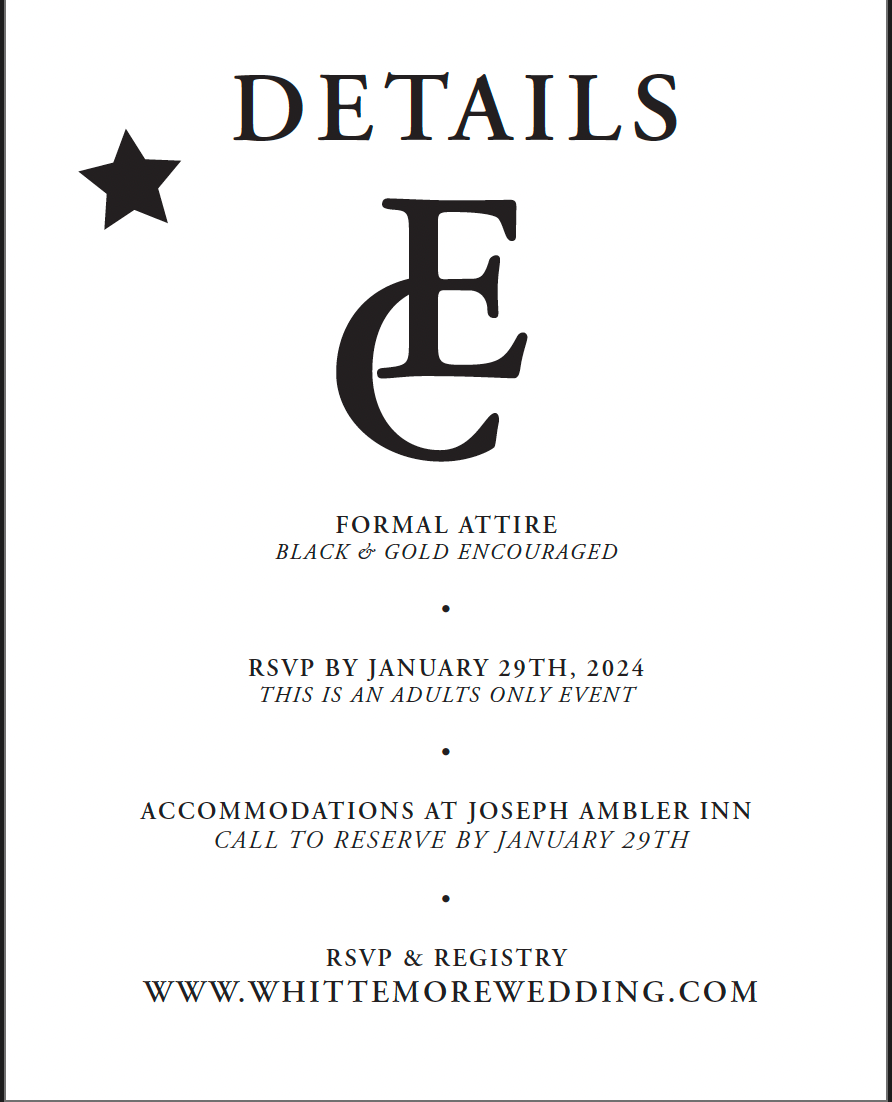
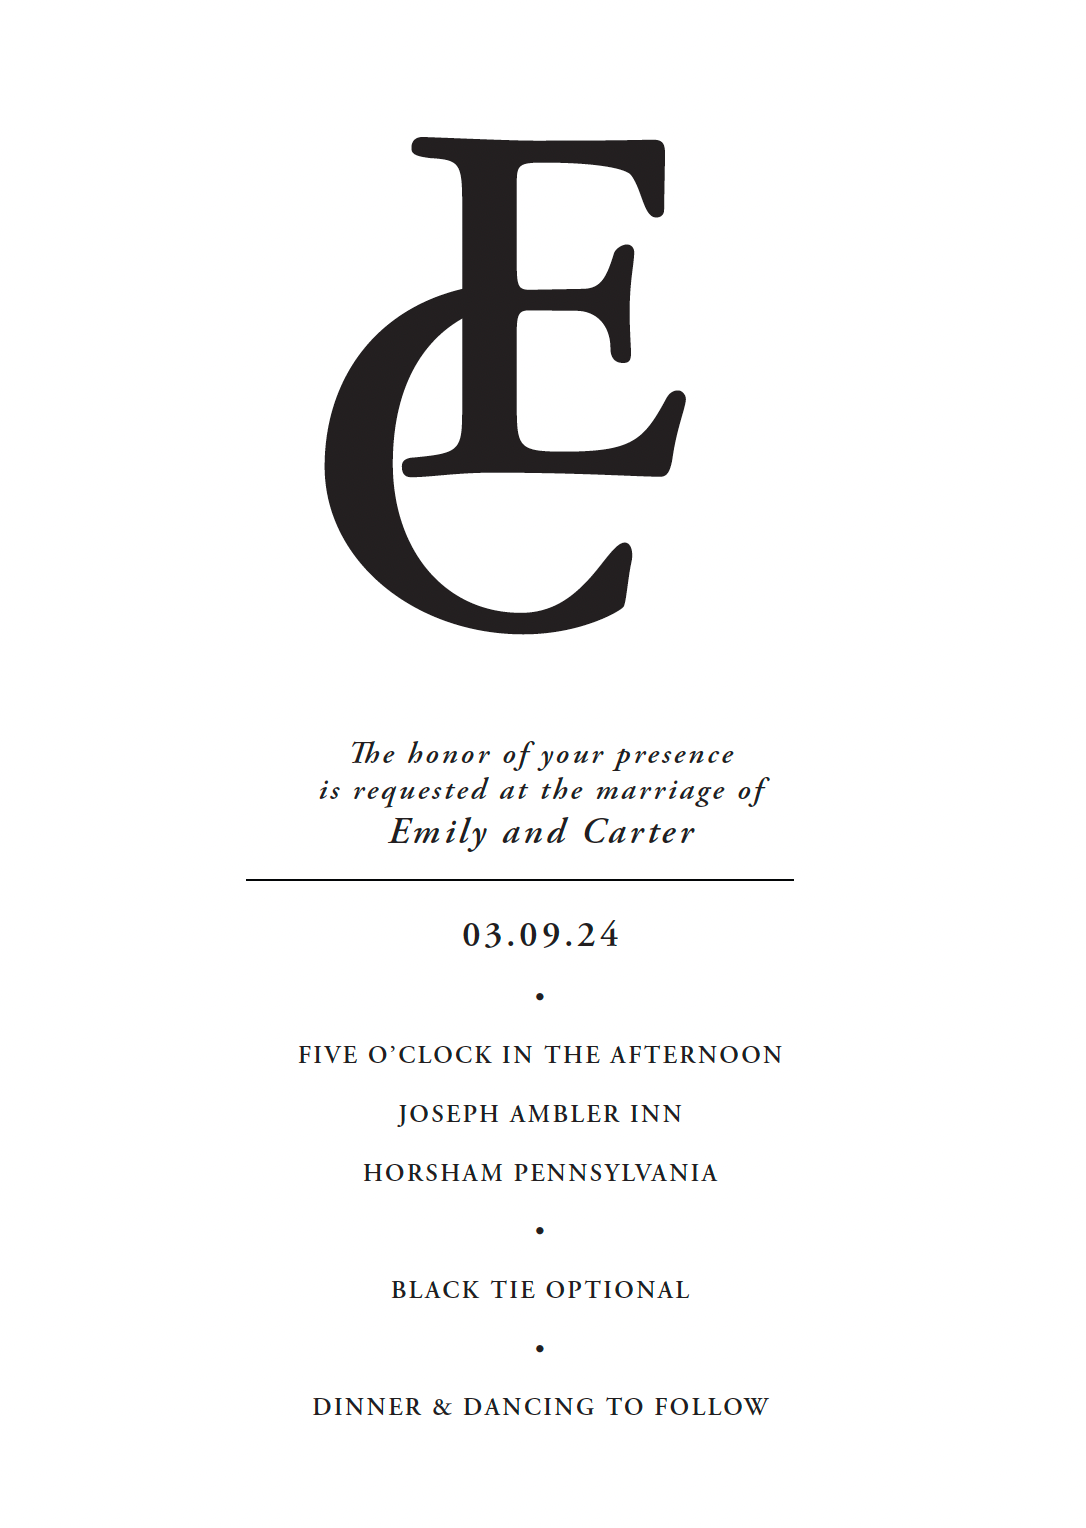
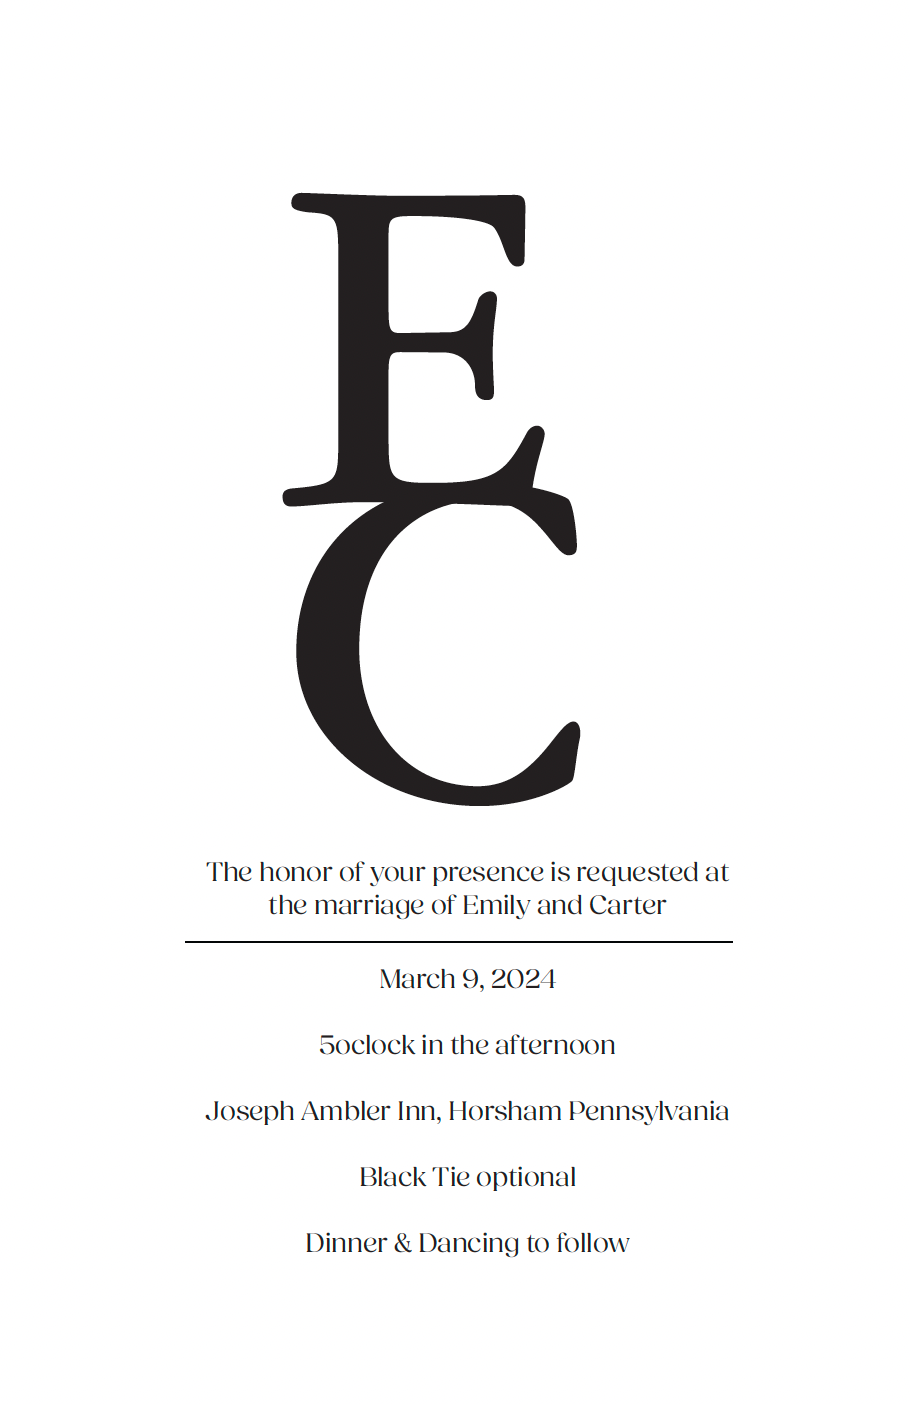
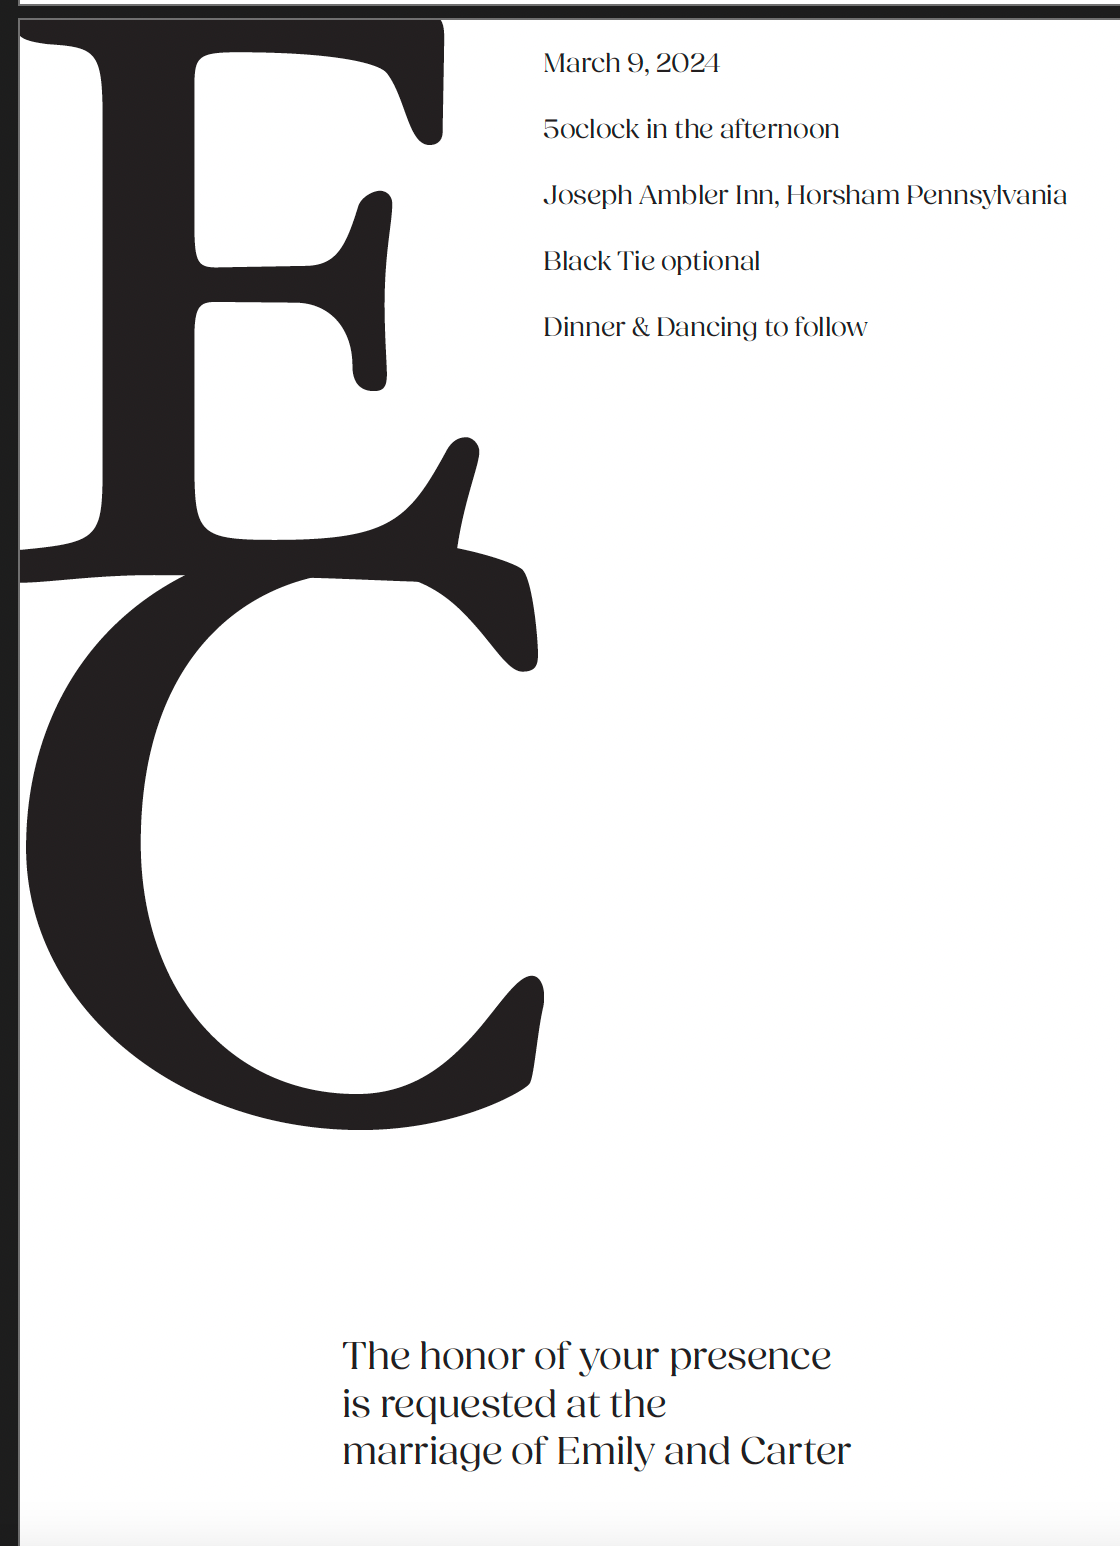
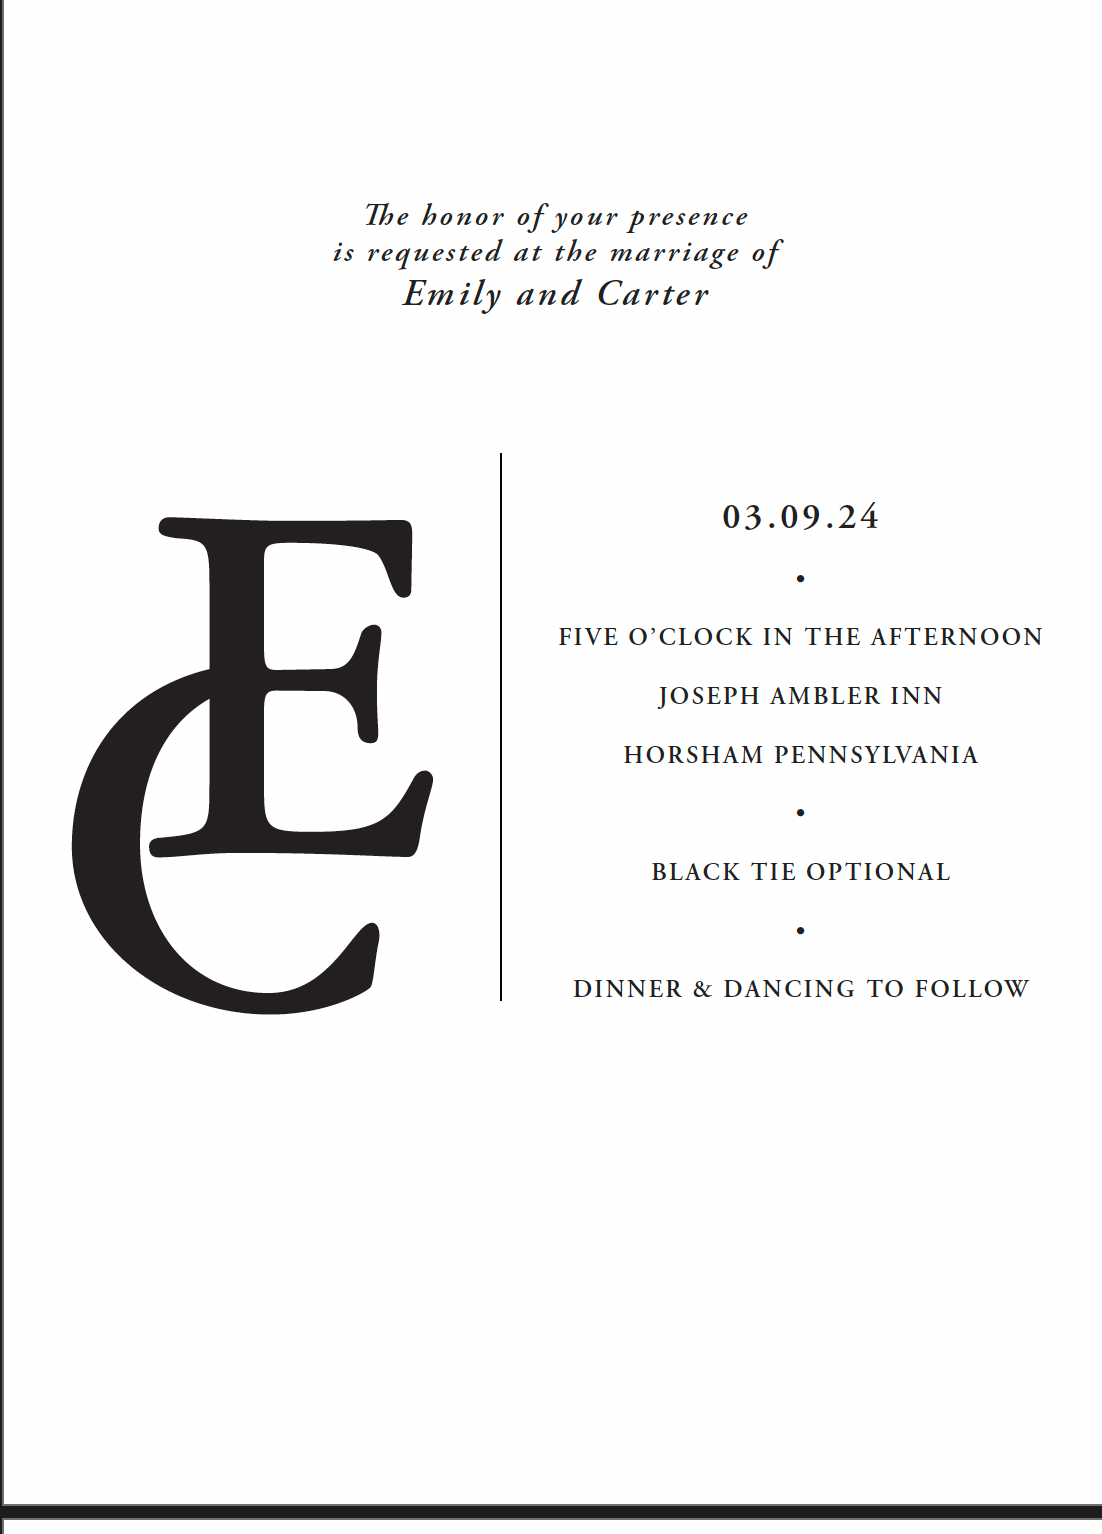
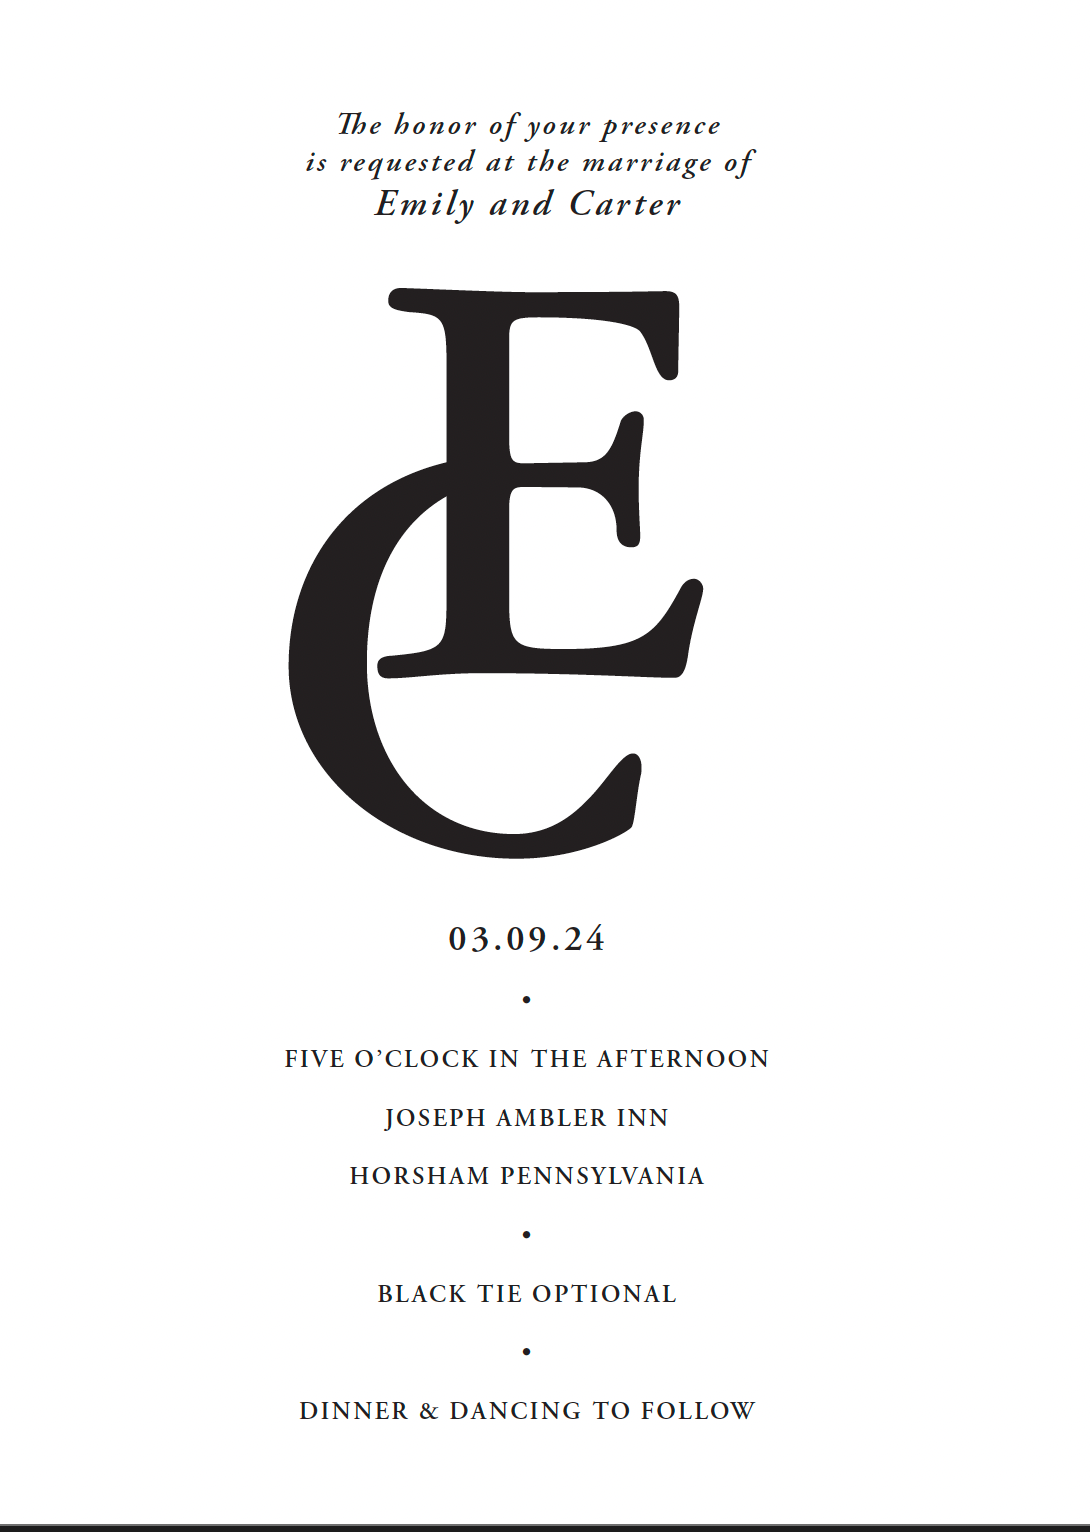
After multiple variations, the client and I decided on these final layouts.

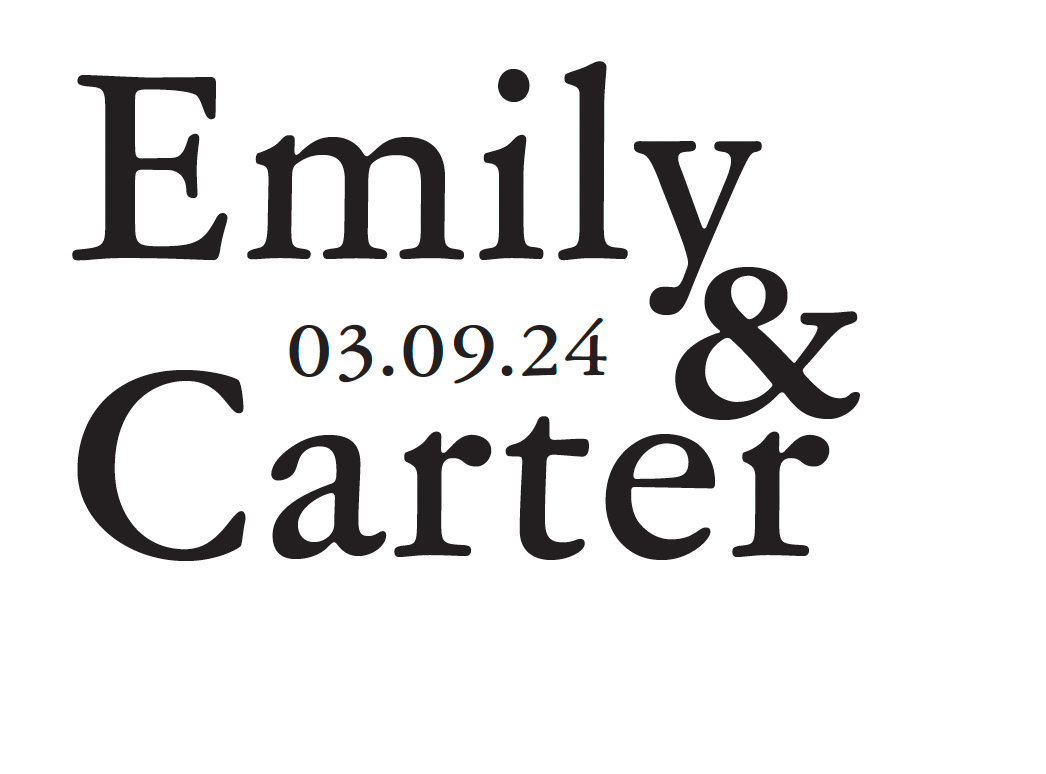
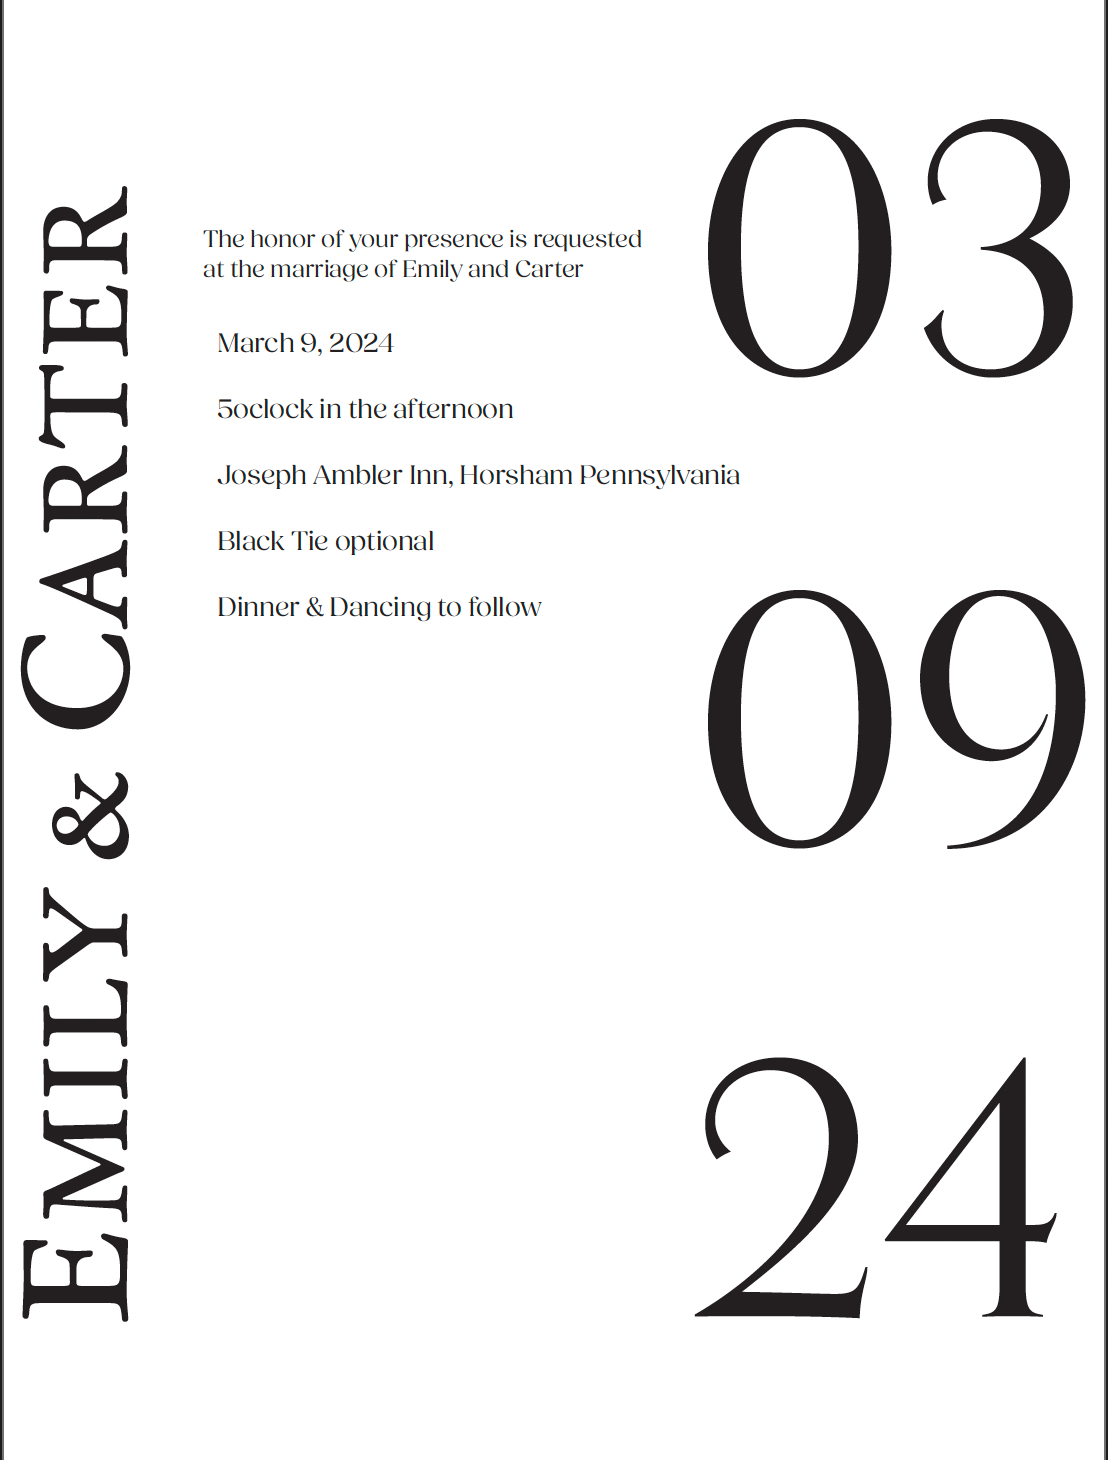
This was the initial brainstorm for logo ideas and invitations layout.